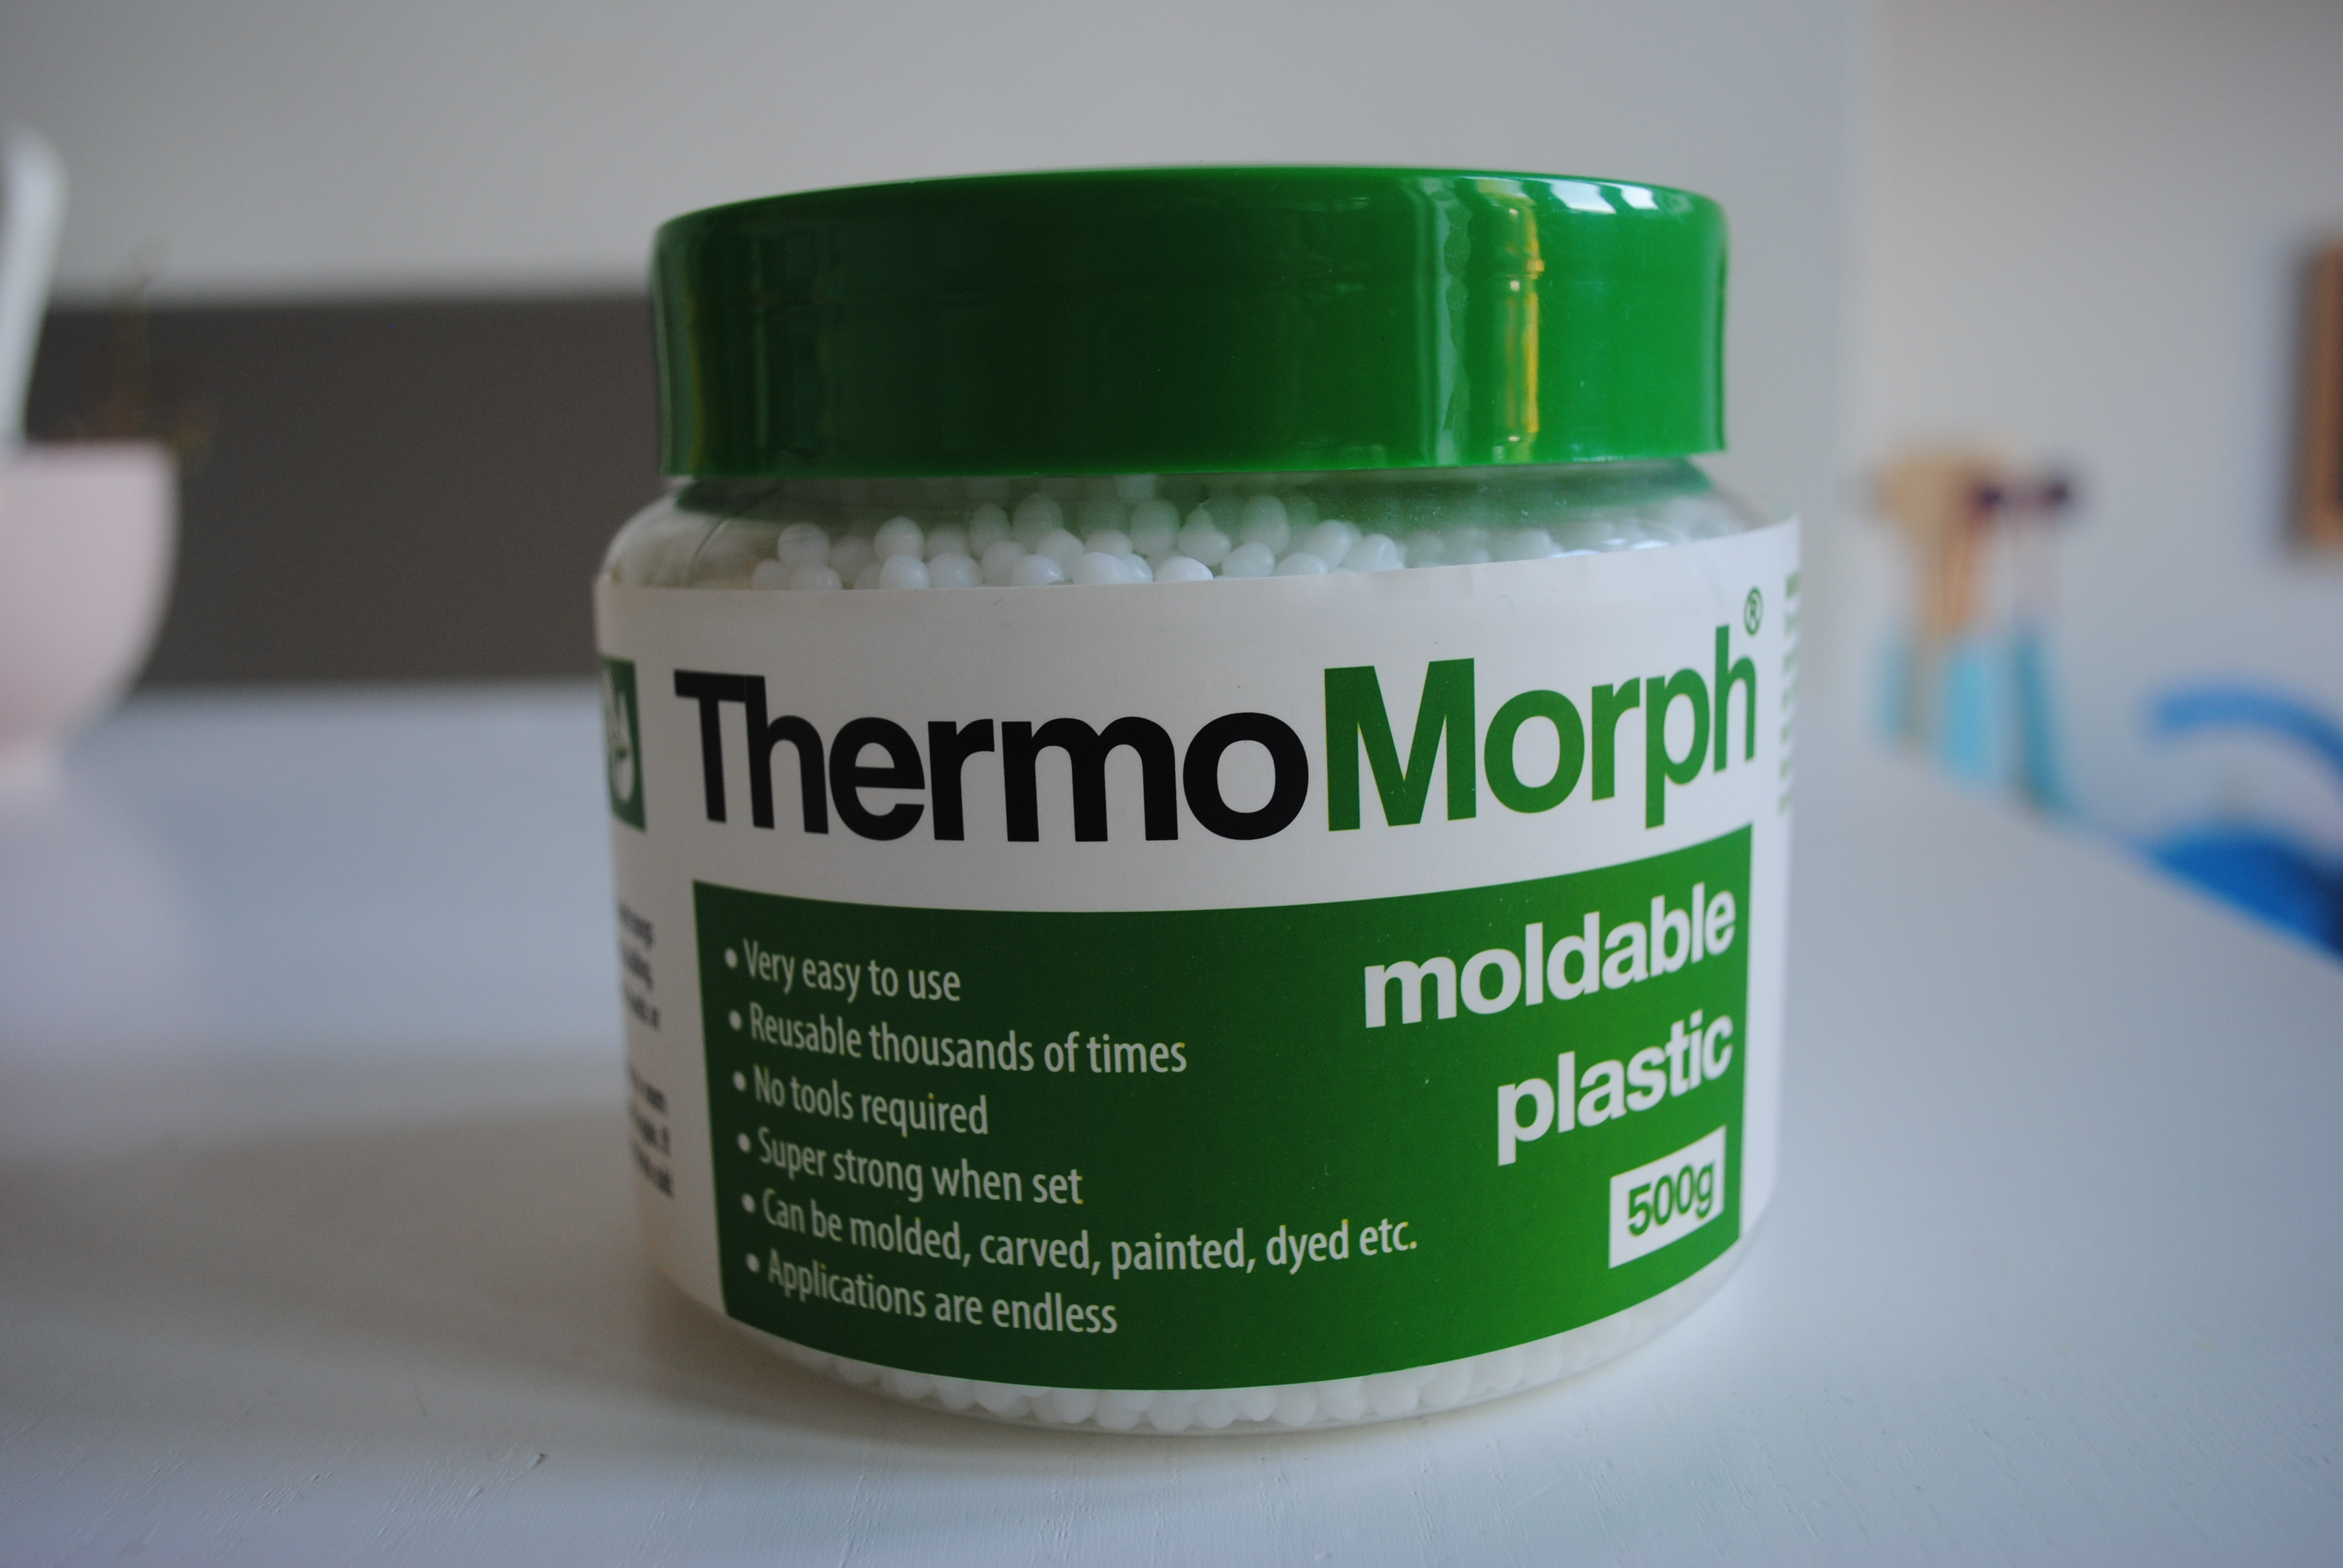
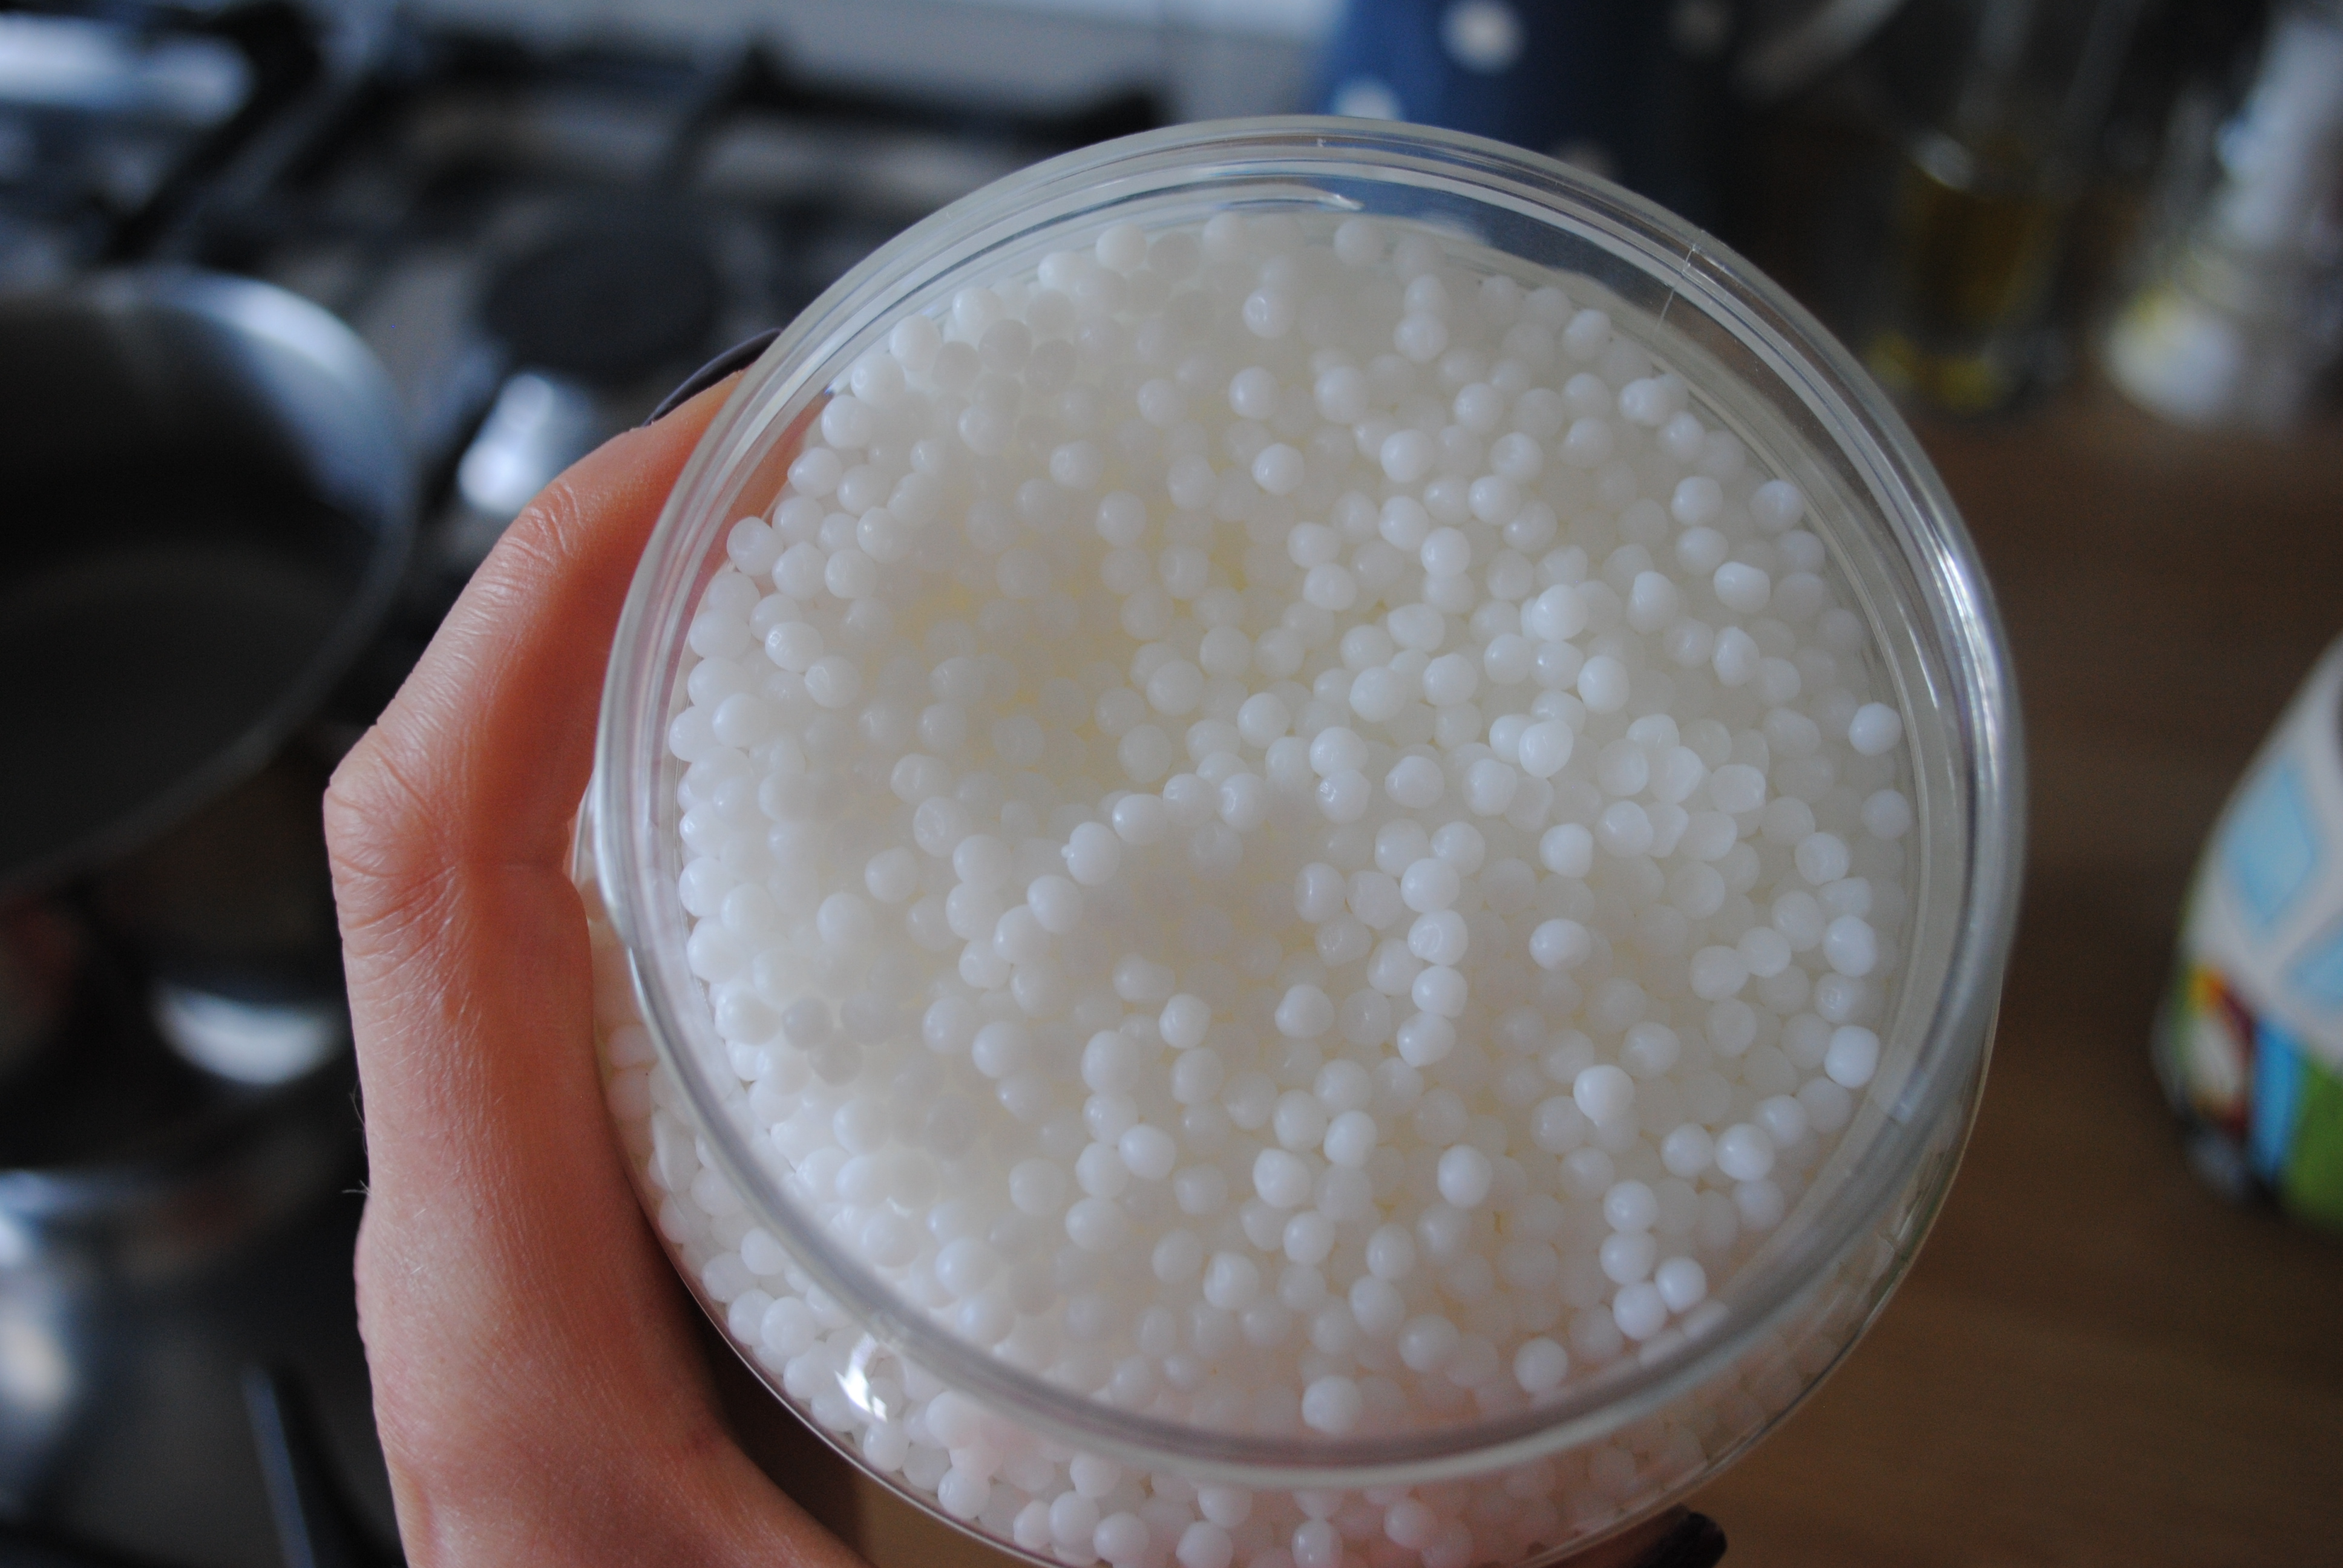
When I was contacted by ThermoMorph the other week, I jumped at the chance to get my hands on a tub and review. As someone who is pretty ‘crafty’, I’m always keen to try new products/materials that I can use with either the children, or by myself. I hadn’t actually heard of ThermoMorph before, but a bit of research told me that it was essentially plastic beads that you heat in hot water, and then can mold to make models/objects out of when the beads have clumped together, which then harden to your finished design. You can then paint, dye, or in our case, colour your finished article with felt tips! There will be two parts to this review, you will see the reason why as the post progresses!
On receiving the tub, my first impressions were that this is a product for the serious crafter. Older children can use it (I felt mine were too young), but the packaging doesn’t scream “buy me, small child!”, so I was slightly intimidated by the ‘industrial’ vibe going on. However, not one to be put off by such things, I cracked on with making something. With Father’s Day coming up, I thought it might be nice to make Adam something from the kids. Freddie suggested that Mummy made a bowl for Daddy to put ‘stuff’ in at work (my child is, like, totally practical), and they could decorate it afterwards. So far, so good. I can say what we are making as Adam doesn’t often read my blog, so the chances of him discovering that he going to receive this delightful present on Sunday are pretty slim!
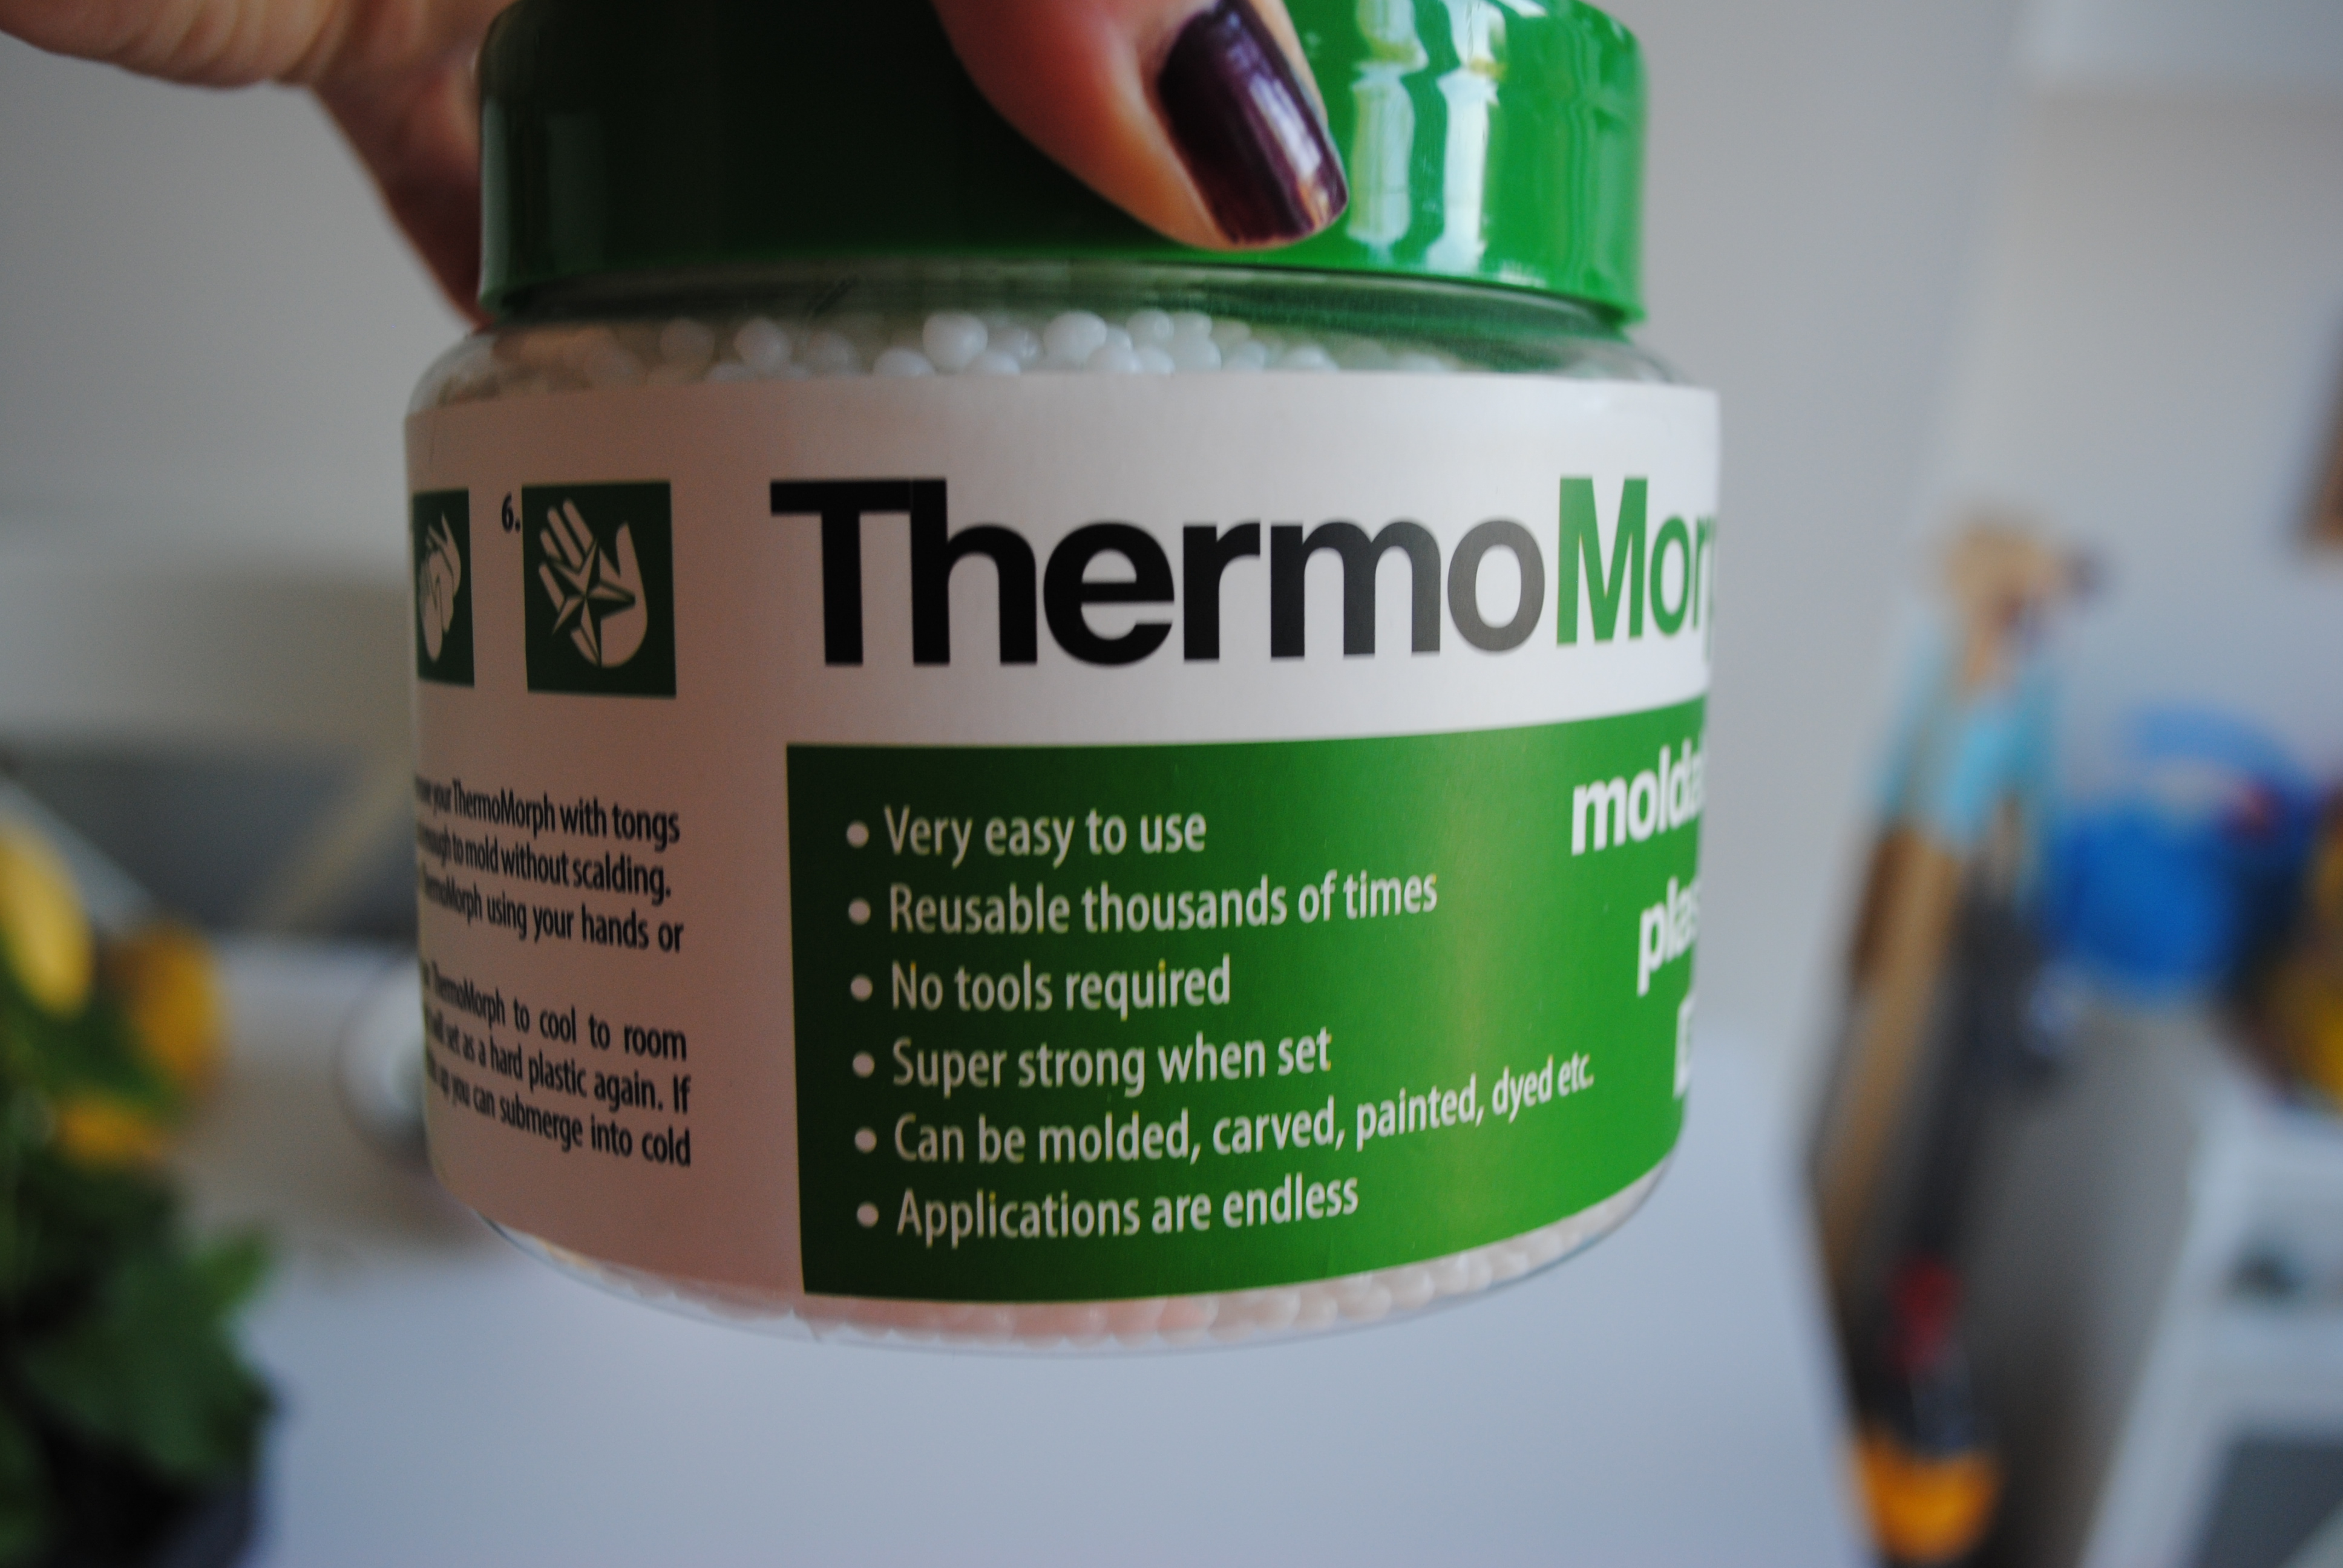
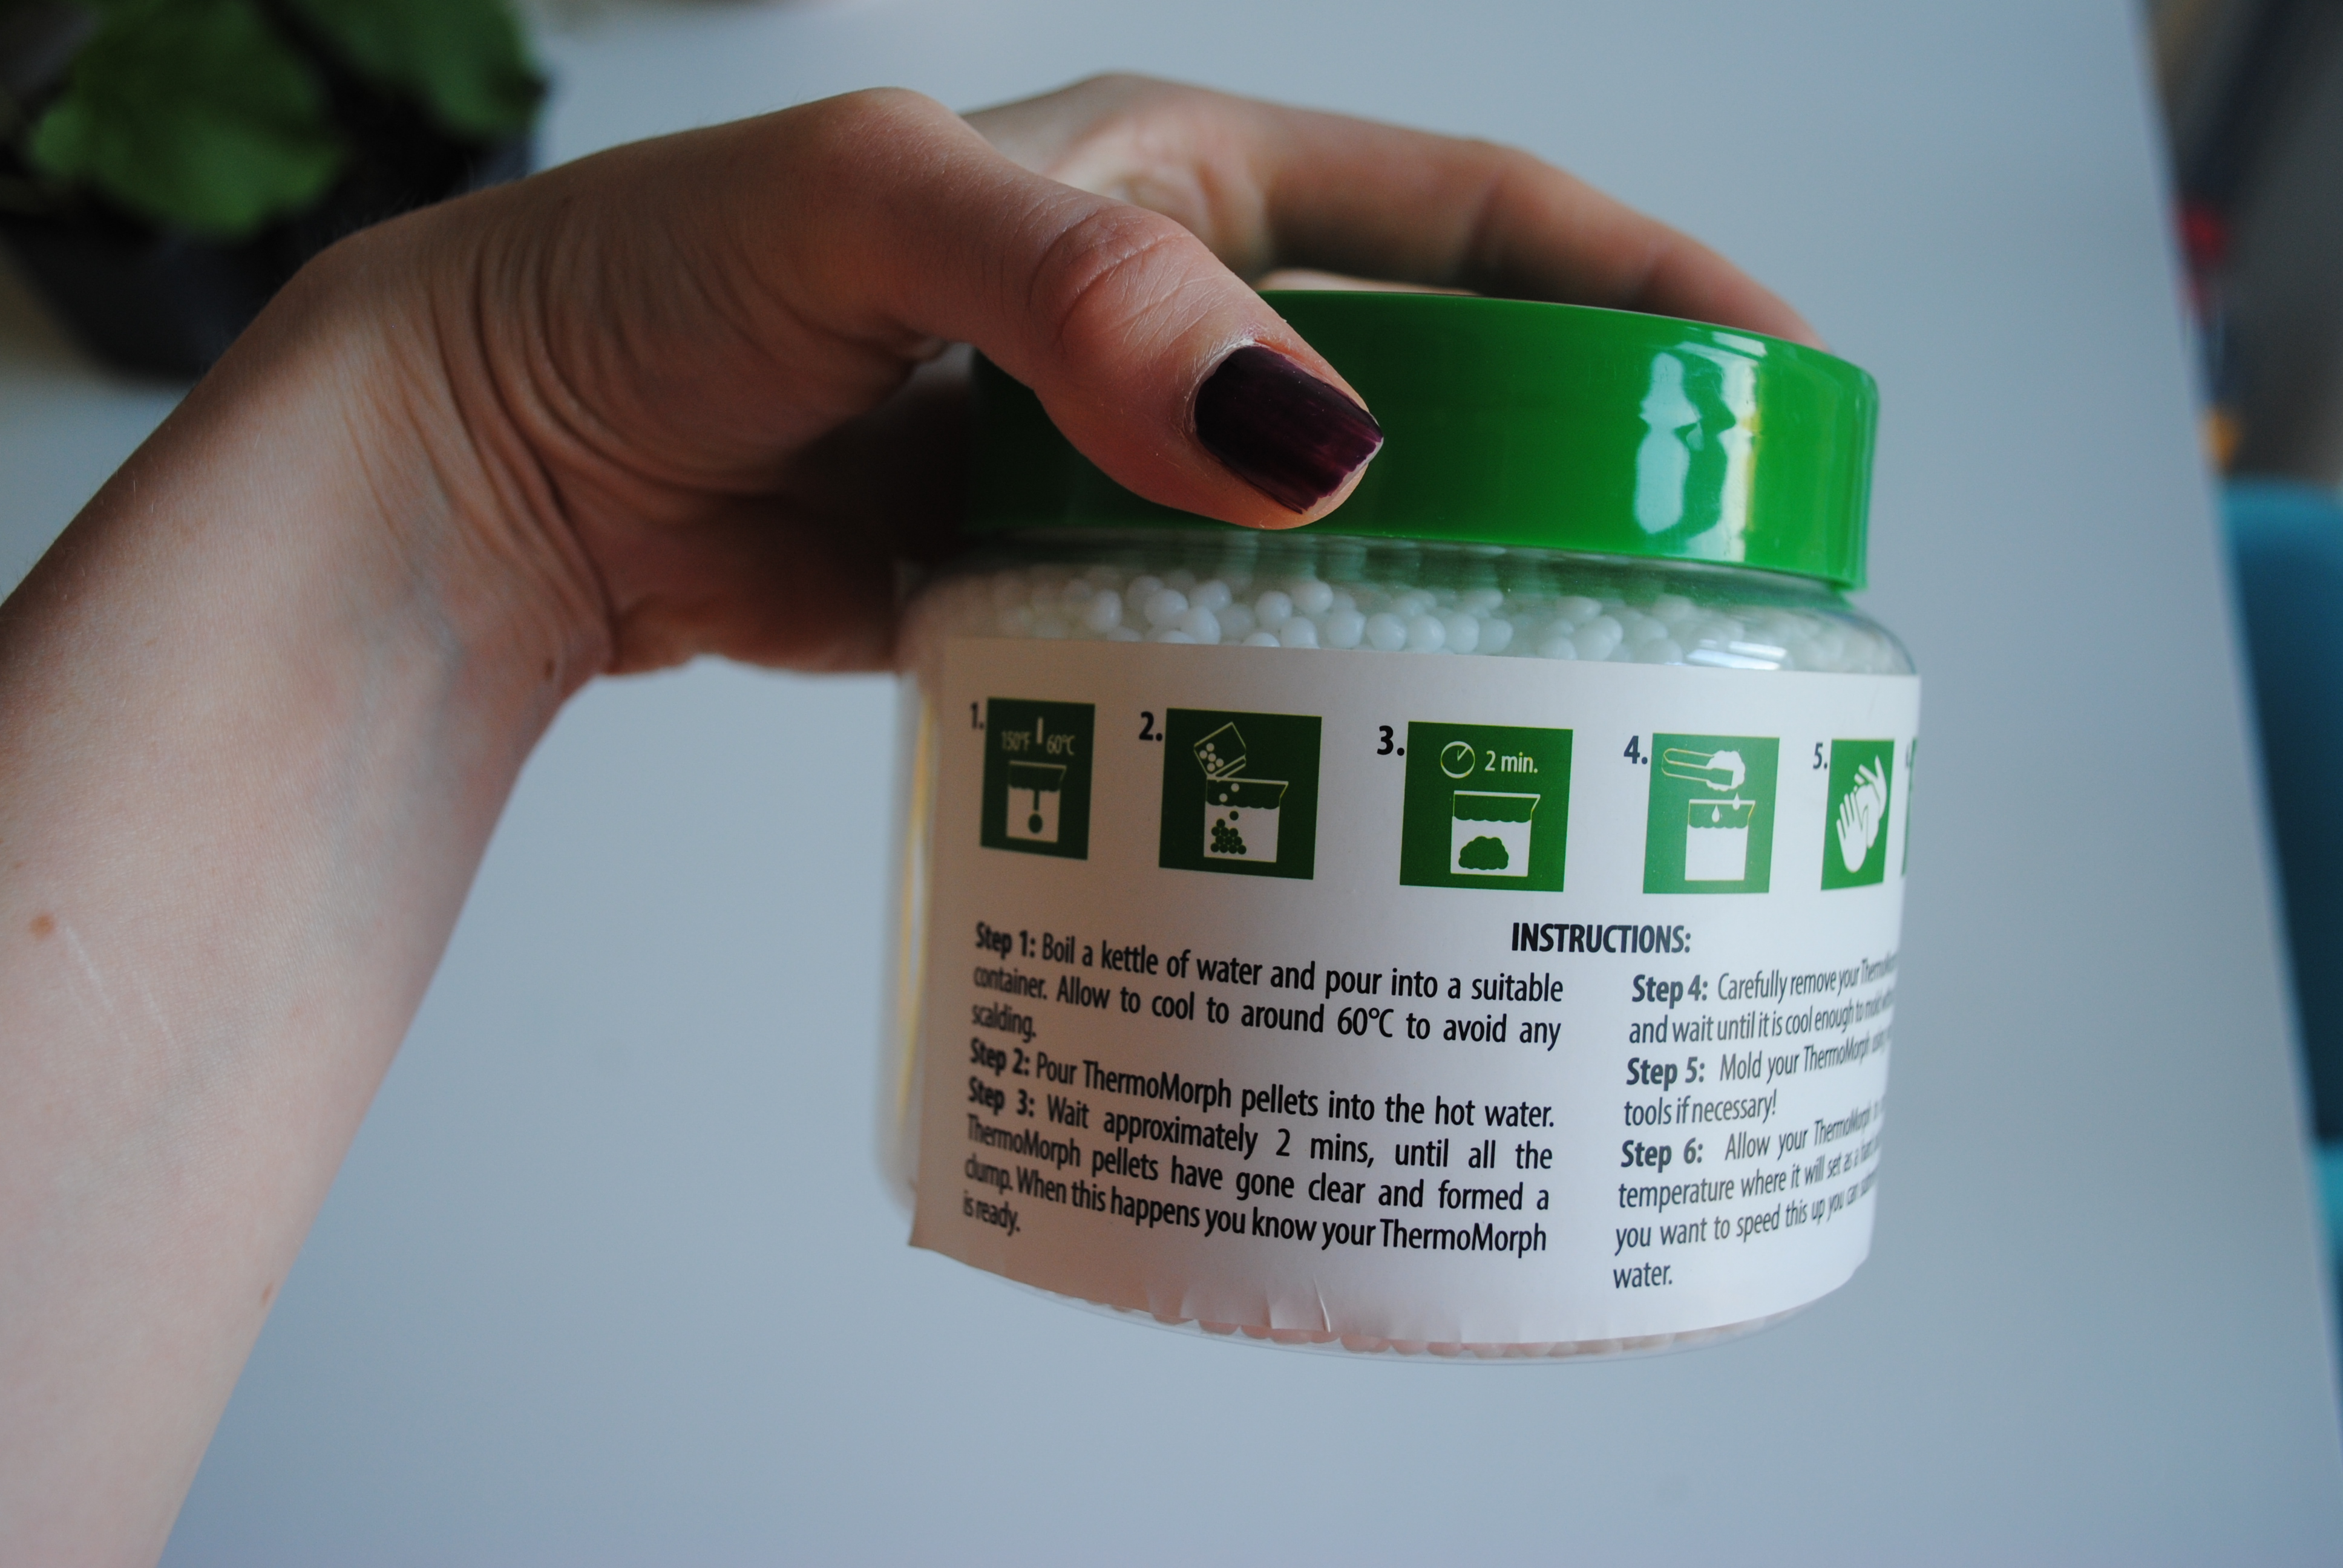
The instructions on the side of the tub are clear and simple to follow, although I was a bit lost as to how many beads to use at any one time i.e. how big a ‘clump’ of plastic will result from X number of beads, so it’s a bit hit and miss in this respect.
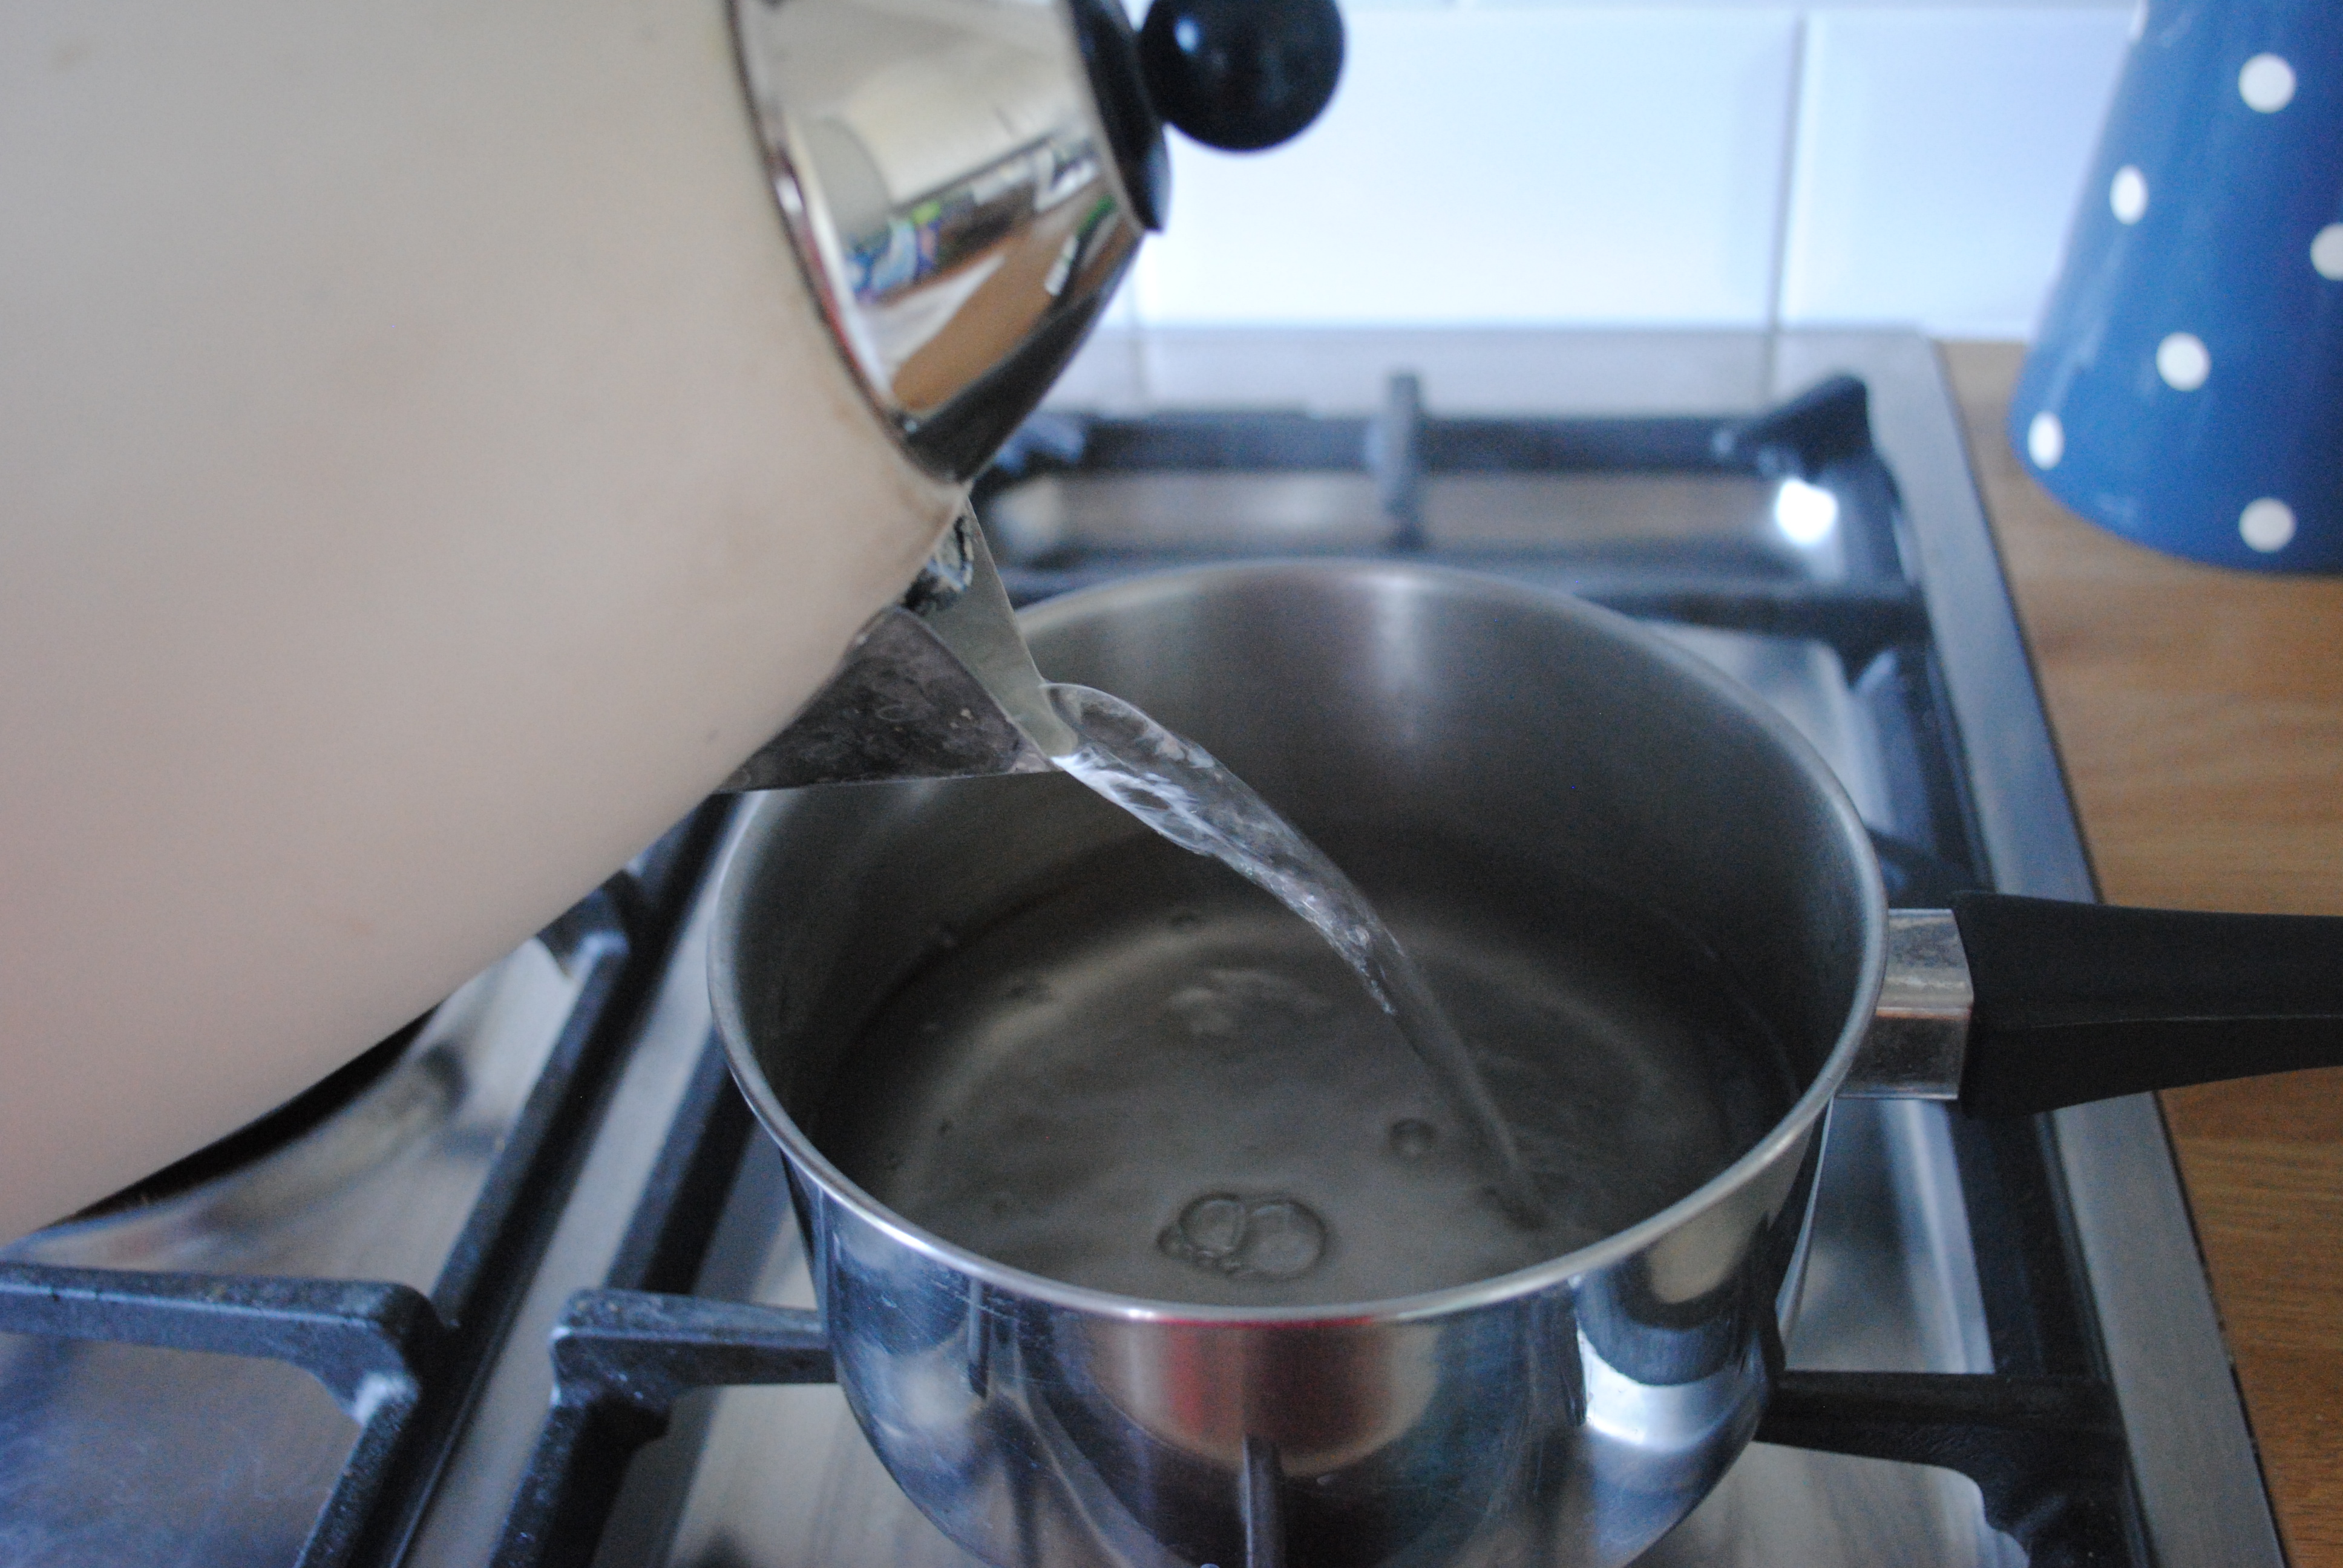
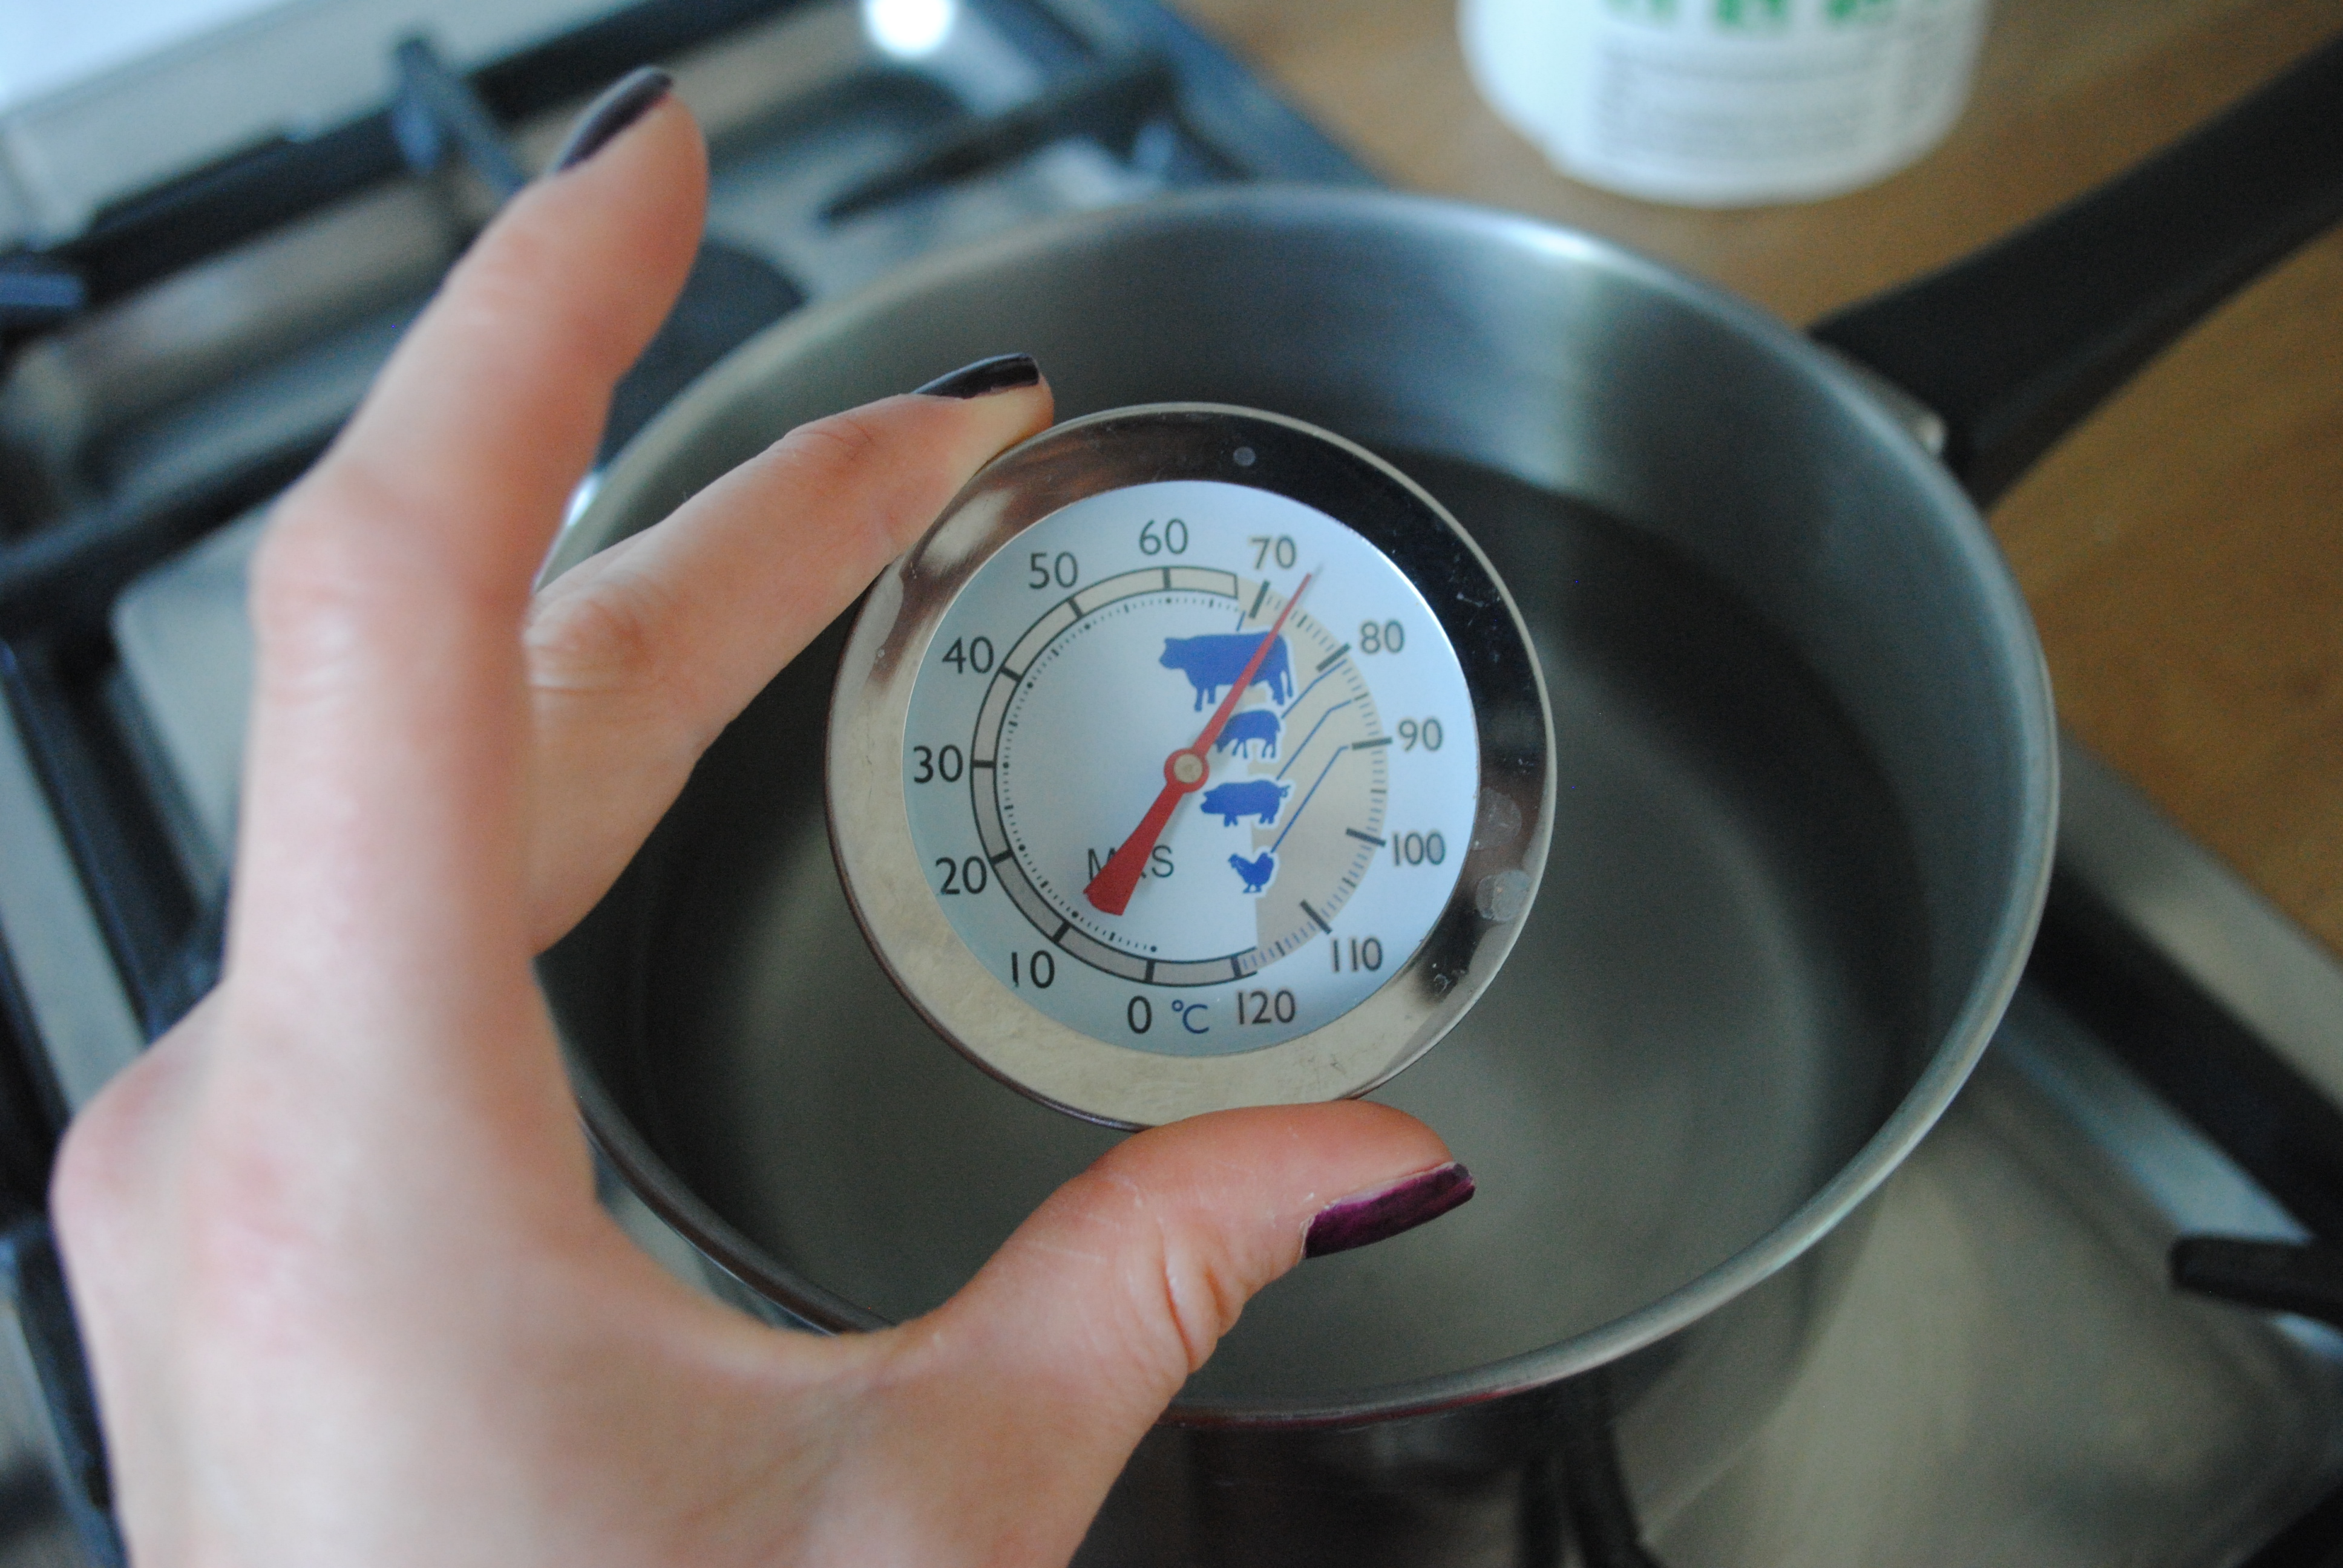
After boiling the kettle and pouring some water in a saucepan, you then have to let the water cool to 60 degrees (to avoid scalding) before adding your beads (I went for a vague guess of half the tub of beads first attempt).
You definitely have to be on the ball with monitoring your water temperature, so this isn’t a craft activity for the easily distracted!
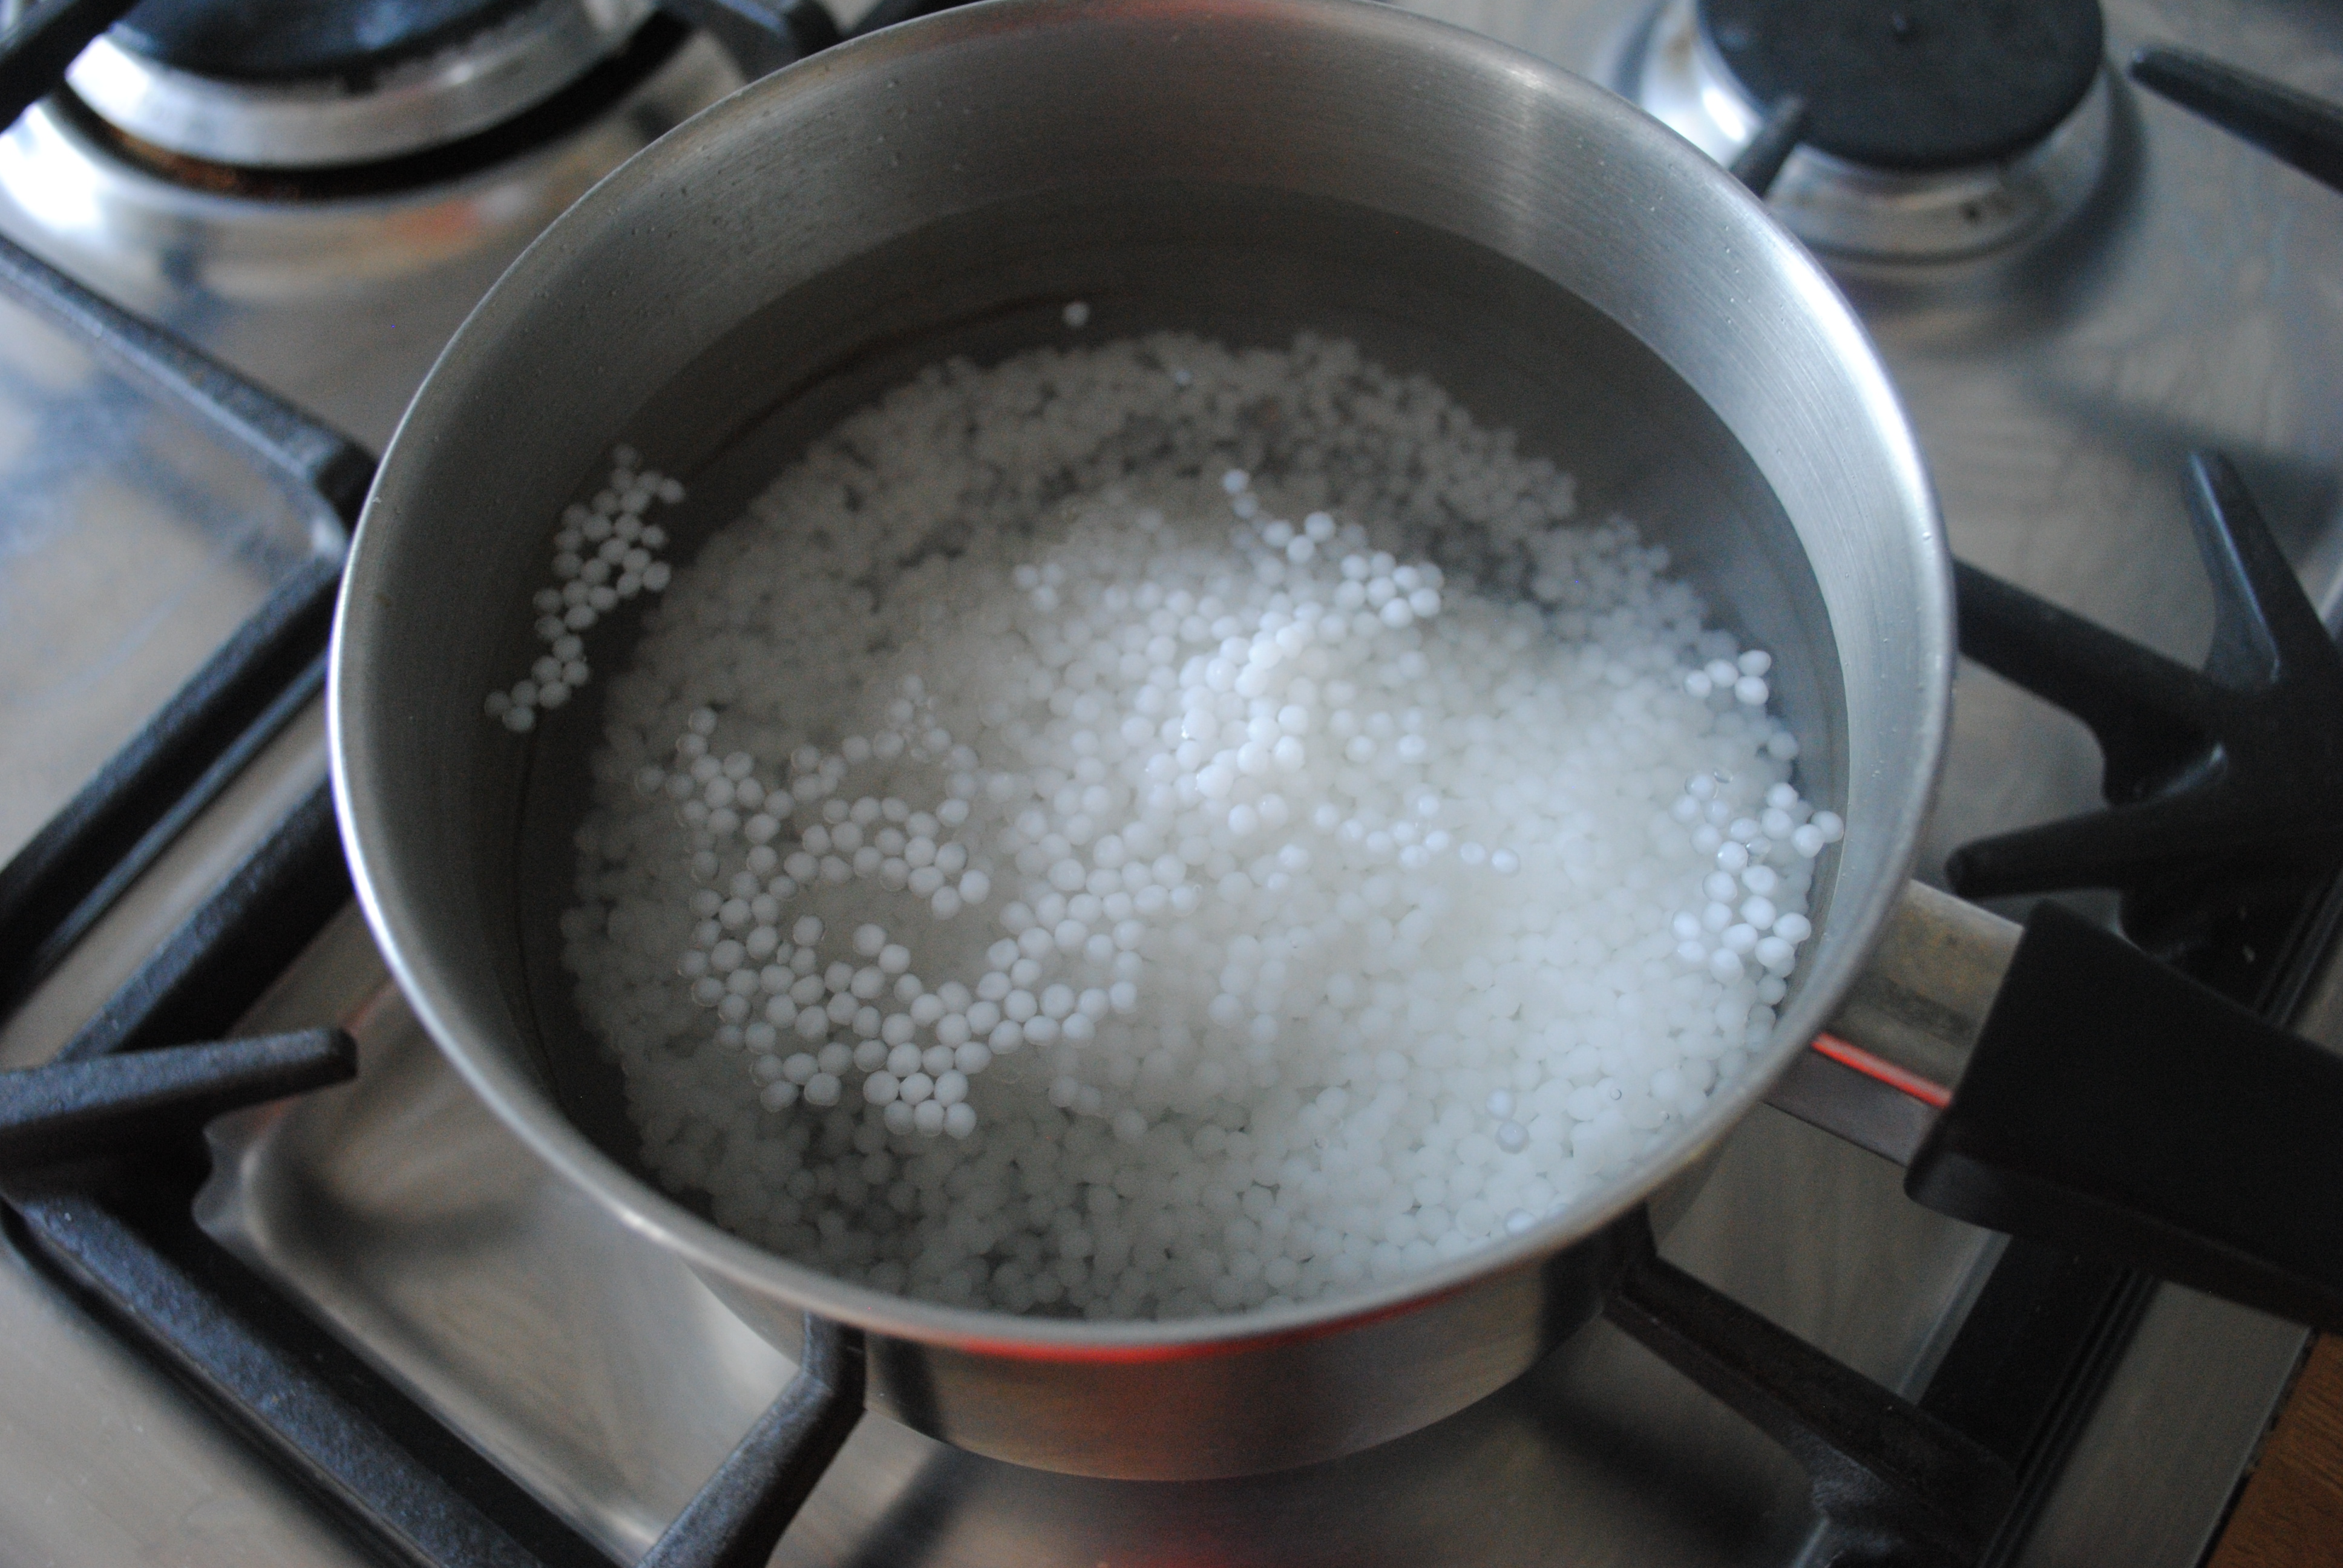
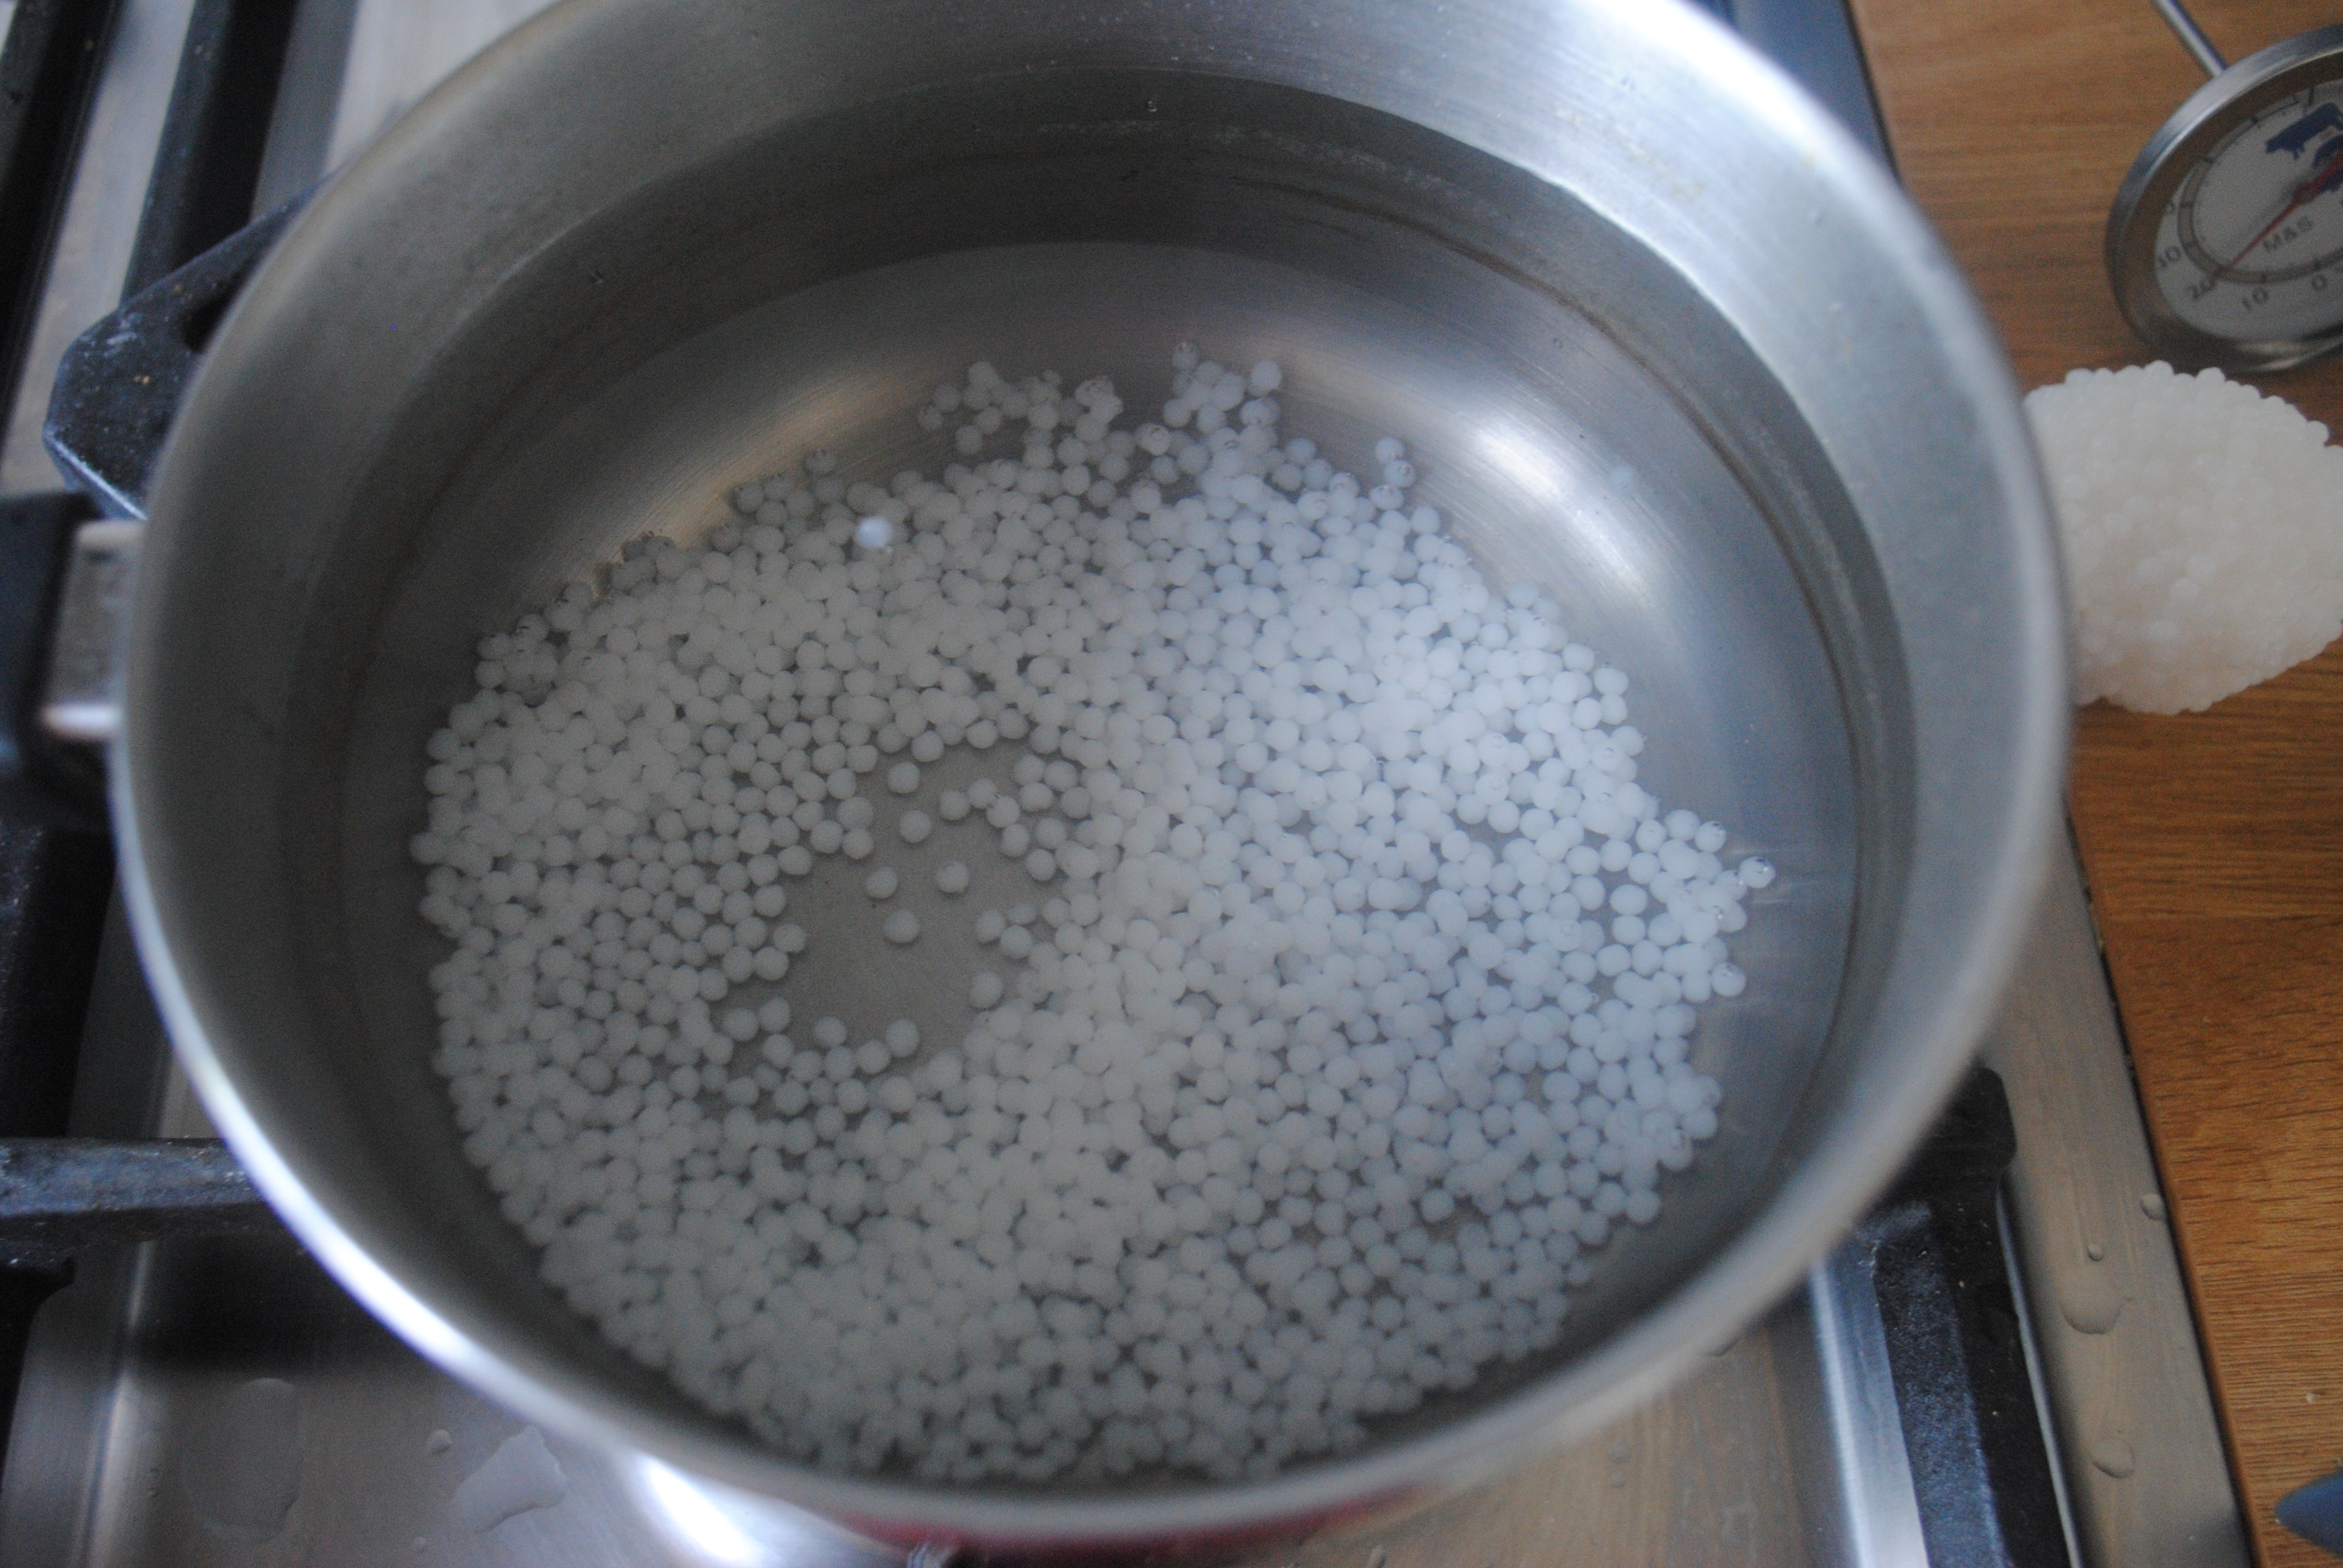
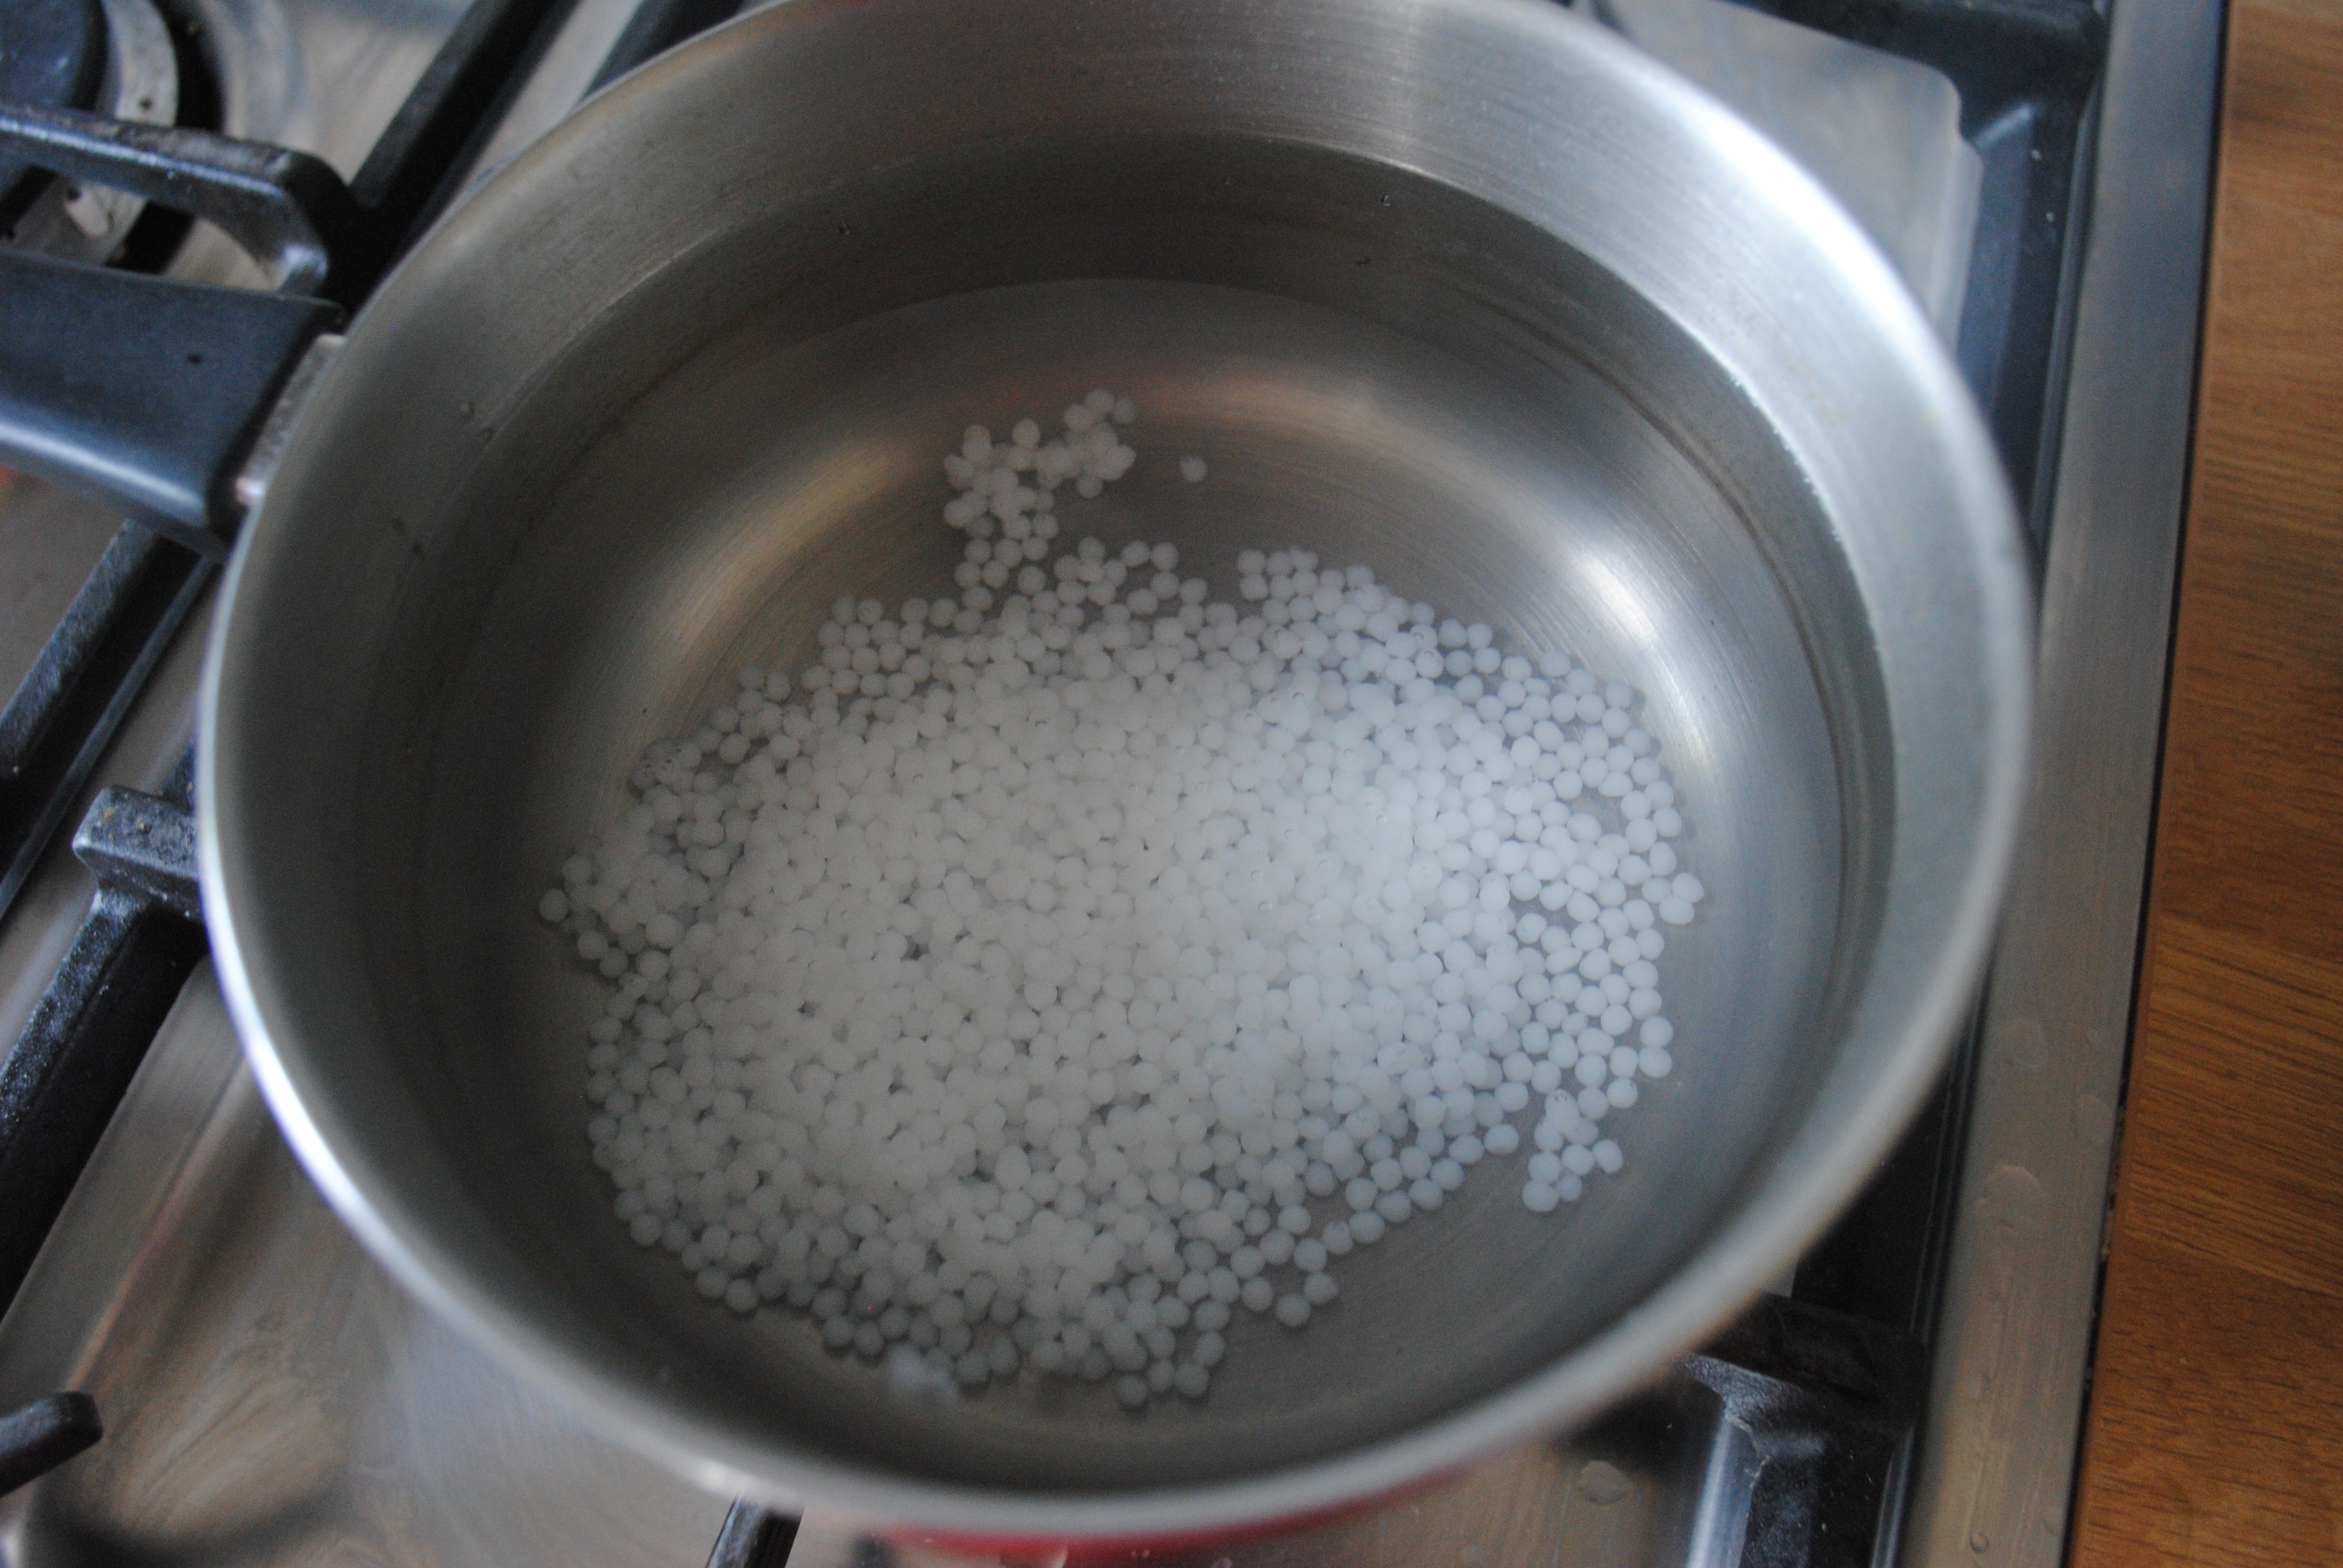
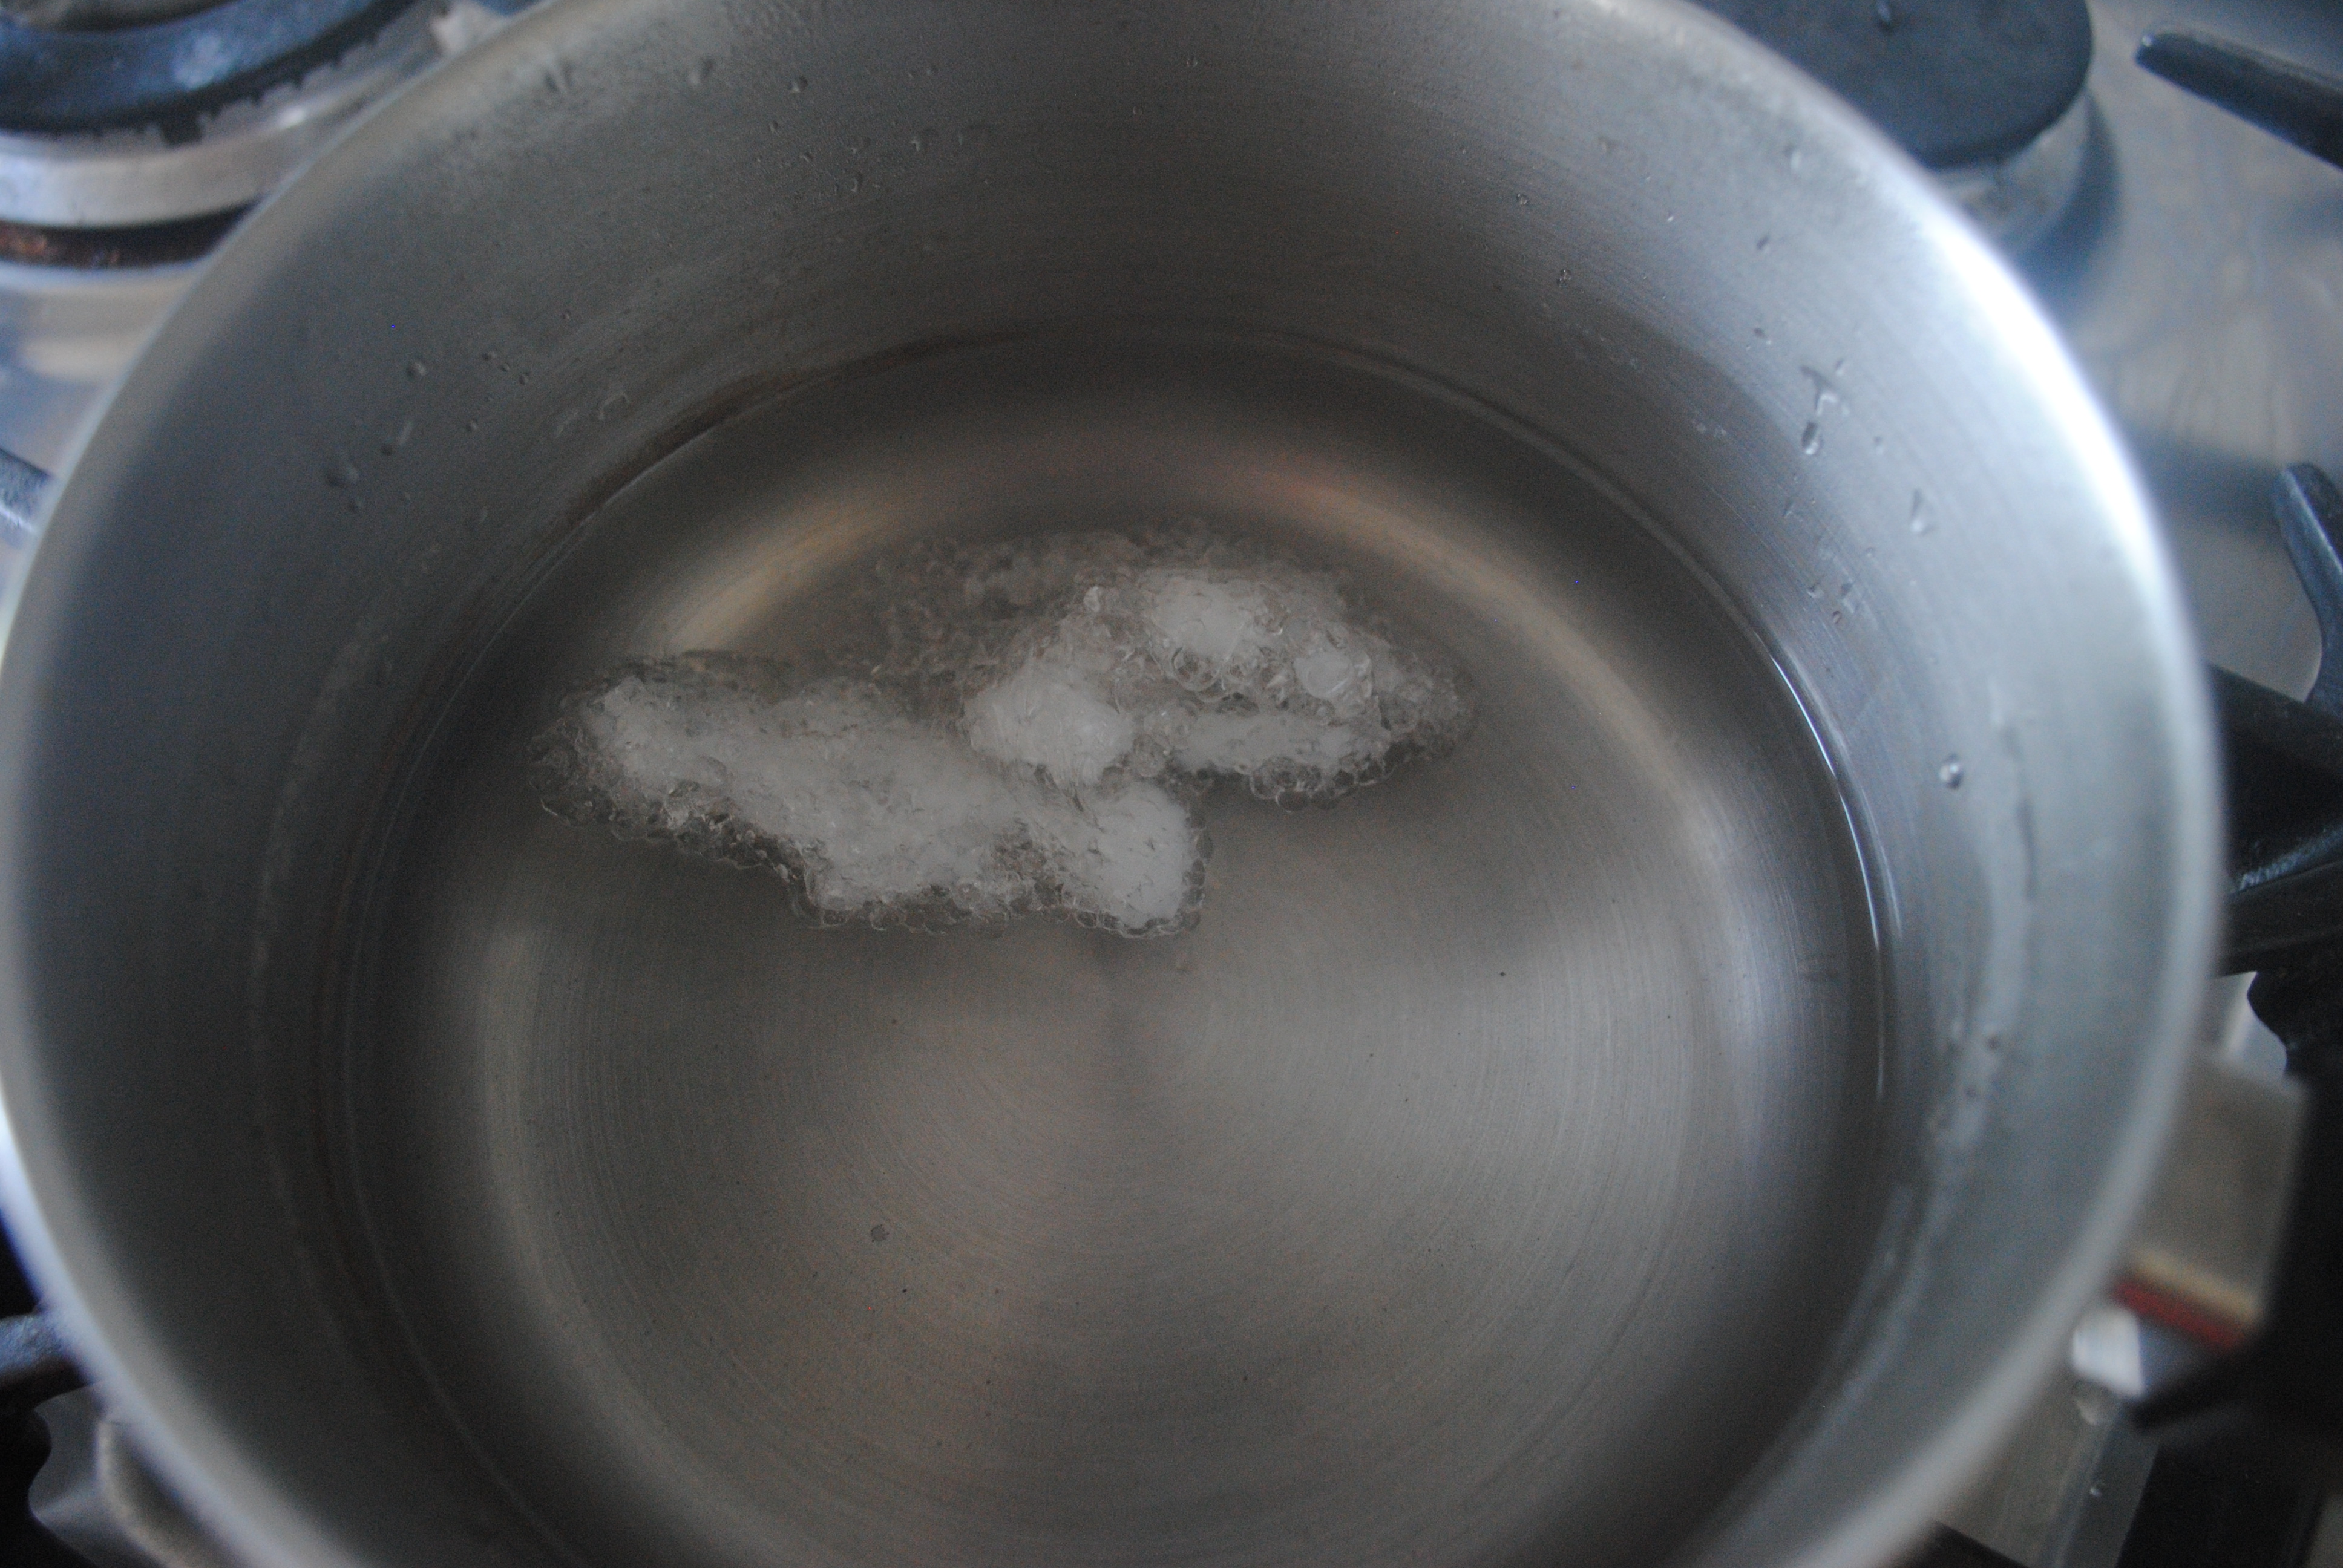
Once the water had cooled to the temperature advised on the side of the tub, I added my beads. You leave them for approx two minutes, and they melt, go clear, and form a clump that you then remove with tongs. This is where my problems began. My water was prob just over 60 degrees, yet my beads just weren’t going clear.
After 4 minutes I removed them, and whilst the beads were sticking together a bit, I had a feeling that this wasn’t the desired effect! Molding into anything just wasn’t happening.
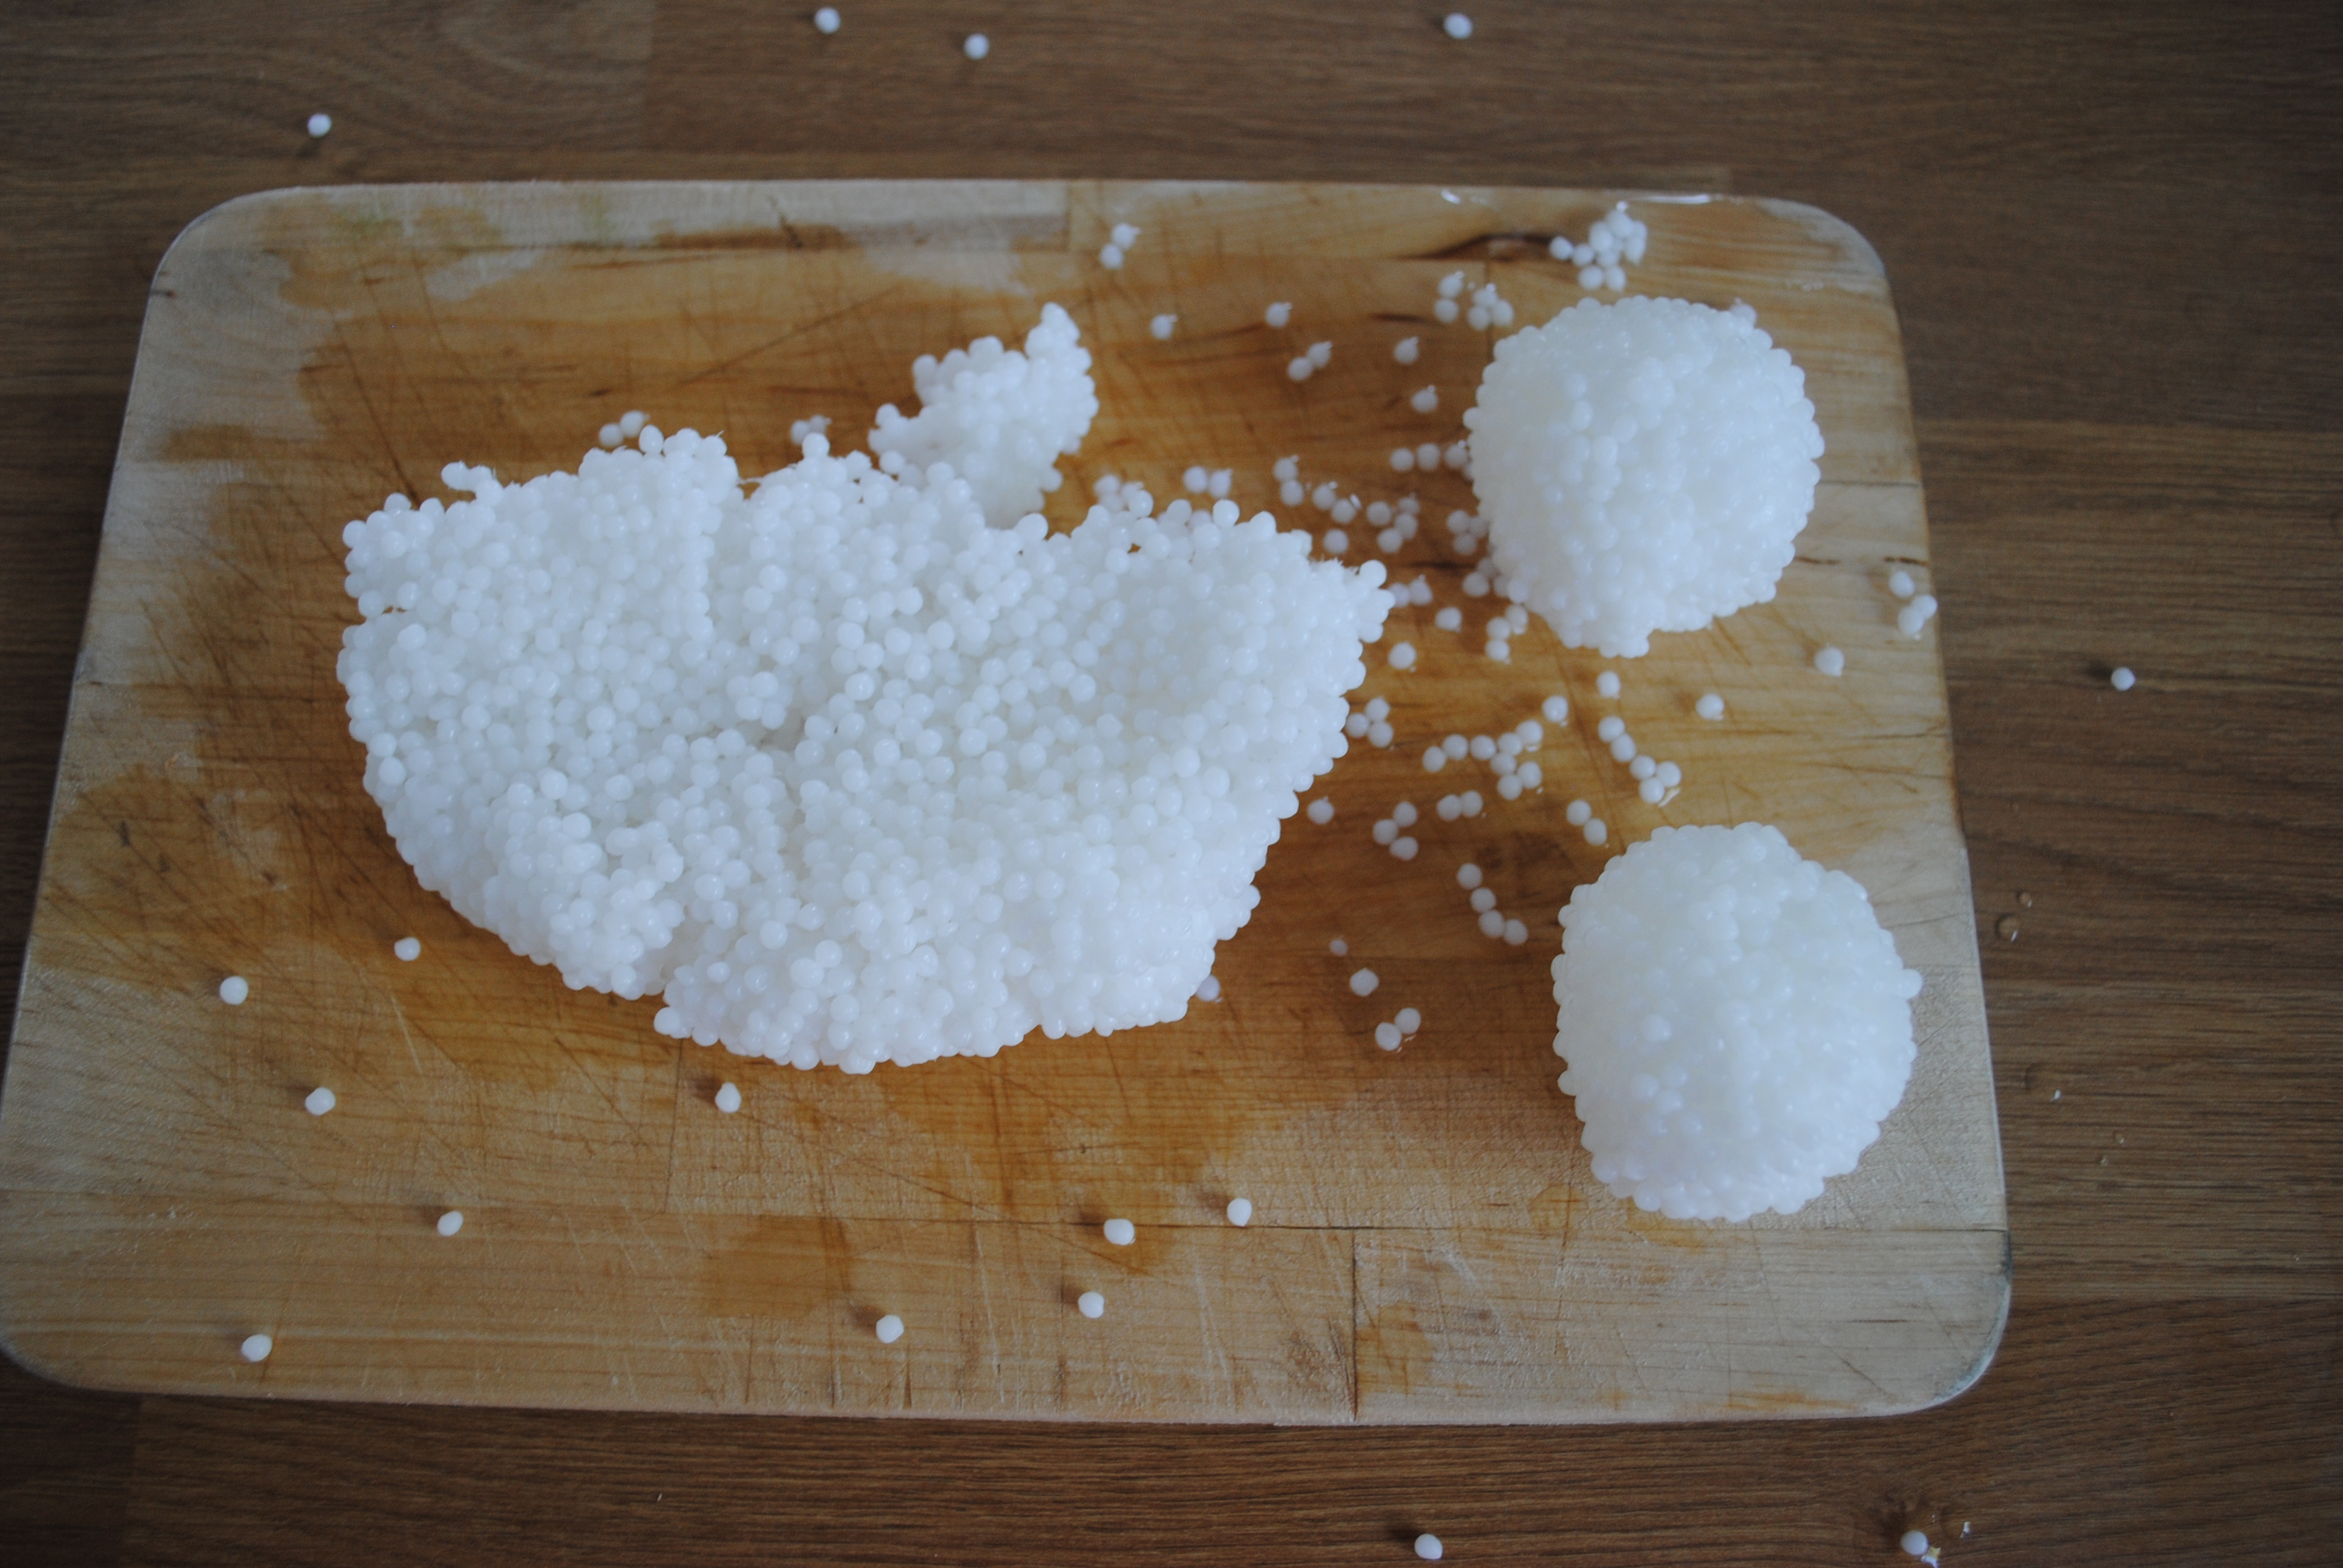
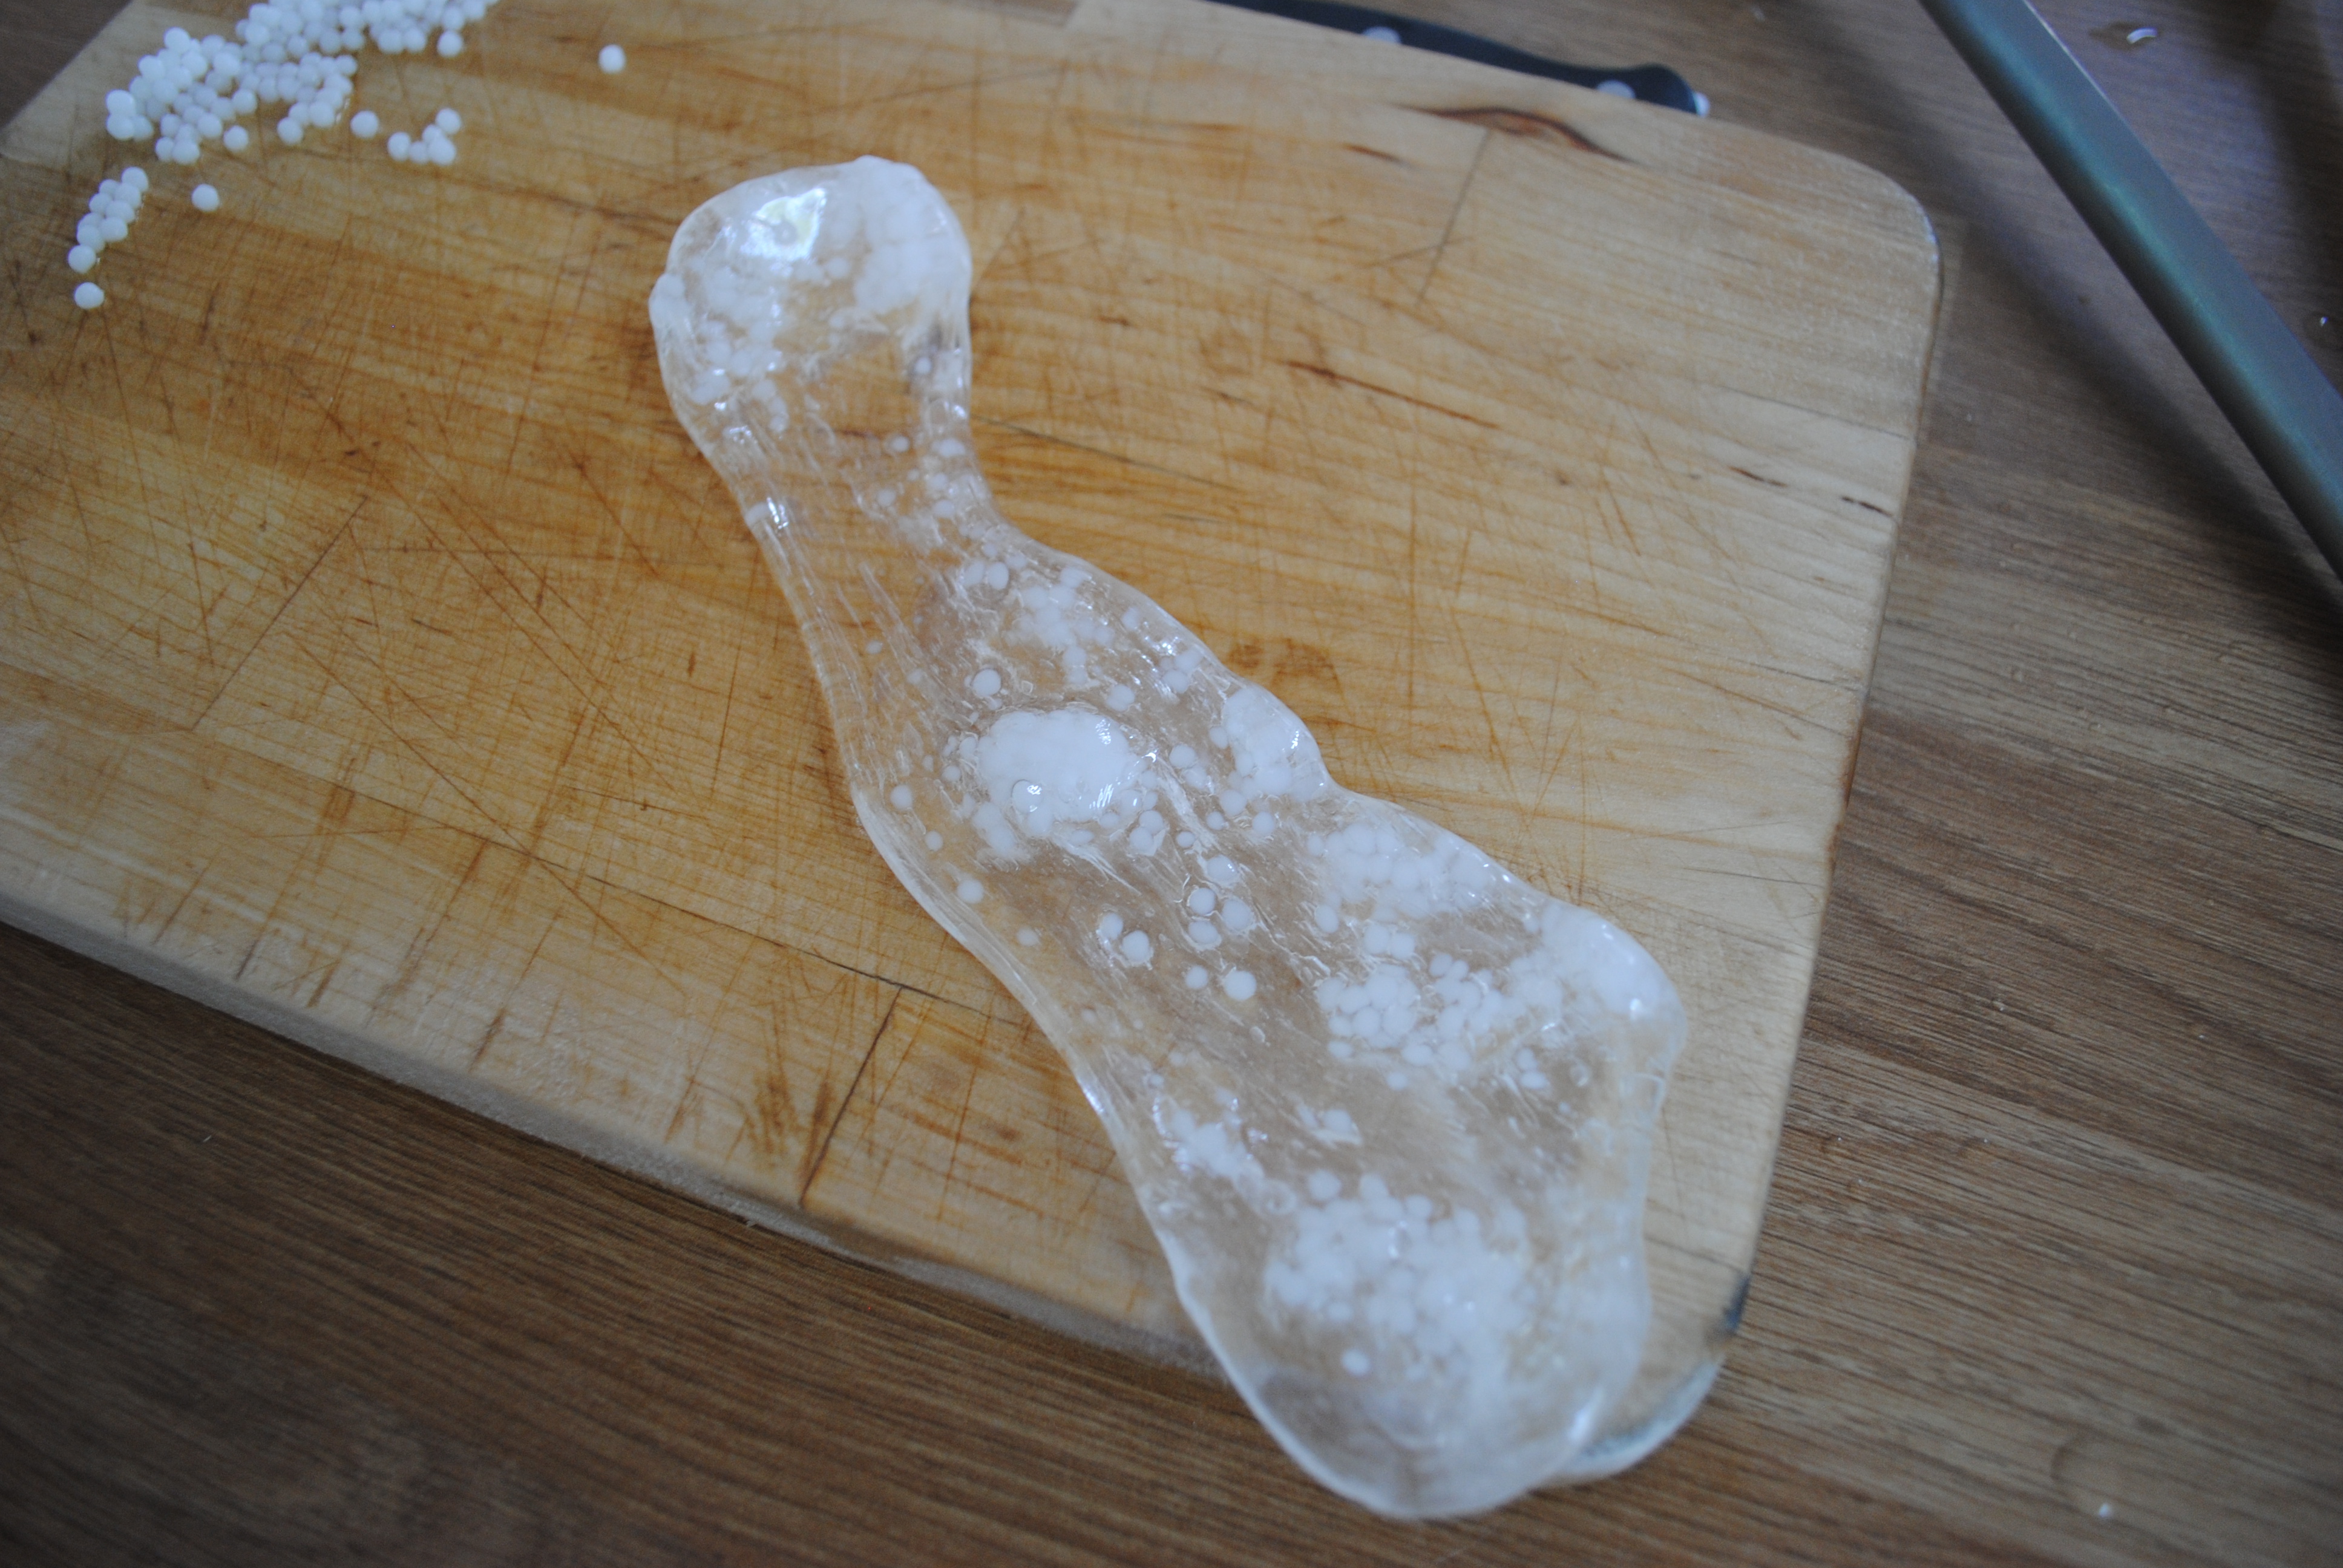
I boiled the kettle again, and added the beads when the water was a bit hotter, more like 70 degrees, and then added the beads, and still they wouldn’t melt. <sad face> I removed them from the water, and apart from making two rather fetching-looking sushi balls, couldn’t mold them into anything.
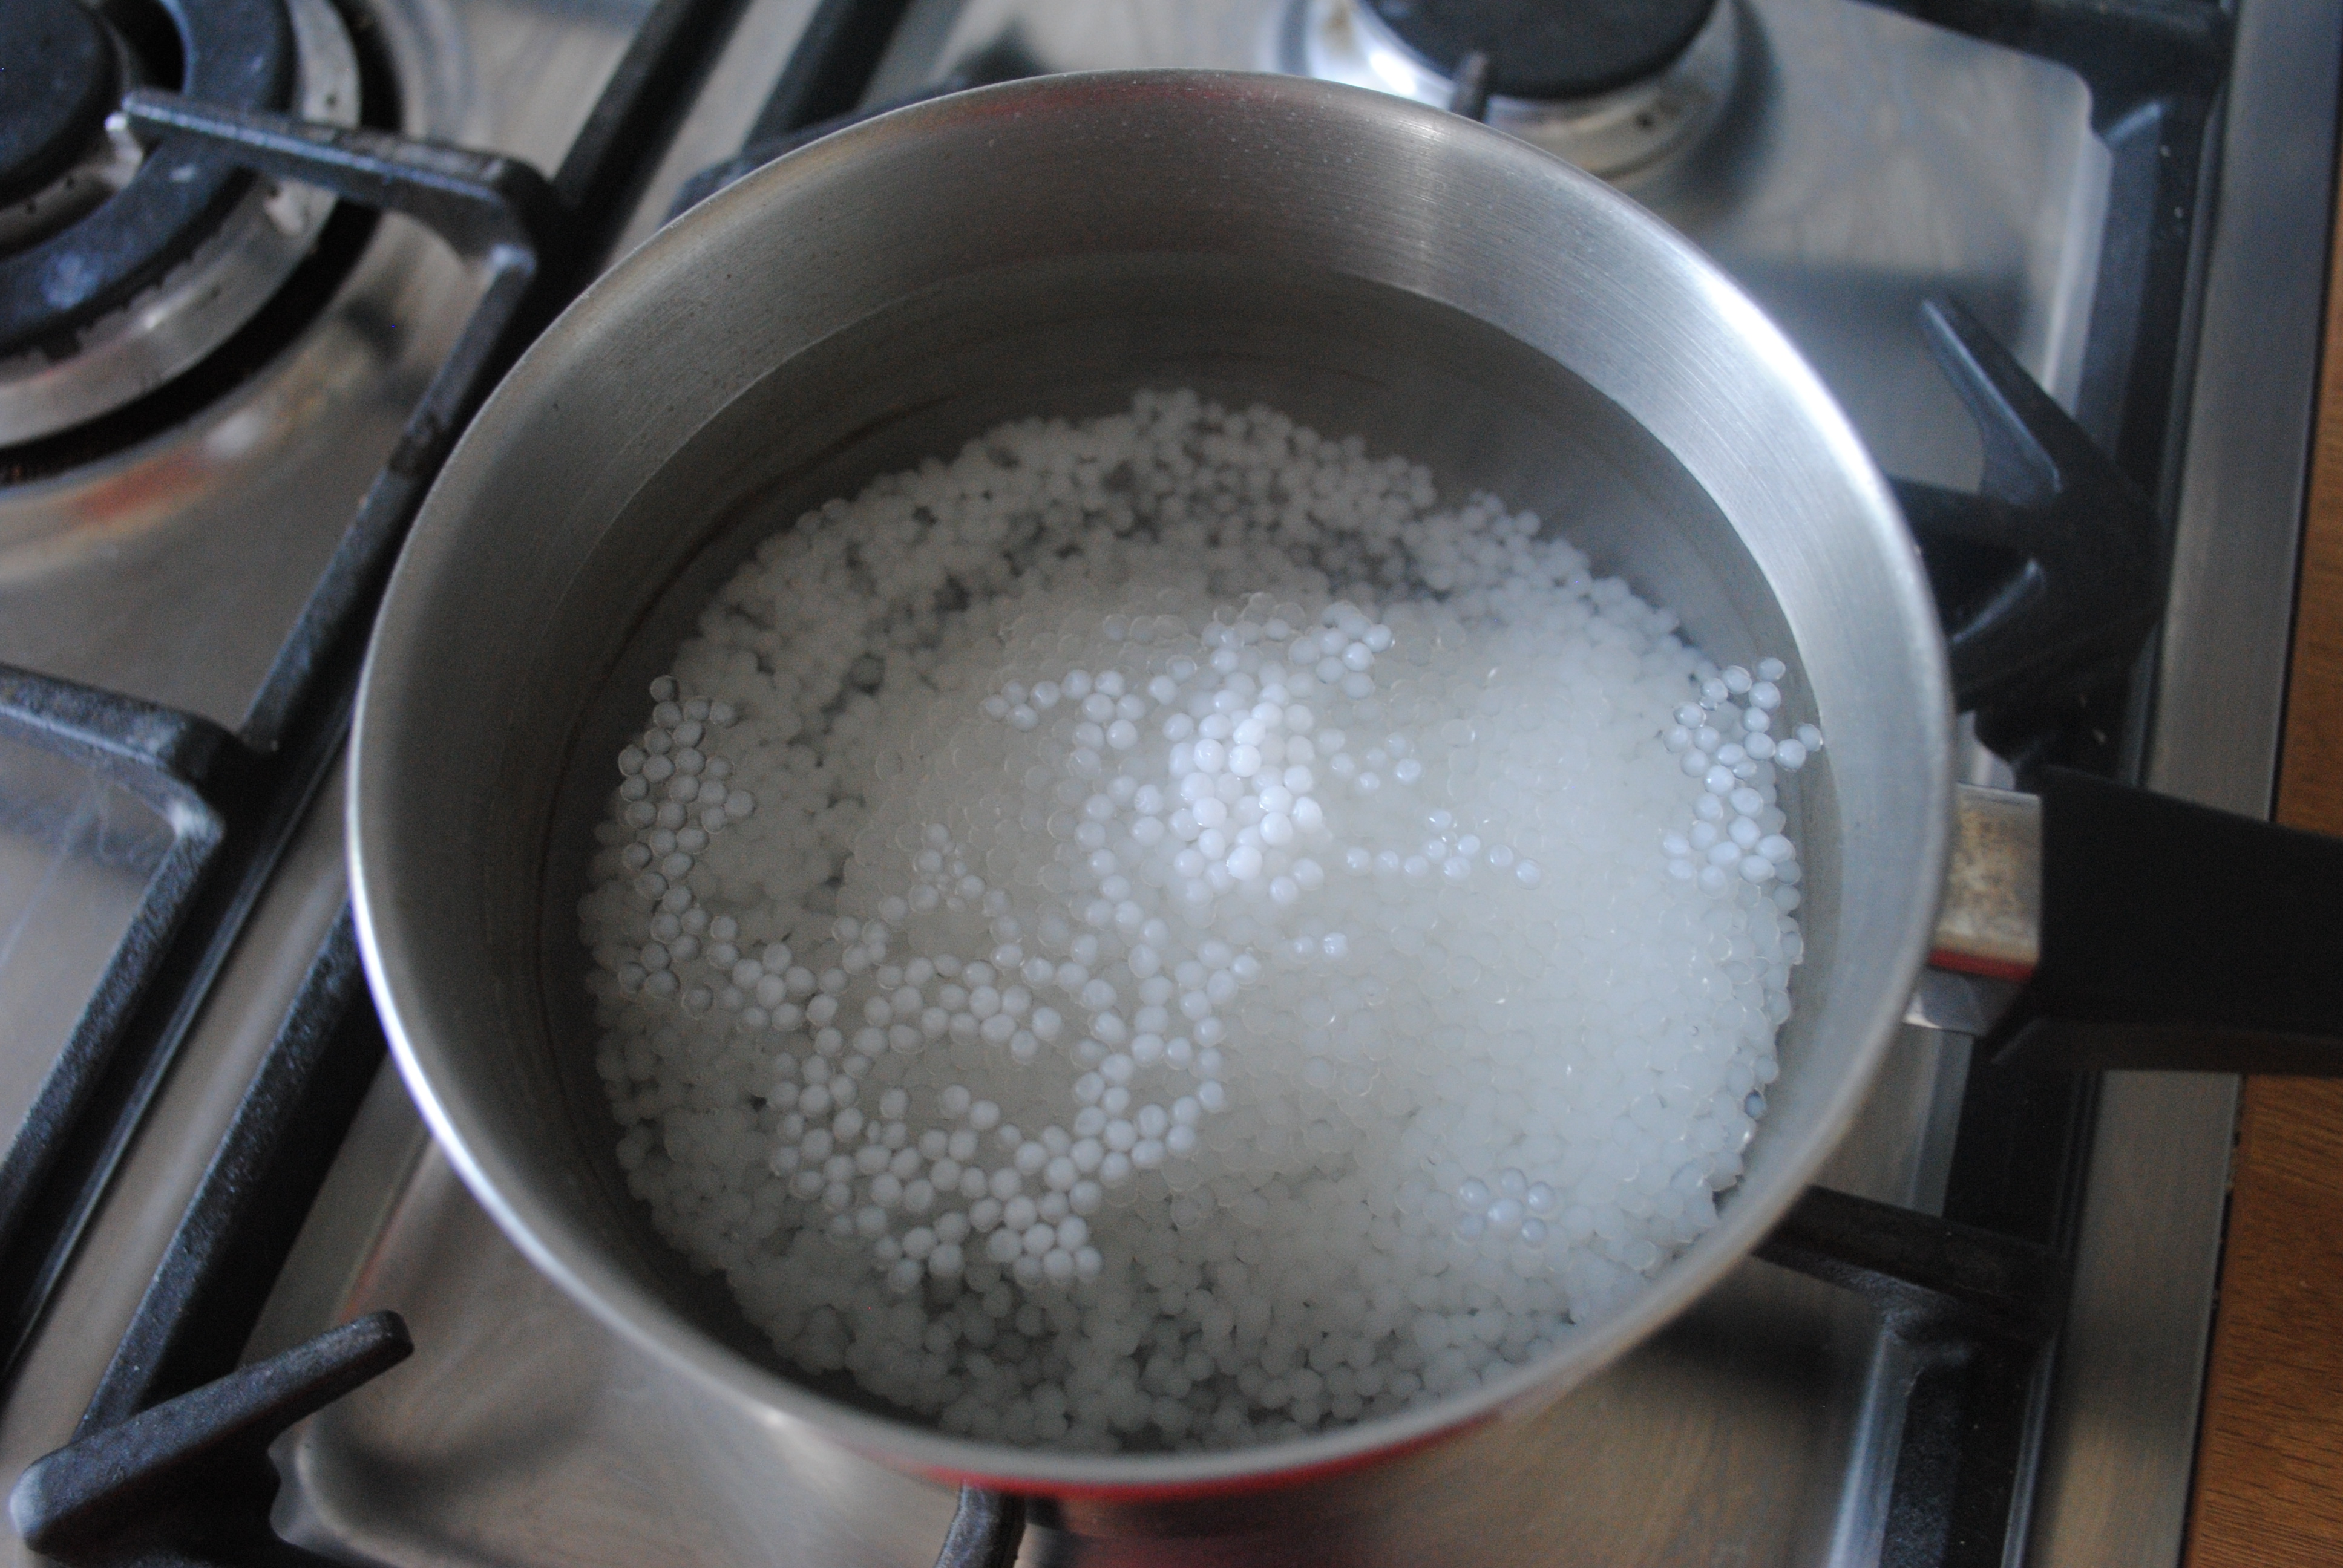
By this point I was seriously starting to doubt my IQ, and thought i’d give it one last go. Boiling the kettle again, I poured water into the saucepan, and going against health and safety (I know, I know), bunged some more of the beads in straight away, without leaving to cool at all, and Hallelujah! We had bead meltage!
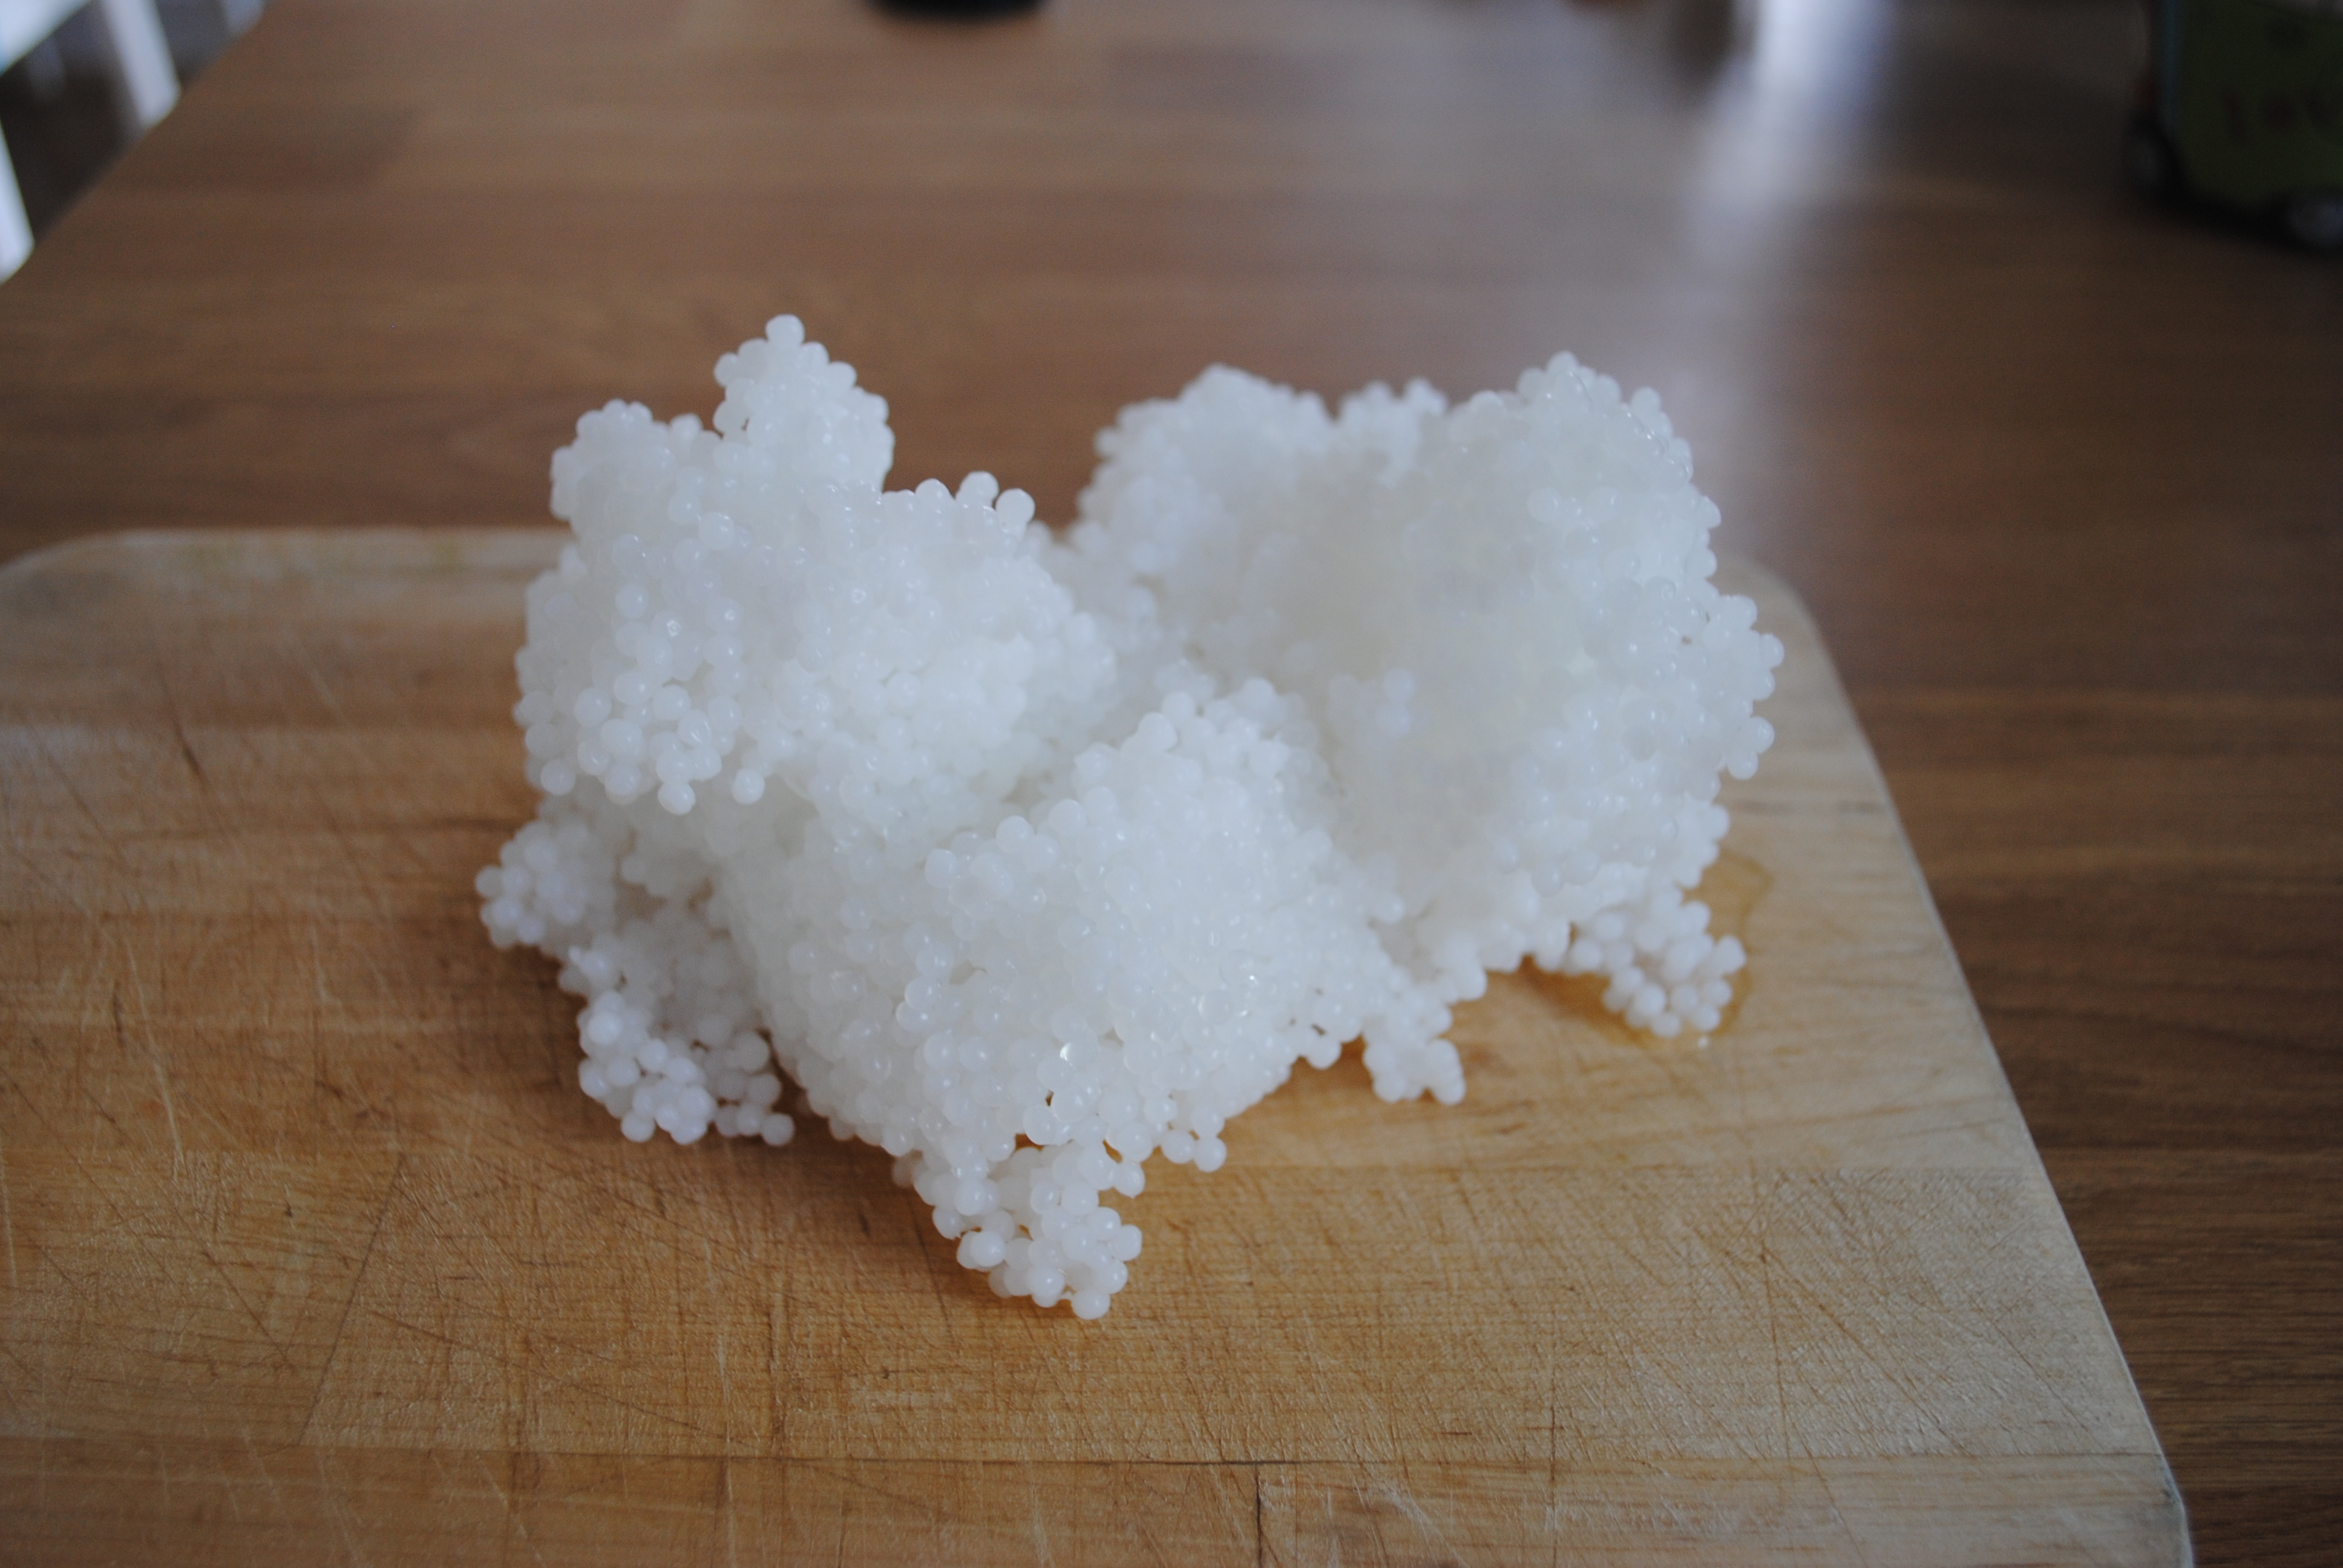
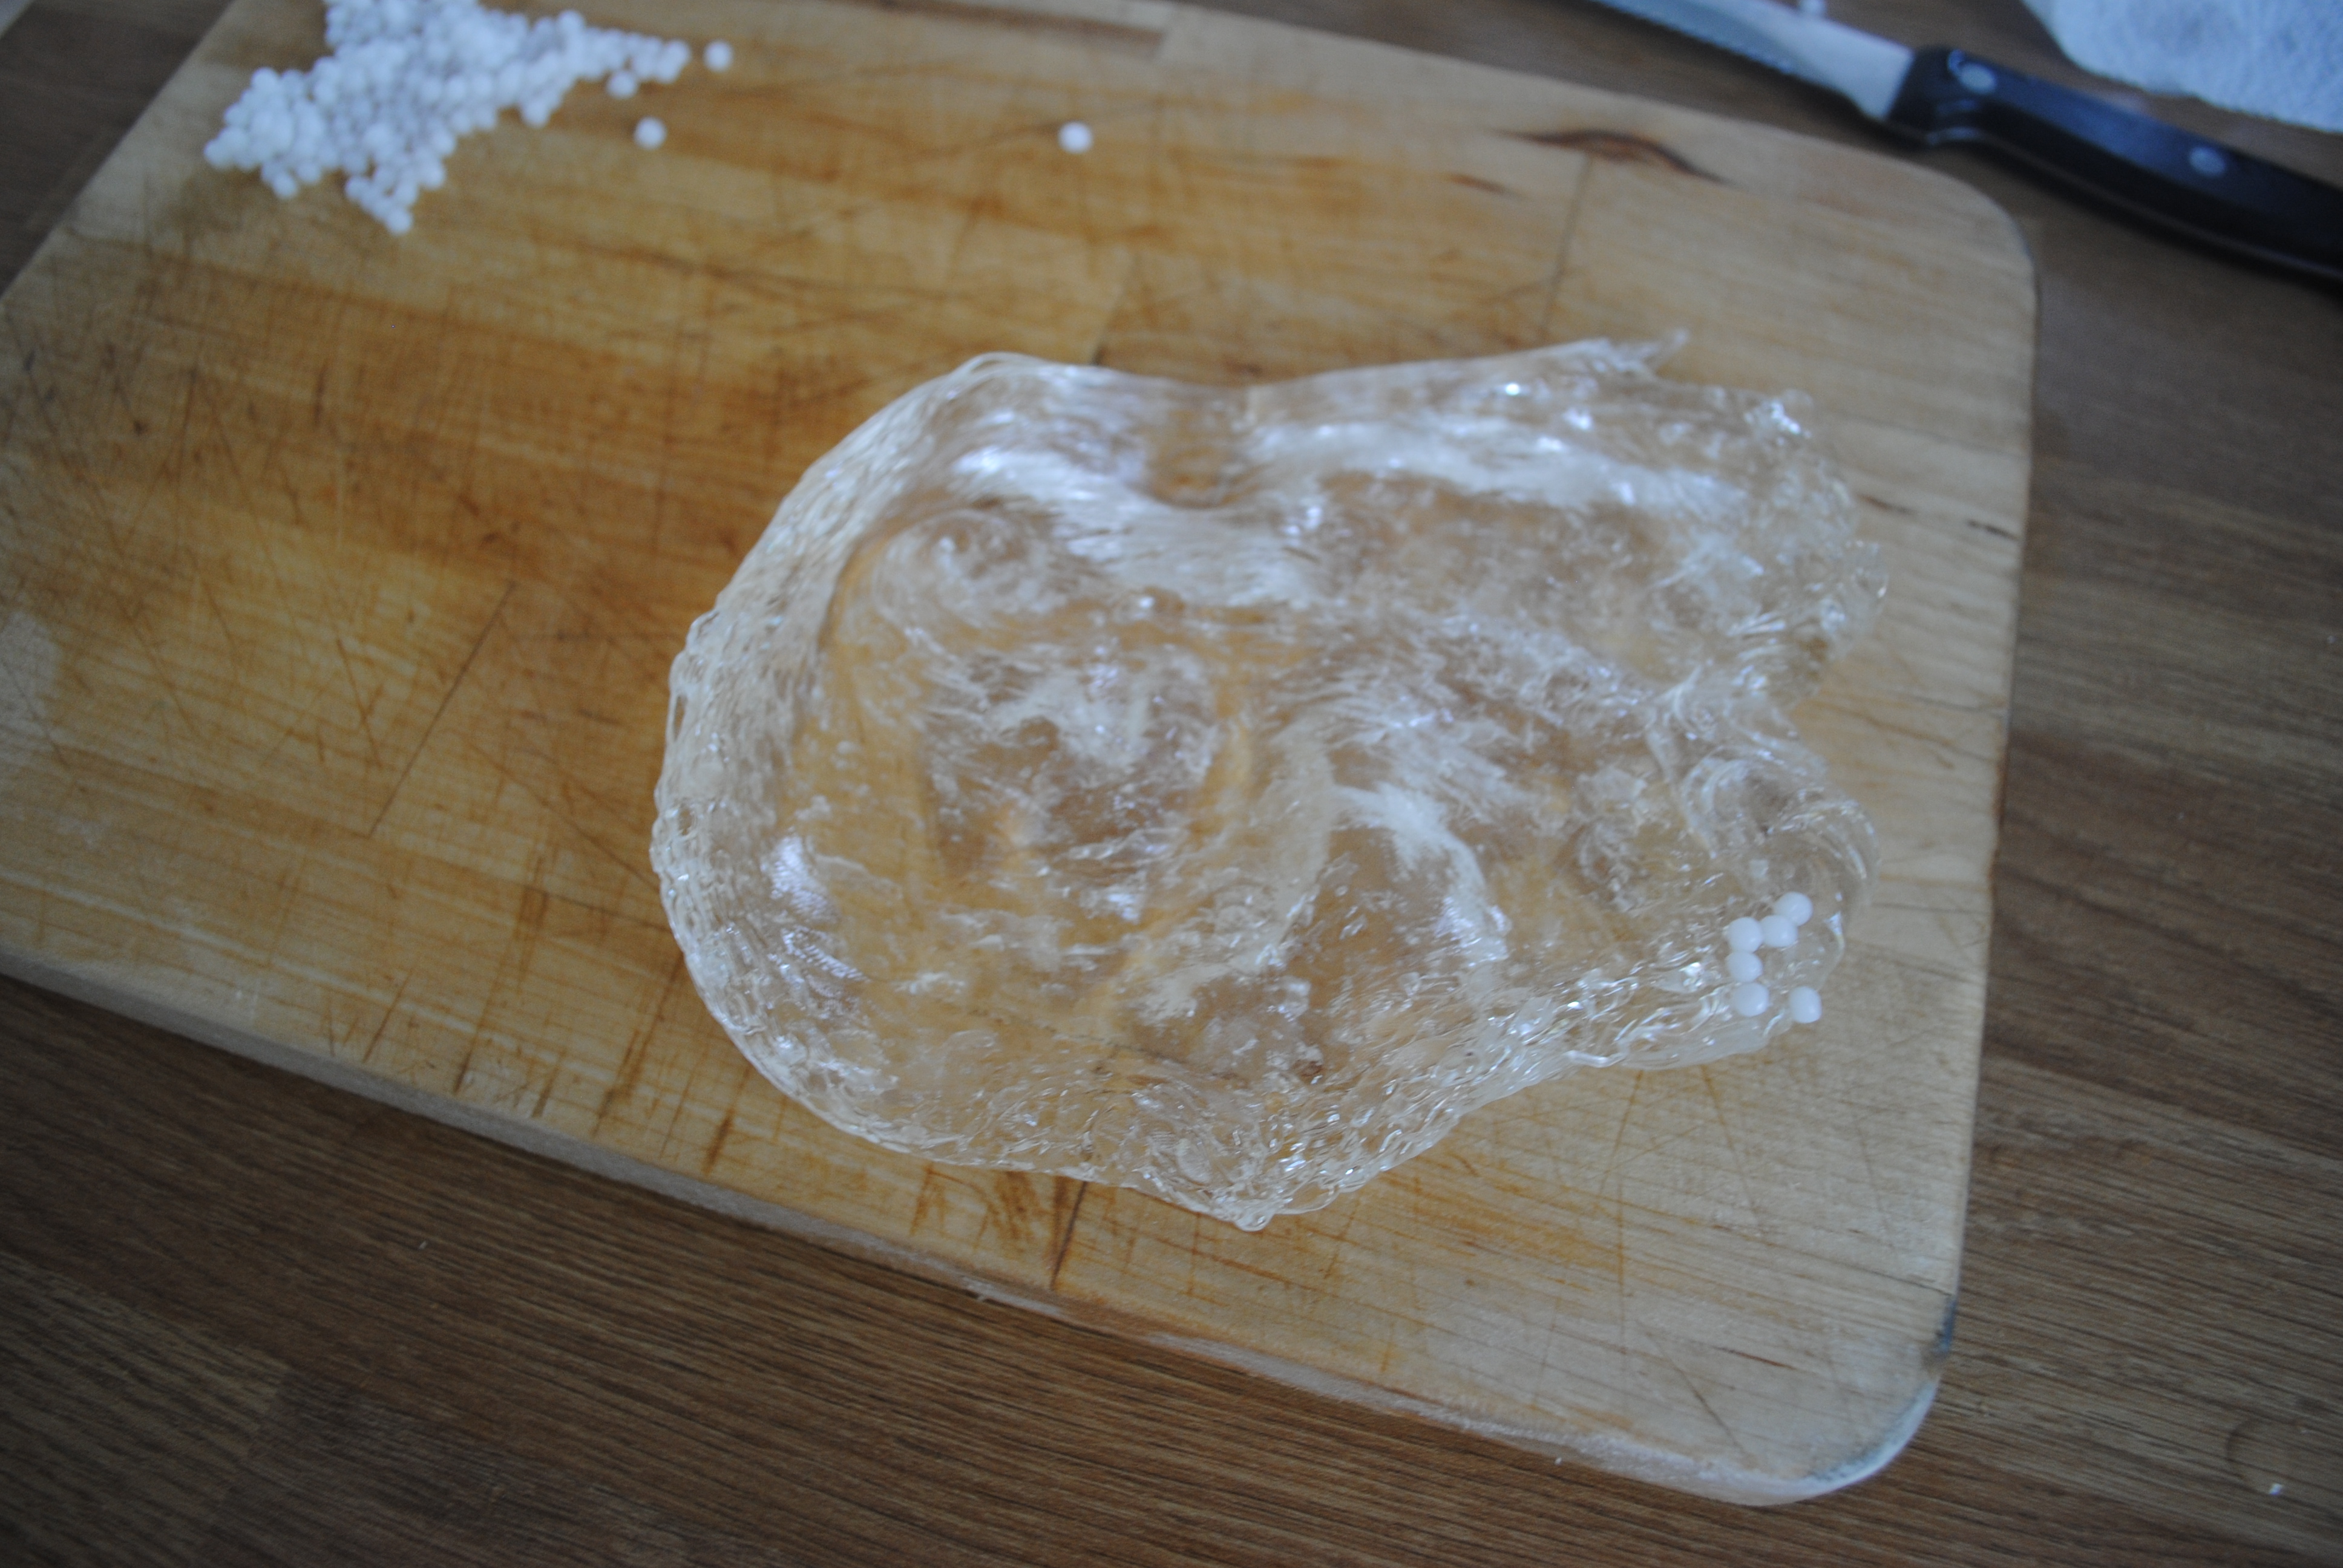
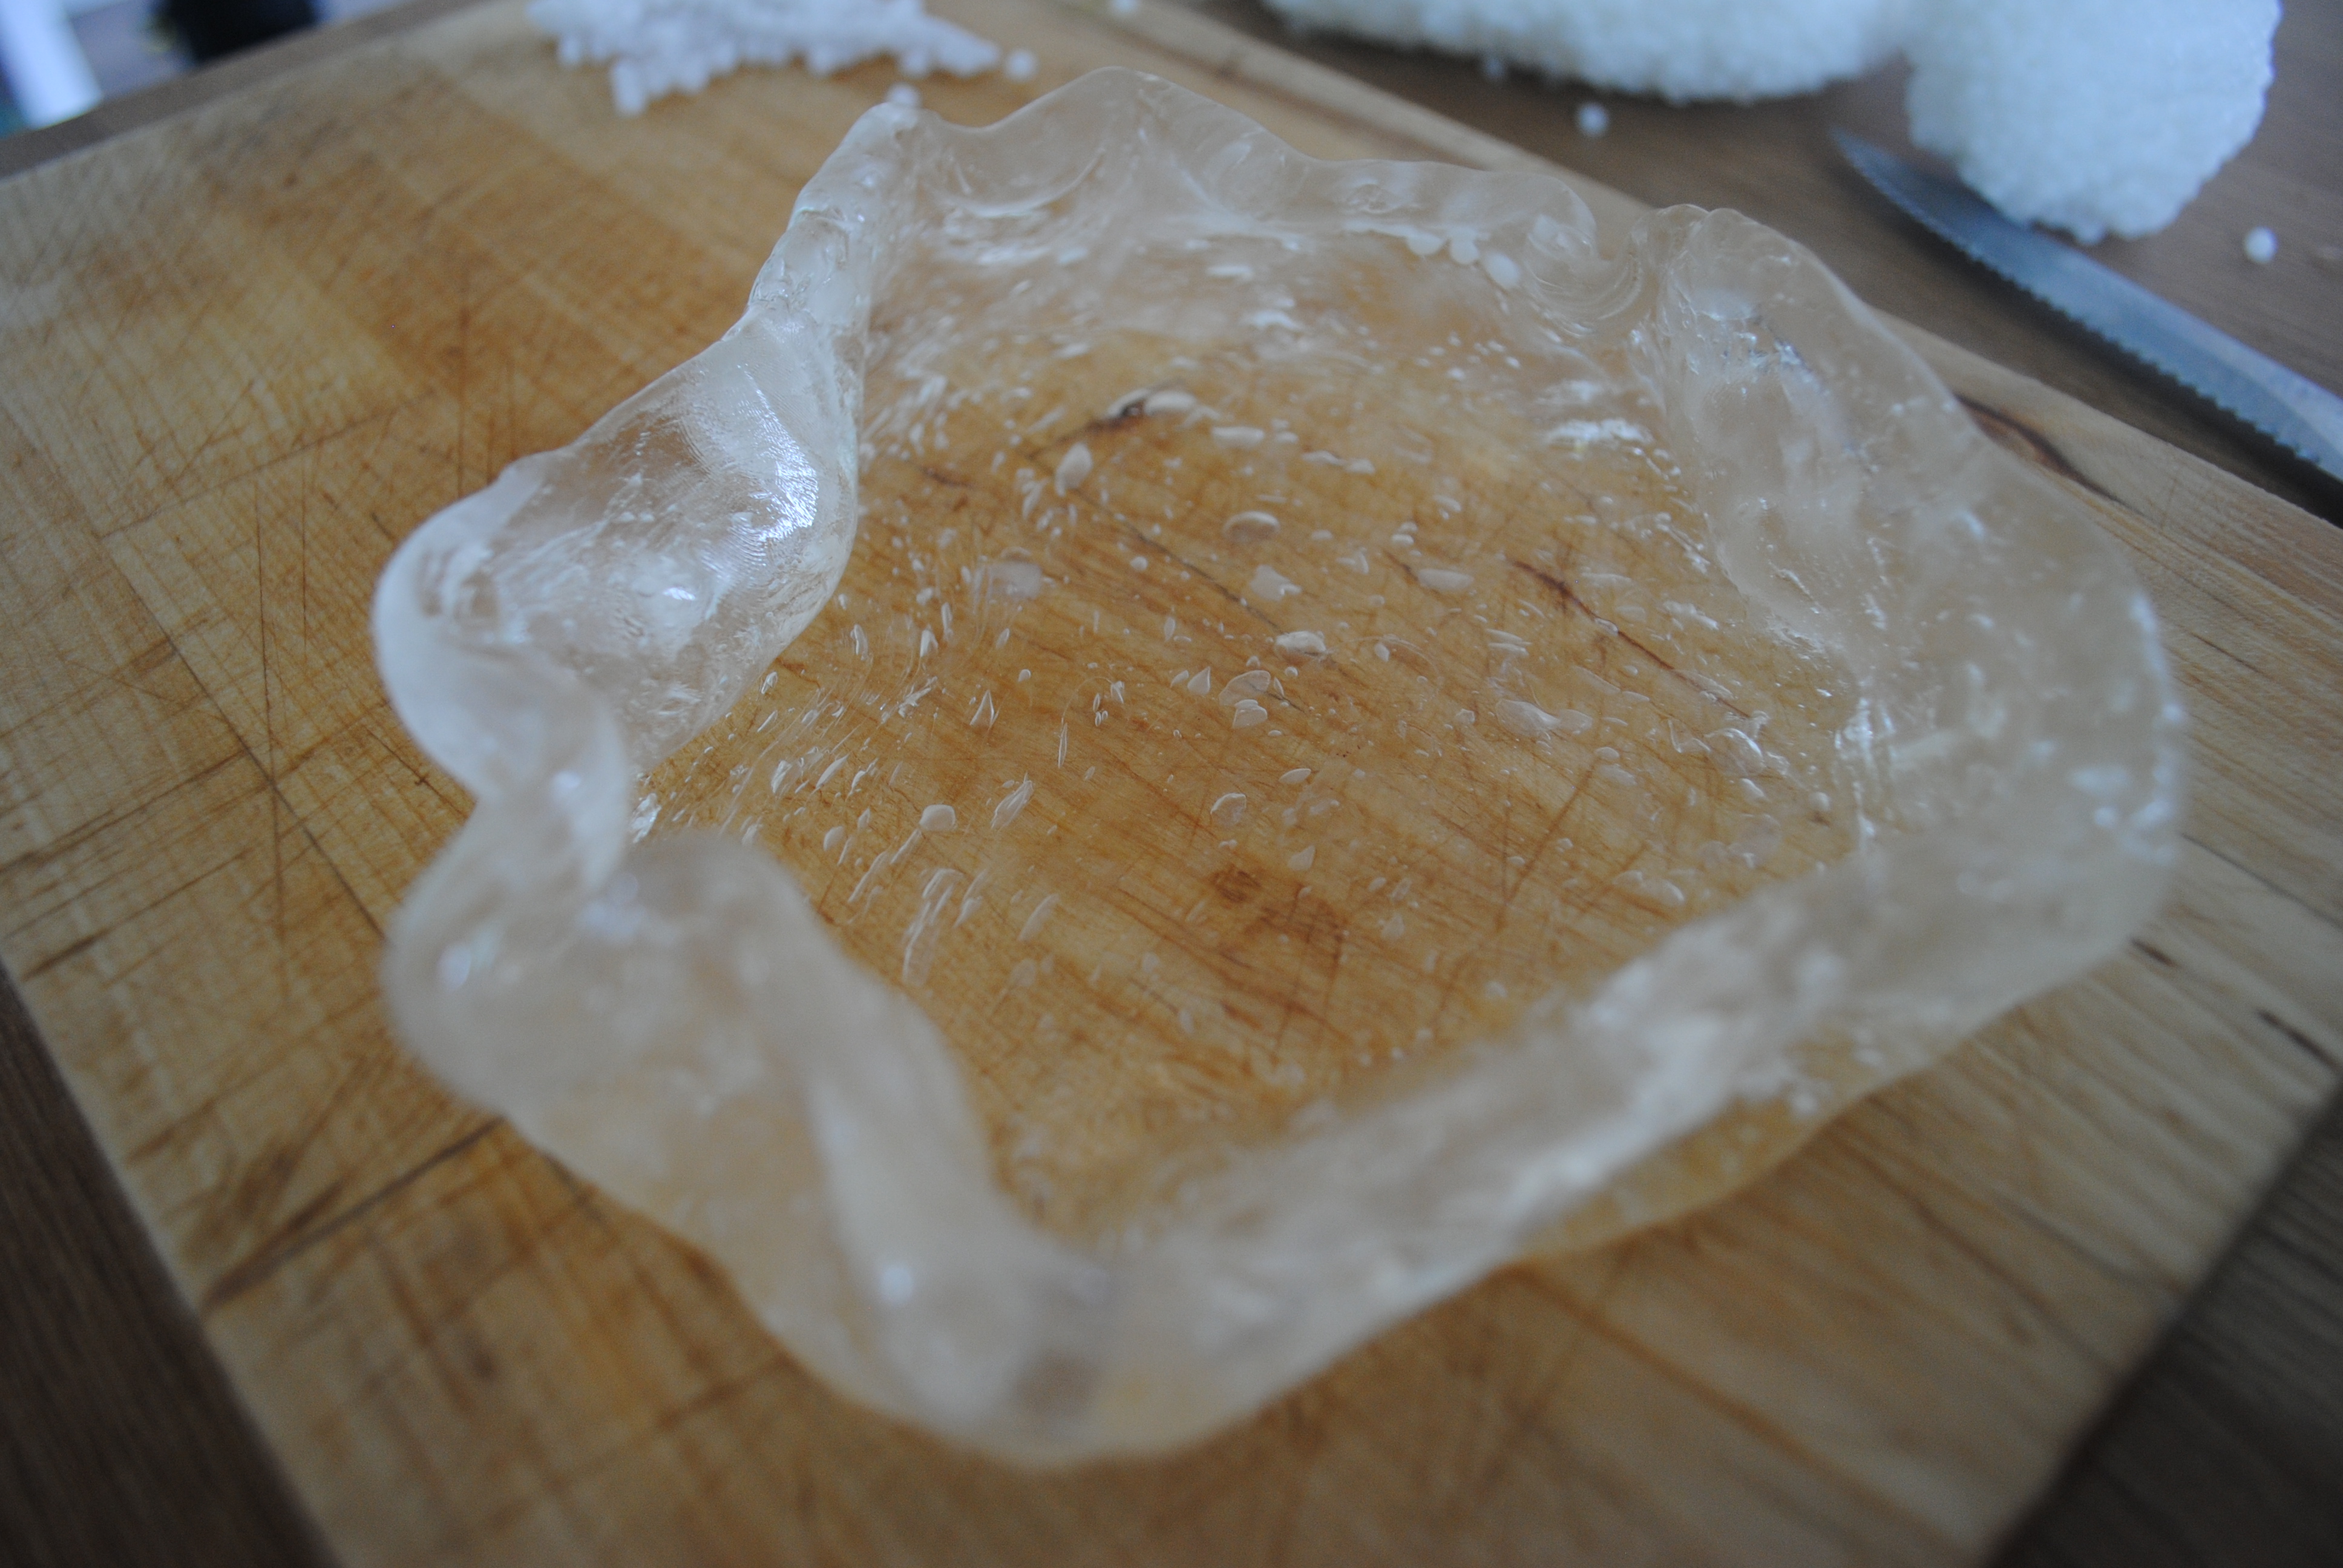
I picked out the now clear clump of melted plastic carefully with tongs, and left for about a minute on the board (again, to prevent scalding), before I felt it was okay to start molding, and now I could get excited about the possibilities! THIS was what was supposed to happen! Once in this state, ThermoMorph feels great to use and is so easy to mold into whatever you wish- I really enjoyed using it.
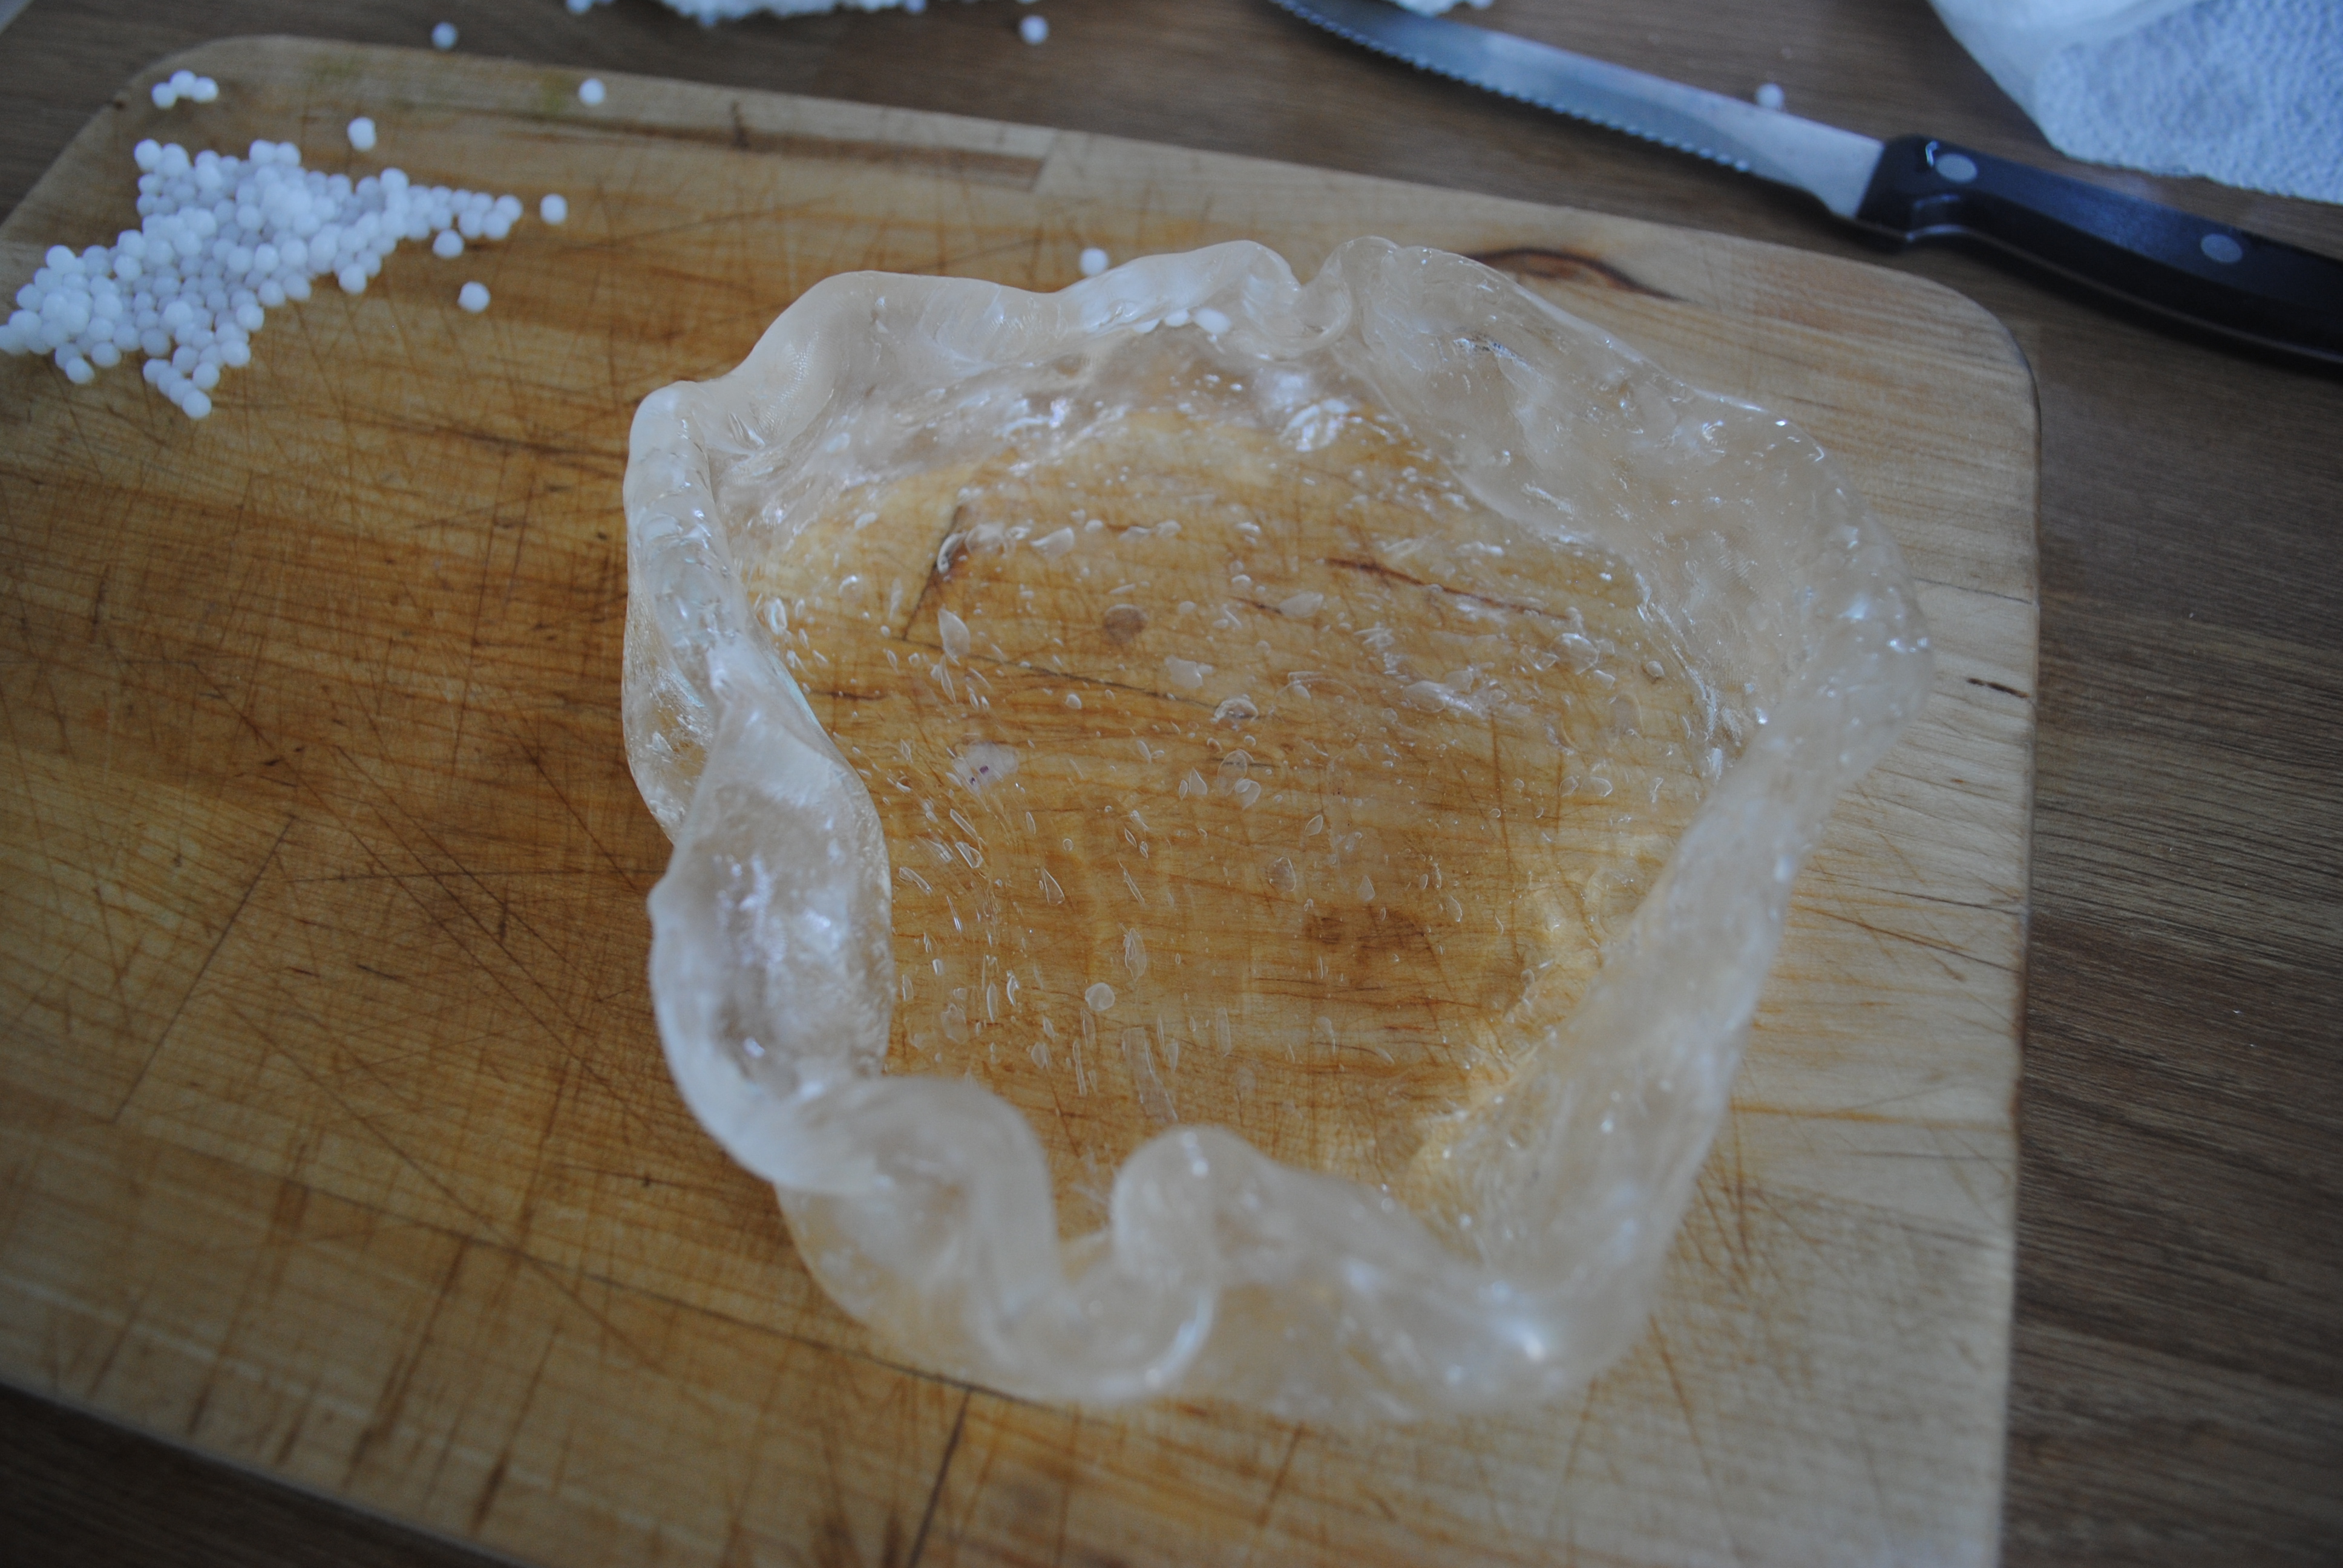
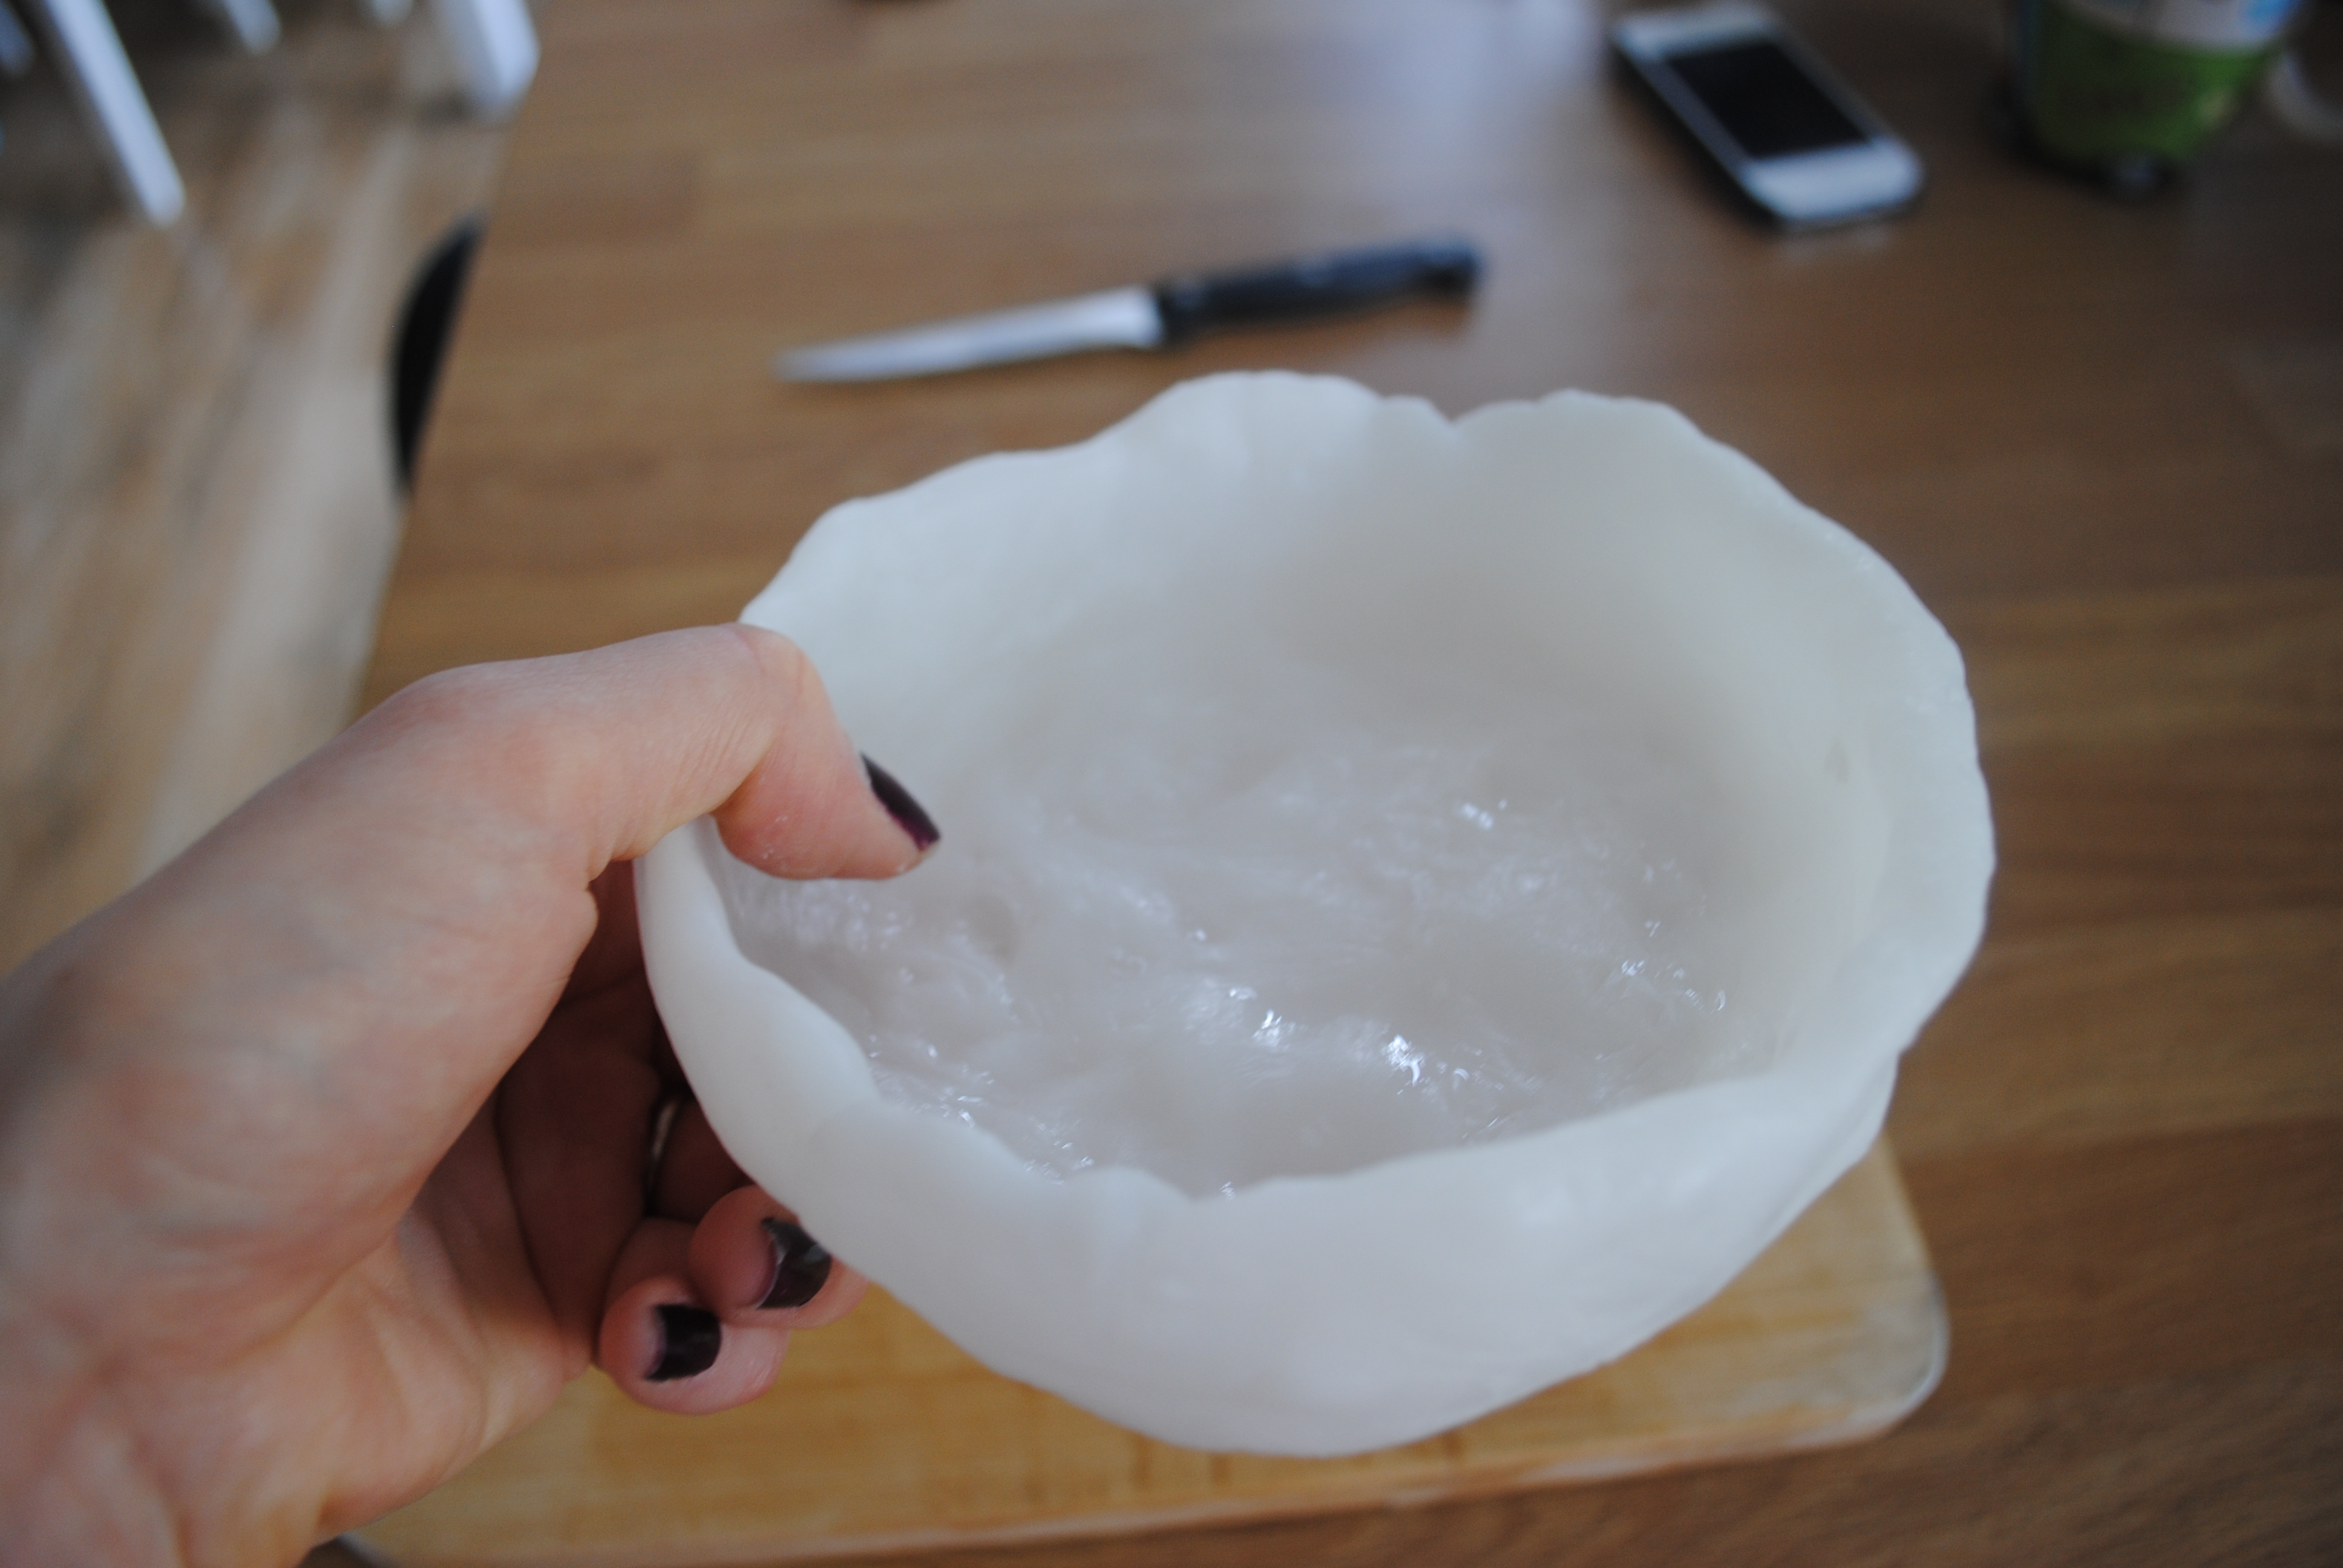
I molded this very much ‘made with love’ bowl for the children to then decorate. If you wanted to speed up the hardening of your item, you can run it under a cold tap, but generally it hardens pretty quickly on it’s own, so you can’t hang around and dither with your design. I’ve since read other reviews that say that you can use ThermoMorph in silicon molds, and I can see that this would work well, so I’m looking forward to trying this i.e. to make great Christmas decorations later this year.
The finished ‘bowl’ pre-decoration. Looks better in the flesh than in the photo!
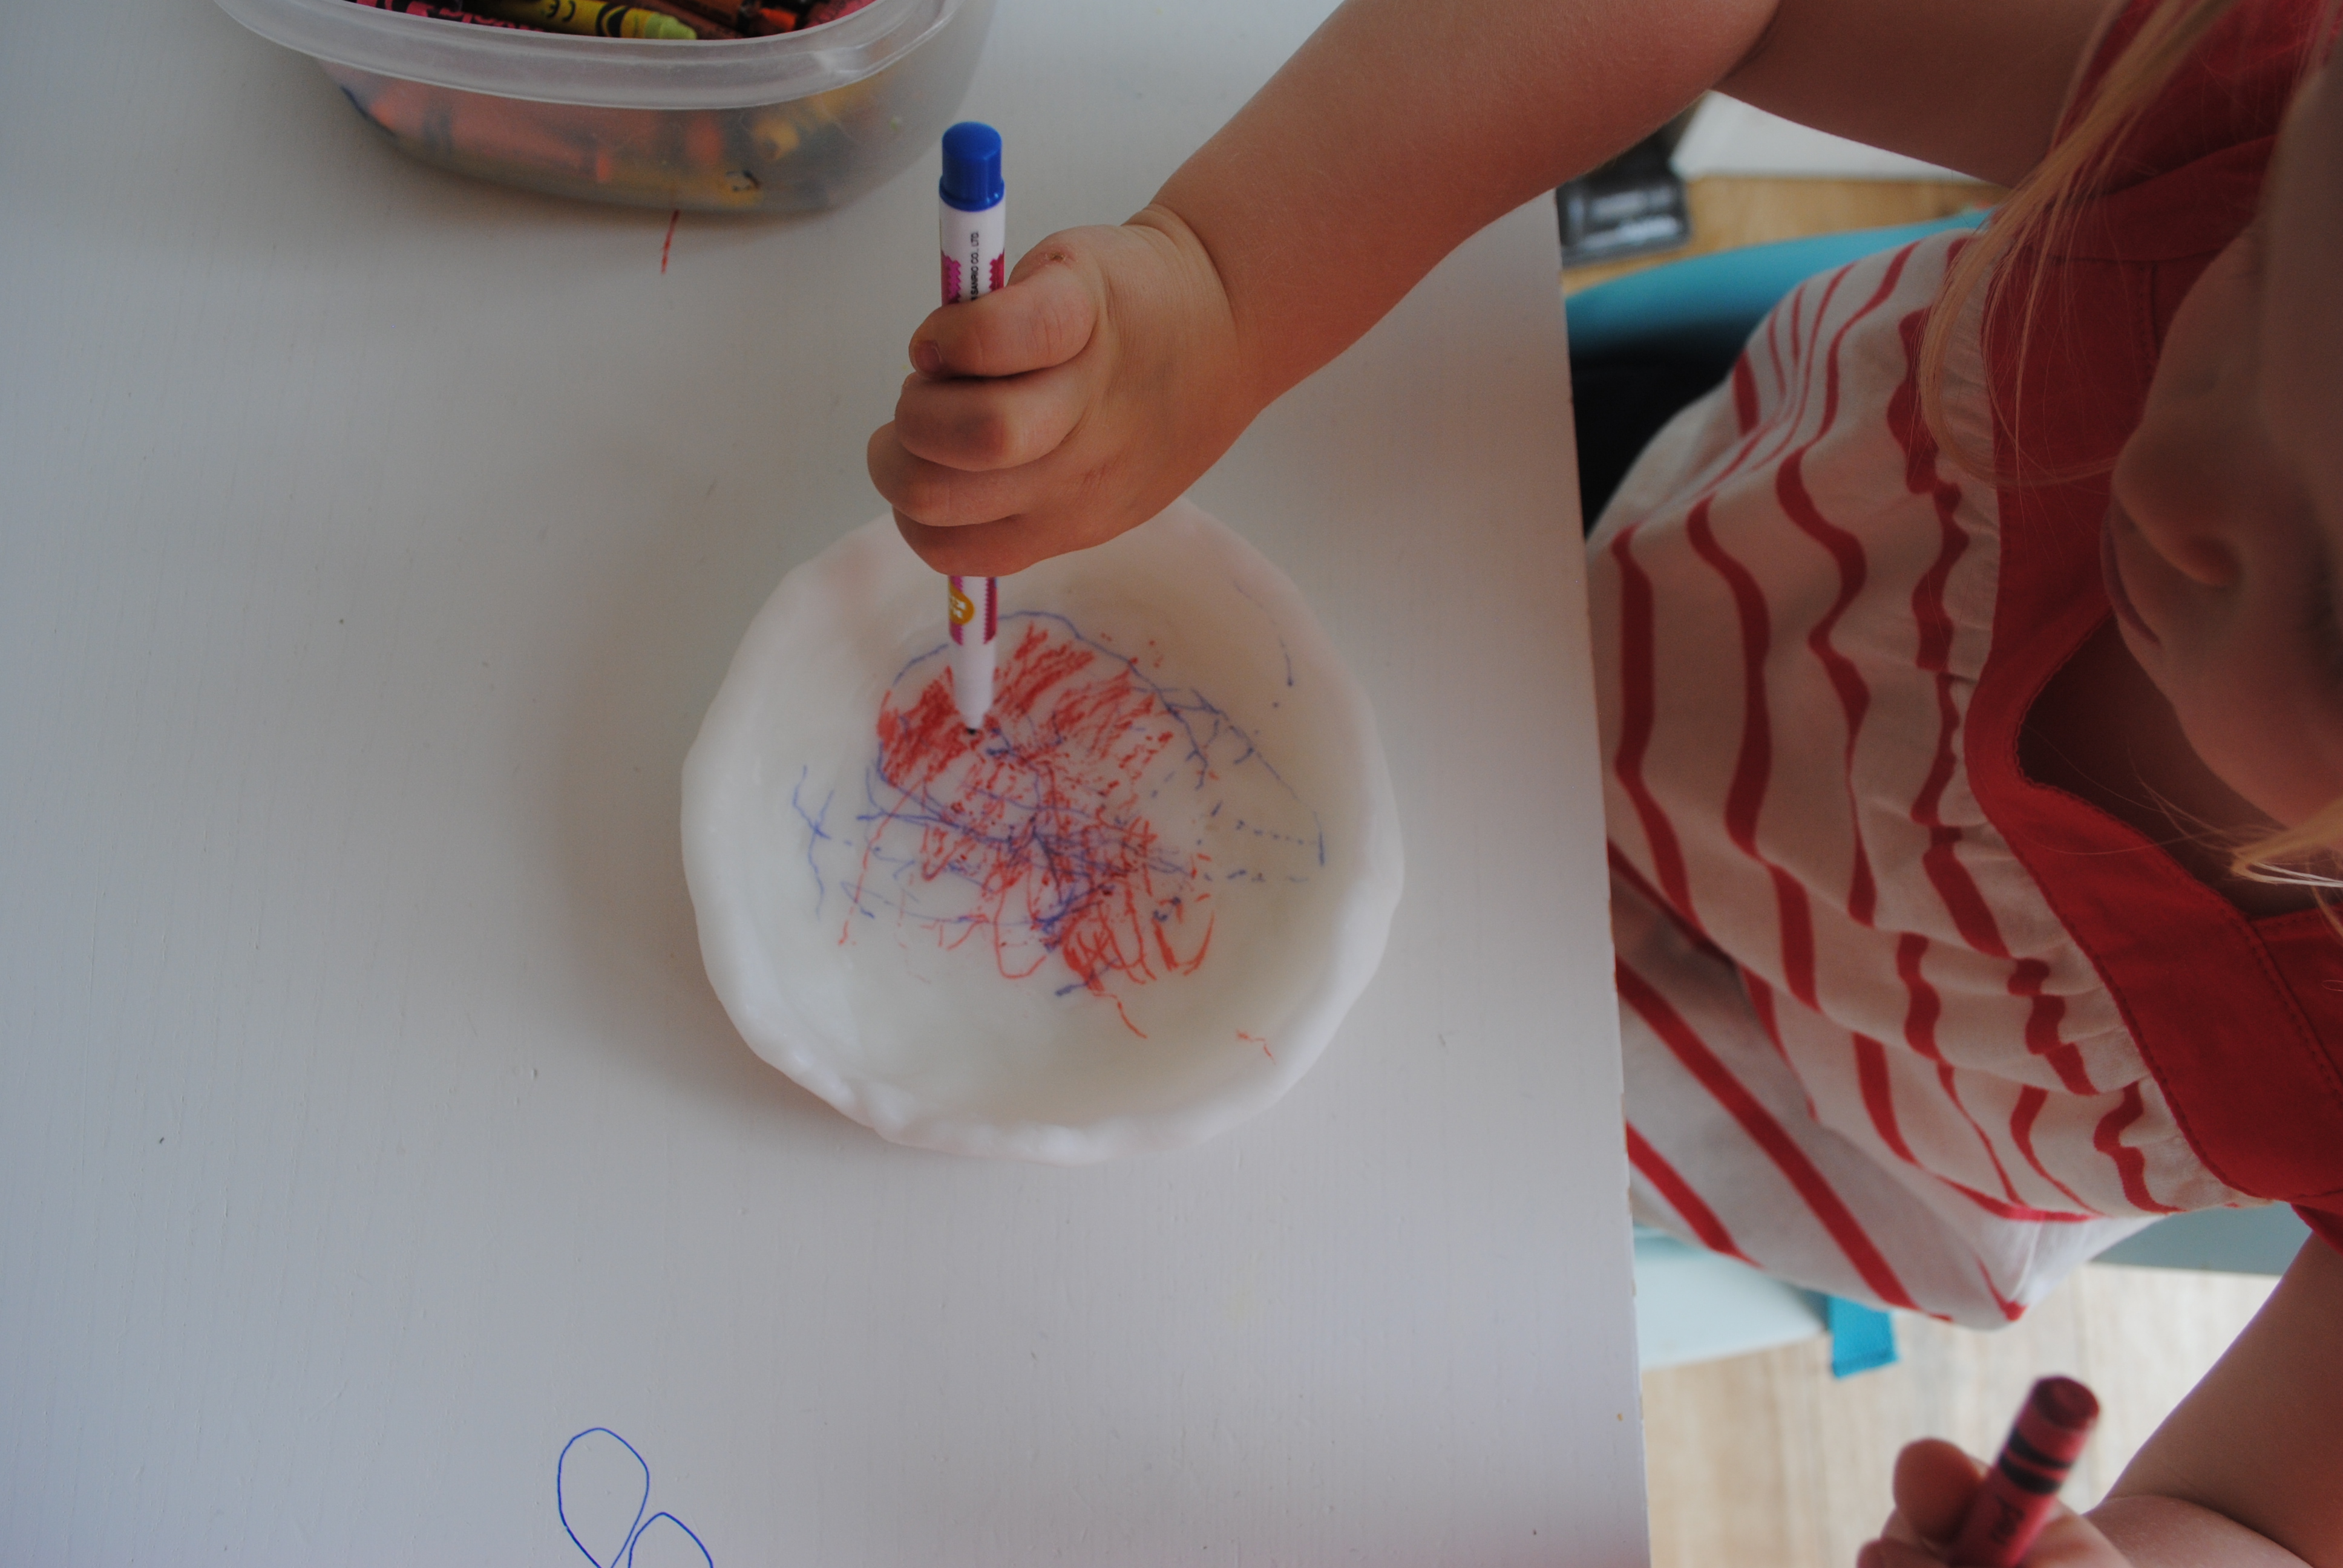
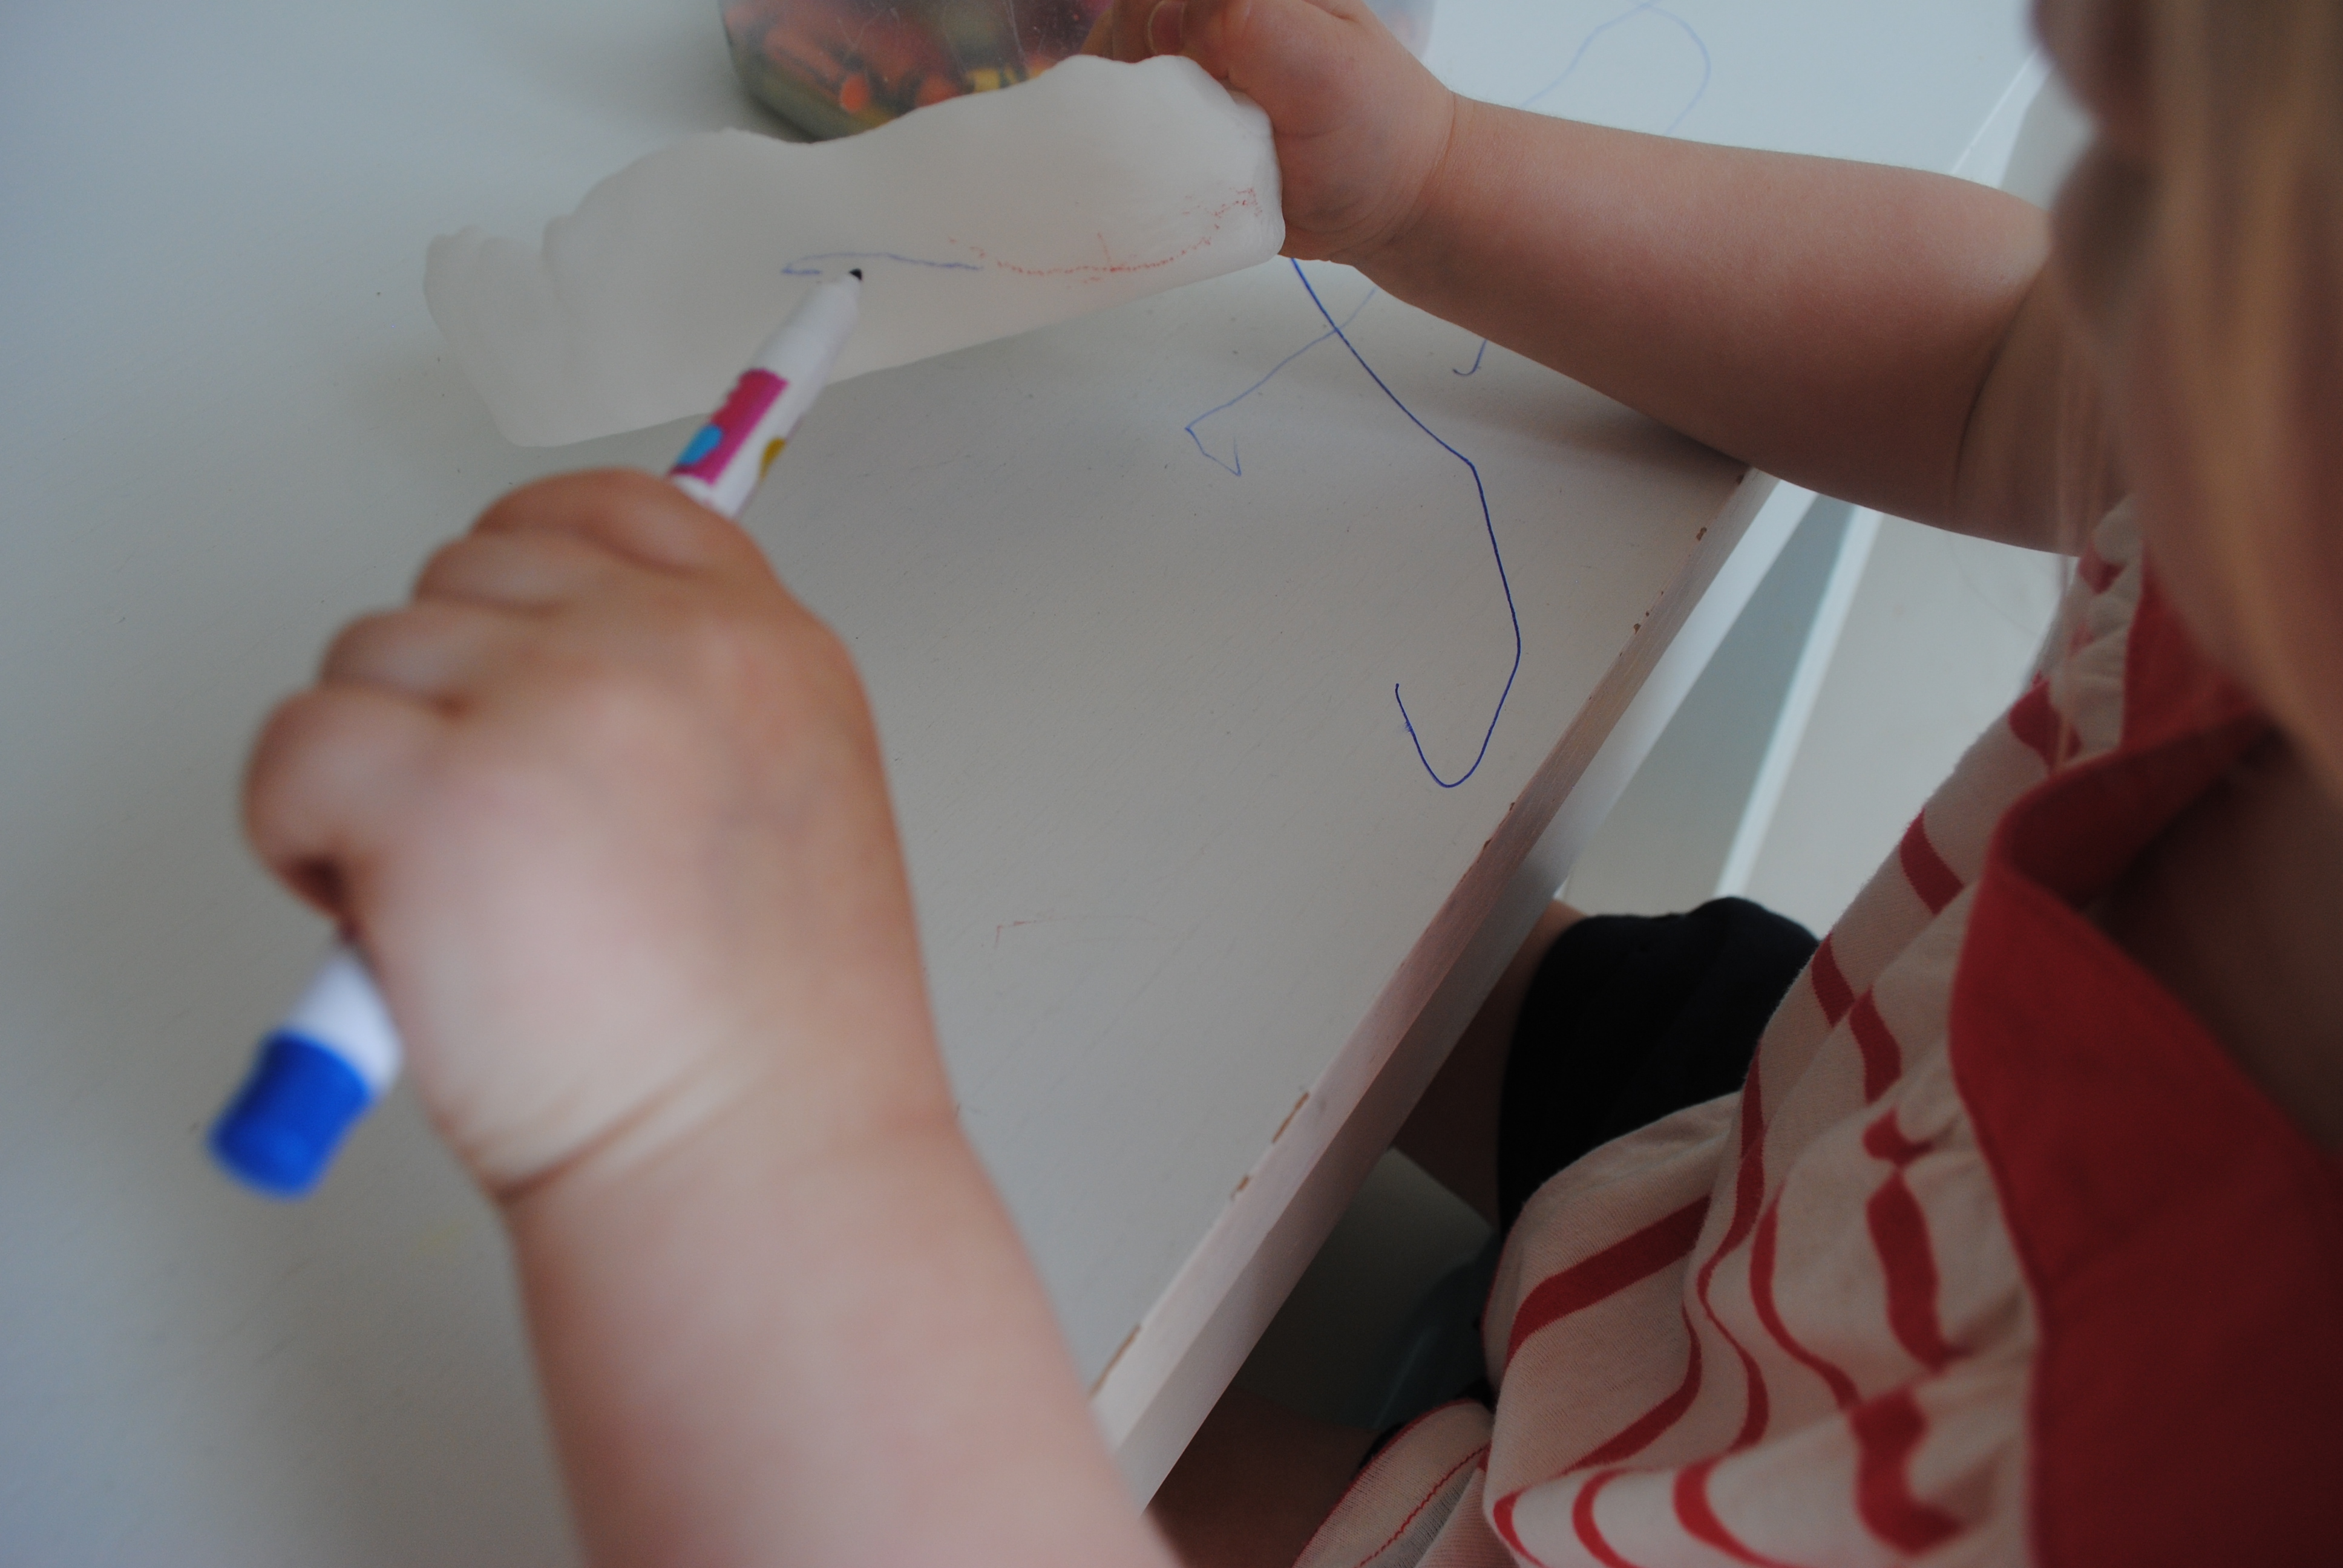
Sasha got stuck in then with colouring in the bowl using Daddy’s football team colours (blue and red for Crystal Palace!).
Now I have got the hang of using ThermoMorph, I can vouch that it’s a quality product and I’m buzzing with ideas as to what I can use it for next, which is why I wanted a Part 1 and Part 2 post- this post to explain that it’s not totally easy to get the hang of, but once you DO, Part 2 will show exactly what you CAN make. I think some play food for the children might be on the agenda, and I’m going to invest in some proper modelling paints and a little brush.
I realise that the temperature of 60 degrees stated as the prime melting temp is probably more for health and safety than anything (no one wants to get burnt), but in my experience I found the beads only melted when added to nearly boiling water (make sure you’ve got a good set of tongs to remove). Whilst the instructions were very clear on the side, it would be good to perhaps have a leaflet included featuring some photos showing what the plastic should look like at each stage- I knew that the beads weren’t quite right on the first two attempts, but wasn’t sure exactly what I was aiming for. Some inspiration photos of what can be made would also be a nice touch, and might make it appeal to younger people more.
At £19.49 (plus free delivery) it’s not a cheap product, but once I got the hang of it it was fantastic to use and sculpt. Probably more suited to the seasoned crafter, but I think anyone could give it a go and enjoy it. You can buy it HERE from Amazon, and THIS is the website if you’re interested in finding out more.
I can’t wait to show you what I’ve made in a few weeks time, and I feel this will feature in many seasonal craft posts on the blog ie. Christmas, Halloween and Easter, so stay tuned!
Thank you so much to Rizzi for letting me review her innovative product!


Glad you got there in the end! It looks like a fun product. Look forward to seeing what you come up with when using it for holiday crafts! x
Author
Yes, once you get going it’s great to use- looking forward to make some bits for the children! x