
One of the main skills I have to use when it comes to doing this type of blogging as a job is to be able to photograph interiors- for both posts I want to write myself, as well as creating content for interiors-focused brands. Whilst not everyone reading this will be another blogger, many of you may want to know how to photograph your home at some point, either for yourself (get those before and after home renovation shots and see how far you’ve come!), or to take photos to maybe sell your home (some of the photos I’ve seen on Rightmove of houses taken by estate agent ‘photographers’ are dire).
It takes a fair bit of practice to become half-decent at taking great snaps of a home BUT pretty much anyone can achieve it without using a fancy camera.
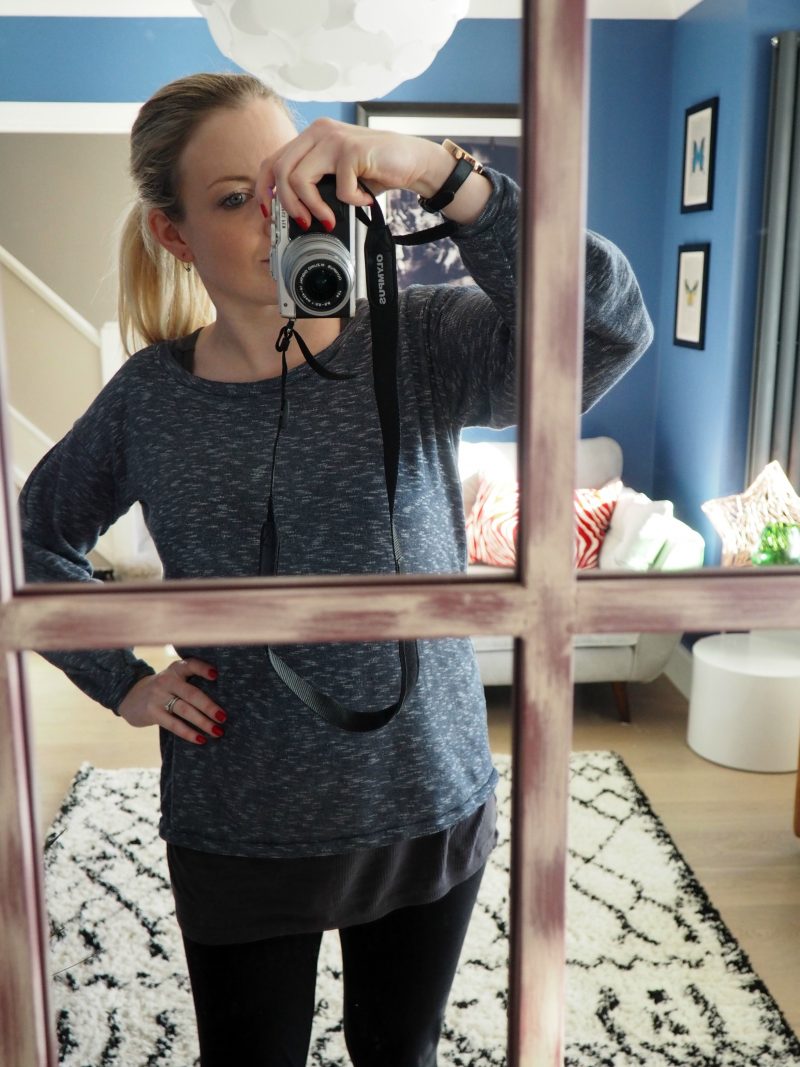
Me snapping as usual, whilst expecting Arlo!
Here are some things that I do in order to get a great home photo…
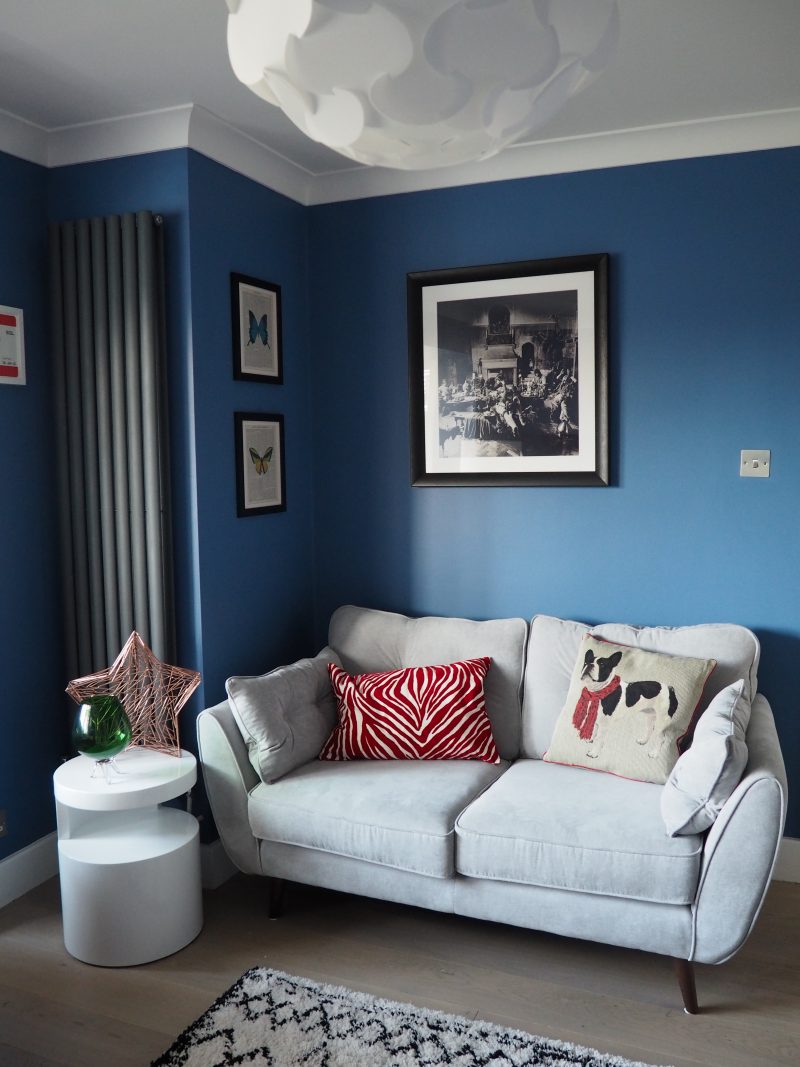
Less is more
Sounds obvious, but declutter a room before taking a photo of it! I don’t mean get rid of all traces of you living there, but let’s face it, a tip-top photo of a room always looks so much better tidy. That means ditching unsightly kids clutter (trust me, I know how hard this can be if you have ankle biters), cables in view, paperwork and other crap. A tip I have is to take a photo of the room from different angles on your phone when you think it’s ready, and then look at the photo. The chances are, there is still stuff you could get rid of – this happens to me nearly every time! When we live with ‘stuff’ day-to-day we tend to stop noticing that it’s there and become immune to it. This principle works not just for photography purposes, but for general house organisation and decluttering too.
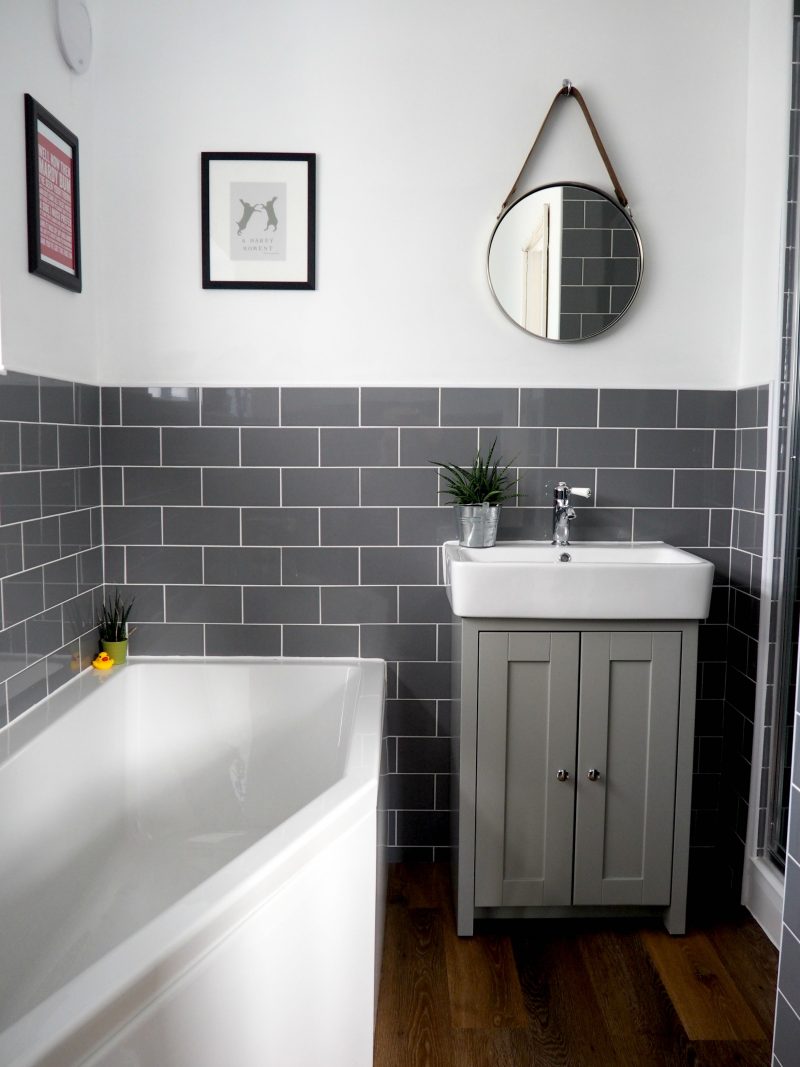
A decluttered bathroom, for the purposes of this photo
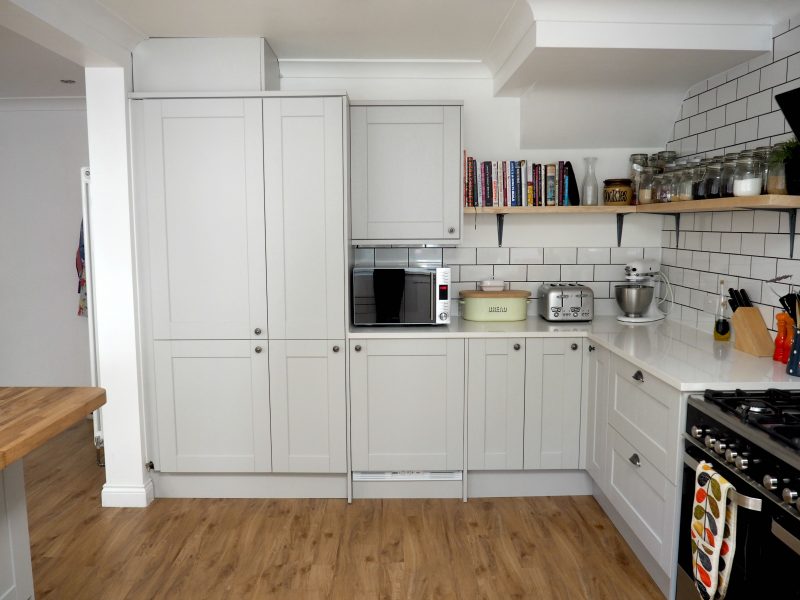
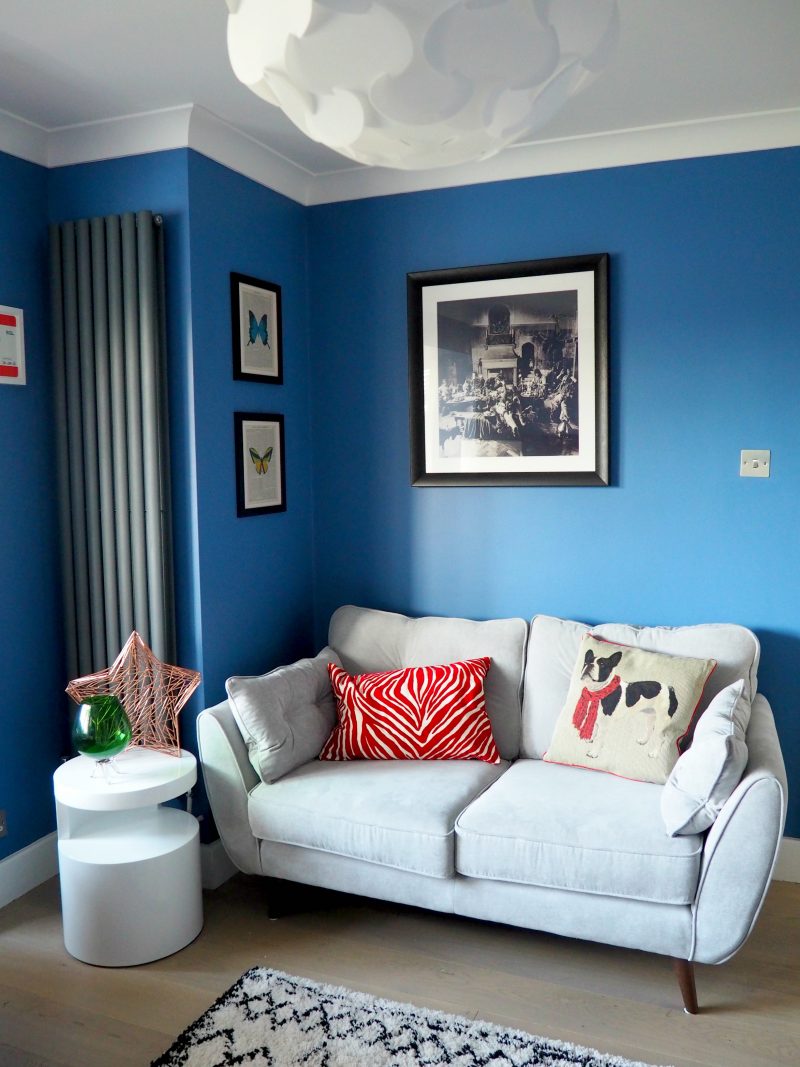
Pick the right time of day
For best lighting results when photographing your home, think about the time of day and which direction each room faces. For example, I know that the best time for me to photograph my kitchen is morning as it’s east-facing so gets the best light, otherwise it’s too dark to get great pictures. With our west-facing living room, afternoon is best, especially since we have dark walls, so I know that anytime after 1pm gets great light.
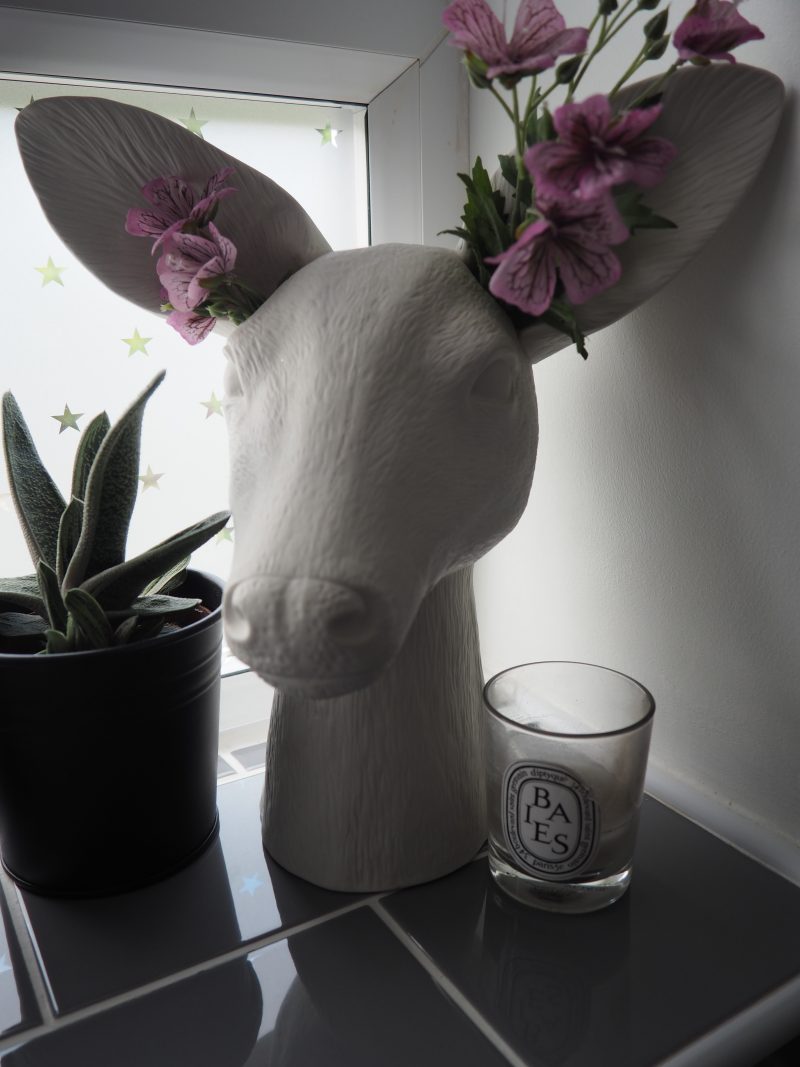
Create focal points if needed
Depending on the purposes of your home photography endeavour, you may want to create a focal point within a room as sometimes capturing the entire room isn’t the most effective choice. It can create an overwhelming visual that doesn’t give you a chance to focus on what’s great about the space. Consider picking a corner, fireplace or piece of furniture to focus on.
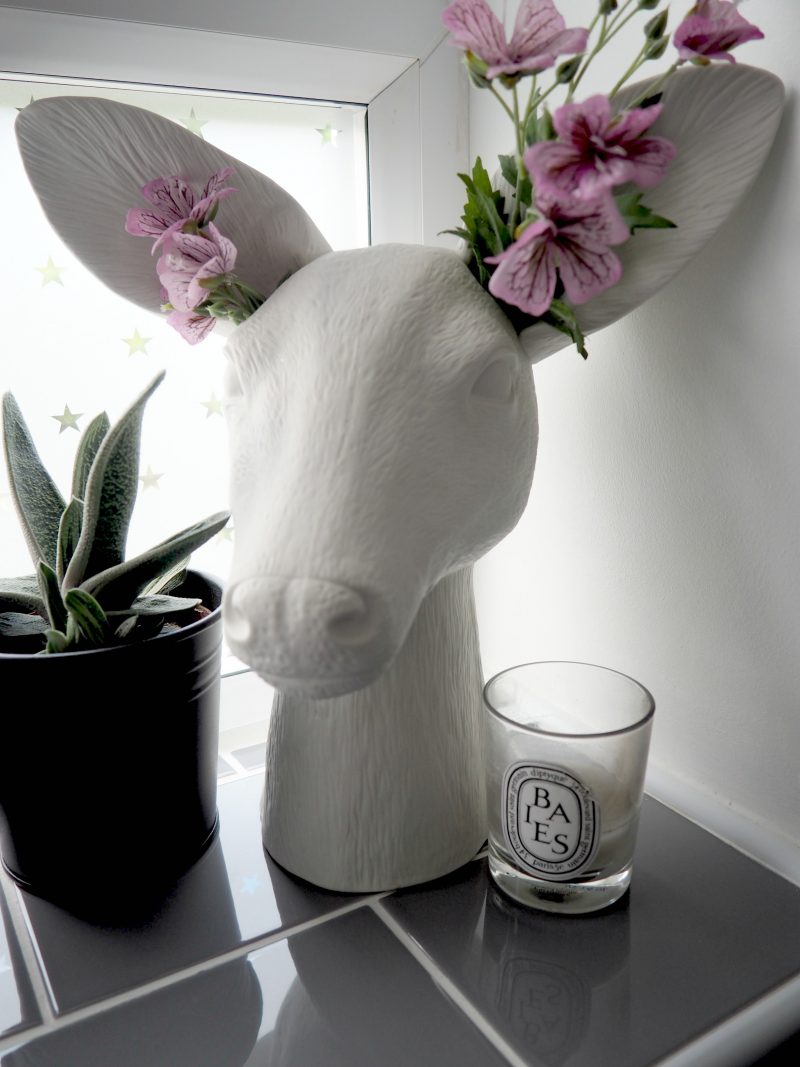
Play with your angles
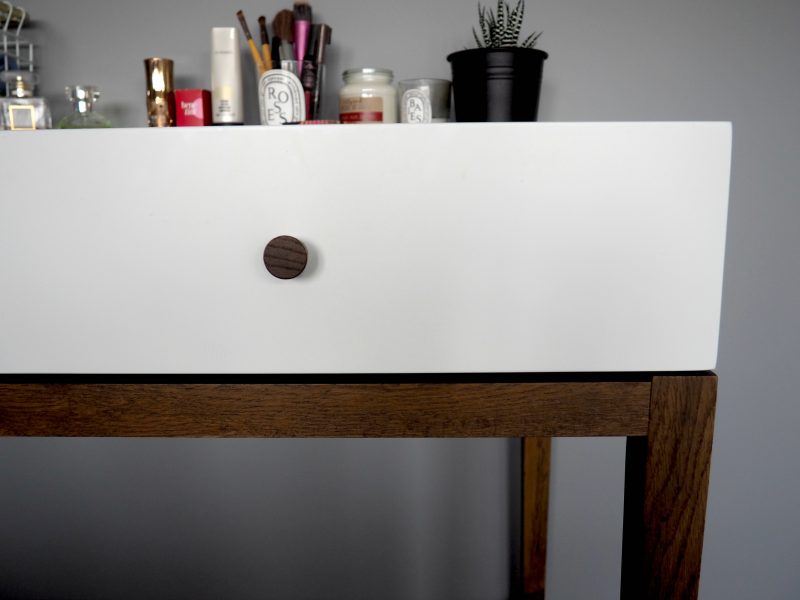
Whilst you want an amazing shot of your chosen room, loads of people make the mistake of stopping snapping too early- keep going and keep going! In order to get the perfect shot and angle, you’re going to have to invest a significant amount of time and memory card space. Practice taking photos from angles that you might think are ridiculous but can often work. For example, I will often zoom in on a corner of a piece of furniture to creating an interesting effect when grouping a collection of photographs together.
An example of this is this dressing table post that I shot for Habitat. If you click on the post you’ll see that I included the below photo in a collection to accompany the post and give variety to the shoot.
Edit your snaps for less
Whilst many people use Photoshop for photo editing, I find using a simple editing tool such as PicMonkey still does a job. It costs a small amount now to use, but in my mind it’s worth the few quid each month for something I probably use several times a week. When editing an interiors photo, I usually edit the following on a photograph:
- Crop if necessary
- Auto-adjust the exposure, and further brighten if needed using the ‘brightening’ tool (but not too much)
- I then may use the colour saturation tool to enhance the colours in a picture if I think it needs to ‘pop’, but not too much so the colour looks fake and unrealistic.
And that’s it- very simple and usually effective.
Here are some examples of my before and after editing interiors photos. The bottom photos of the sofa were for a campaign last year for DFS.
Before
After
Before
After
Before
After
And so here is how I photograph my home! I’m not an expert photographer AT ALL and largely self-taught, so it shows that anyone can take interiors photographs that serve a purpose and are easy on the eye.
If you have any questions, do let me know in the comments section below…

You sound like you are on the same wavelength as me Becky. I have been, am still am, working on my home photography over the past year or so and I find that the tips you have listed work wonders. My husband laughs at my photos sometimes, amazed that I have made a corner of a room look fab simply by decluttering and finding the right angle! #homeetc
Great advice, thanks! I just use my iPhone and SnapSeed. I don’t have a proper camera but would love to get one x #HomeEtc
Great advice, thanks! I just use my iPhone and SnapSeed. I don’t have a proper camera but would love to get one x #HomeEtc
Thank you so much lovely for such great tips. 3 years on I still struggle to find good light in the main room in our house (darn townhouse).
Glad to see I am not the only one who doesn’t use photoshop xx