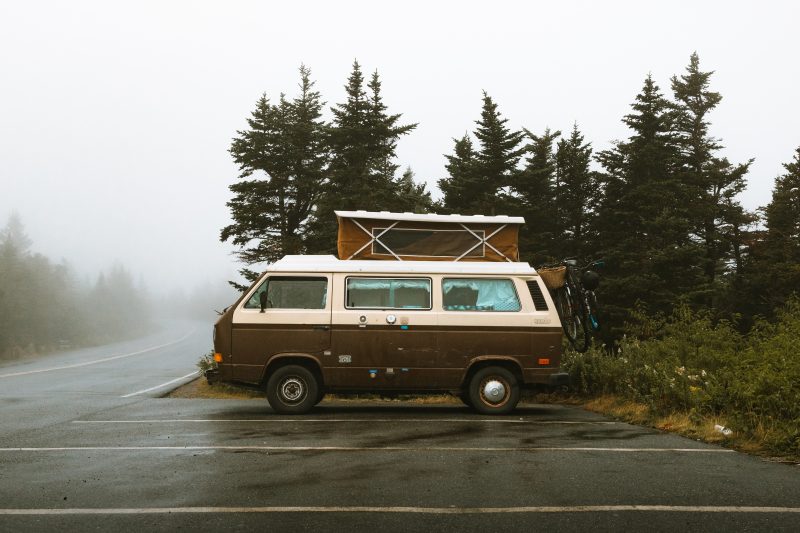
 Owning and travelling around in a campervan can be so rewarding and satisfying. There’s nothing better than planning your trips, plotting where you’ll stop at on a map and packing up the van in time for another life-enhancing trip with your friends and family. After a several months of being on the road, your campervan will get tired and start to look dirty and dusty, and this is where you’ll need to do some maintenance in order to get through the next part of the year. Whether you’re planning on travelling around the world in the winter time or whether you’re putting your campervan in storage, it will need a good clean to get it looking spick and span again!
Cleaning your van isn’t the easiest of tasks as it there are plenty of those hard-to-reach areas that can be tricky to get hold of and difficult to clean properly. Set aside a good half a day to get prepared and clean and check your campervan fully and you won’t regret spending the time doing it, especially if you spend a lot of time in your van. Cleaning your van is not only satisfying and means you enjoy spending your time in your campervan more, but it also contributes to the maintenance of it aside from all the mechanics involved. Cleaning away potential mould, airing the van out and preventing rusting will all ensure your campervan lives a long happy life.
Gather all your cleaning supplies such as wax, sponges, a hose, buckets, shampoo and cloths in order to give your van the proper treatment. These can be bought from somewhere great like the Hotsy Equipment Company You will need to clean your van from top to bottom so that the dirt doesn’t run over any clean parts! Start on your roof and work your way down to the wheels in order to save yourself lots of time and hassle. You also want to make sure you clean your van on more of an overcast day as this will ensure parts of your van don’t dry before you want them to, such as when the van is all soapy. As your van will be large, the likelihood of this happening is quite big. If you struggle or get tired easily, bring a friend or family member along to get the more tricky areas and pick up the slack when you can’t.
Rinse down your campervan with a pressure washer to loosen the dirt quicker. This can be especially helpful if you have months of set-in dirt! Be wary when washing your campervan windows as the pressure can let water into the van and damage the seals. If you don’t have a pressure washer, hoses or even buckets of warm water will help get you started. As you’ll be starting on the roof, you’ll need a ladder right from the get-go, so don’t forget to source one before starting this job! Apply your cleaning solution to a brush and work your way along. There are so many different shampoos and each one will perform better in different ways. Some are better for mould, whereas some will be specially designed to get rid of stains. Once you’ve scrubbed, rise this area really well to get rid of remaining dirt. If you have solar panels, don’t forget to clean behind these with a long, thin brush and a hose to get rid of lodged muck.
The sides of the campervan will employ the same technique as the rest of your van. Use a soft brush so that you don’t scratch the paint and be thorough when wiping each panel. Don’t be tempted to do it half-heartedly as you’ll regret it later! It’s important to use the correct products as other chemicals can corrode your van. The windows will also only need a soft hose, and a polish down to really make them shine. Wheels should be pressure washed and wheel-cleaner should be applied to really get your trims to gleam when on your next trip. For a finishing touch, apply wax to give it a perfect shine and to coat your van’s paintwork perfectly!
*Featured Post
