
 This is a post I’ve been SO excited to write, namely because it’s a project that we’ve been waiting on a long time, since we moved into our house over a year ago, and also because the garden has been a fairly slow-burning project and it’s just brilliant to now have some kind of ‘result’.
If you’ve been following this blog a while, you might have read my garden updates, and seen that our garden is huge but is actually a tiered garden- something that isn’t traditionally considered to be a child-friendly option when it comes to living in a house with young kids. However, I knew that when we looked at this house that the tiers were so big and wide, that with the right planning we could create a fantastic, unusual, and super-cool play space for Freddie, Sasha and Arlo.
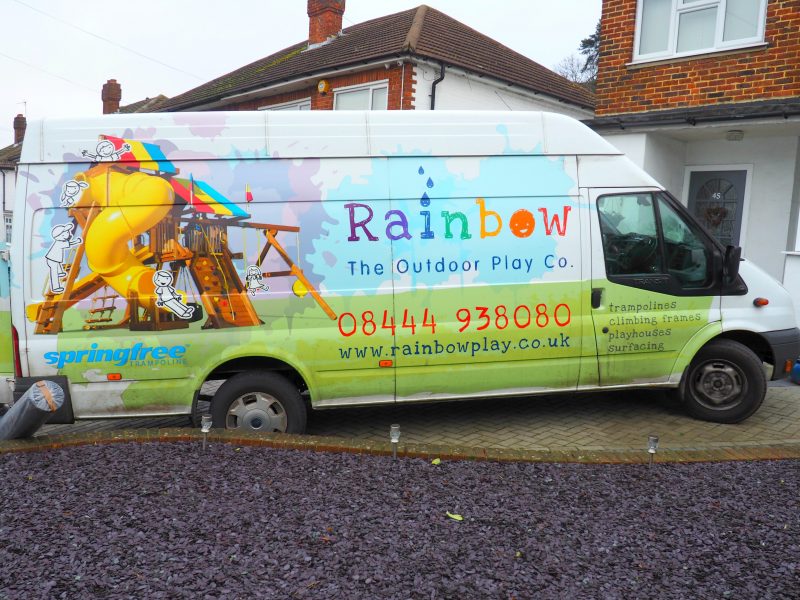
After researching climbing frames, play area surfacing, costs and installation logistics for what felt like forever, we happily decided to work with the guys at Rainbow Play again (the same company who we worked with when it came to getting our Springfree Trampoline), so we knew they were likely to do a great job- and for the type of garden that we have, we needed to have full trust in whoever carried out the work!
Here I’ll show you some photos, and talk about the process of installing our climbing frame- from choosing our design and accompanying features, to the whole installation process (that incredibly only took a day!)…
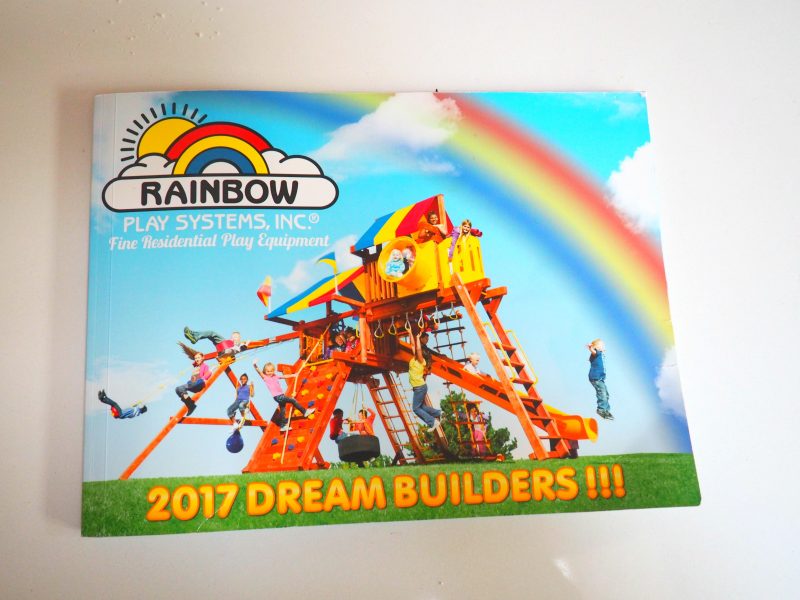
Once we contacted Rainbow Play initially, they sent out one of their expert installation guys to come and have a look at our garden, measure up and discuss the sort of thing we were looking for. Leaving us with one of their brochures, we spent an evening flicking through and talking to Freddie and Sasha about what they might want when it came to a climbing frame (two big swings apparently, and a straight slide, natch), and then discussed in further detail with the guys on the telephone (who also gave us our surfacing options too).
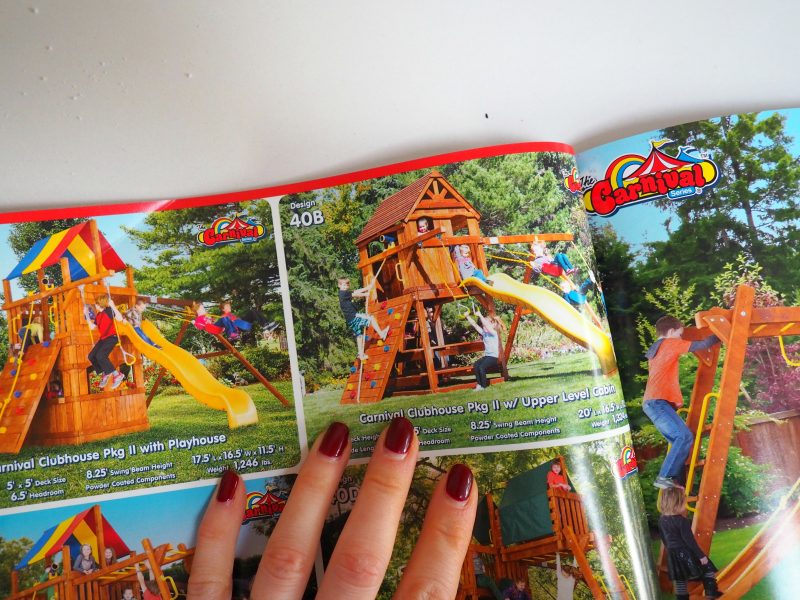
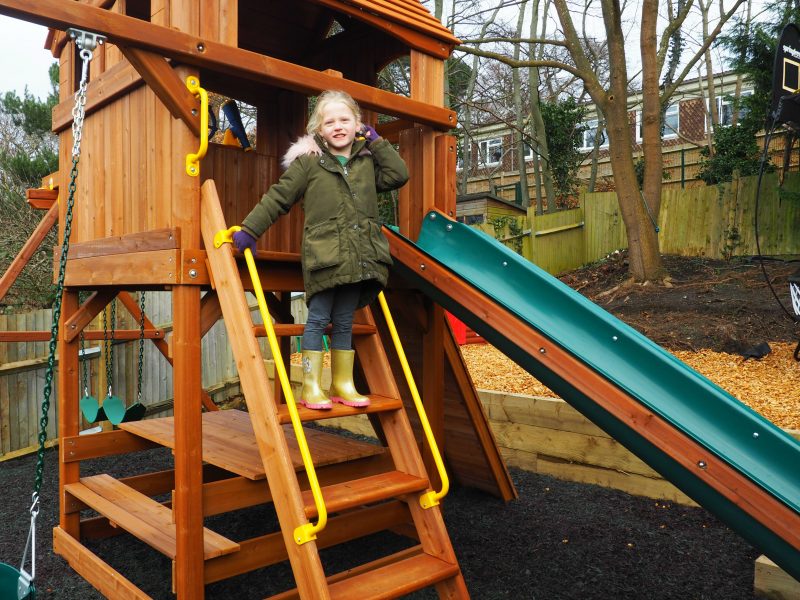
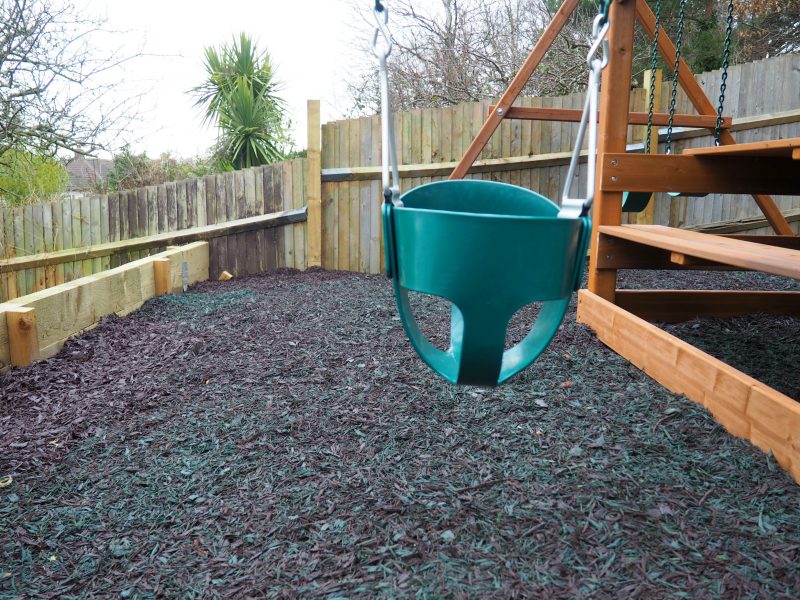
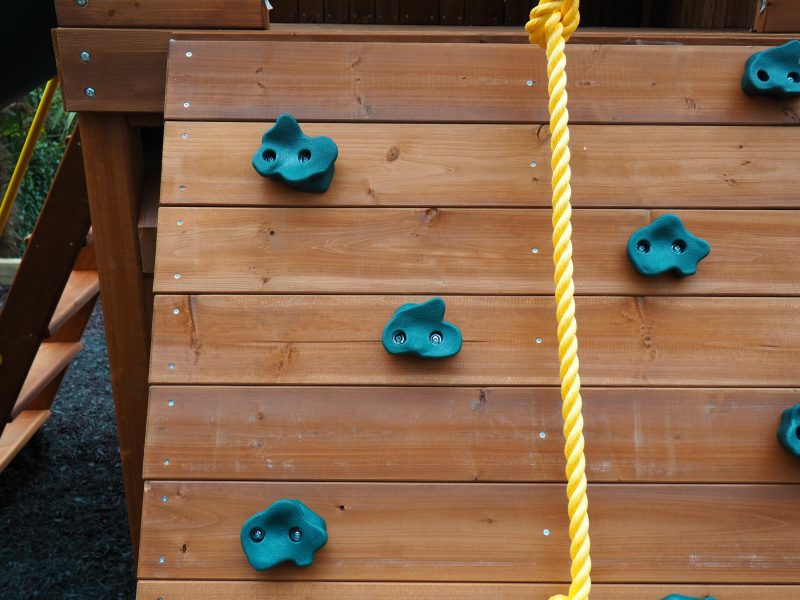
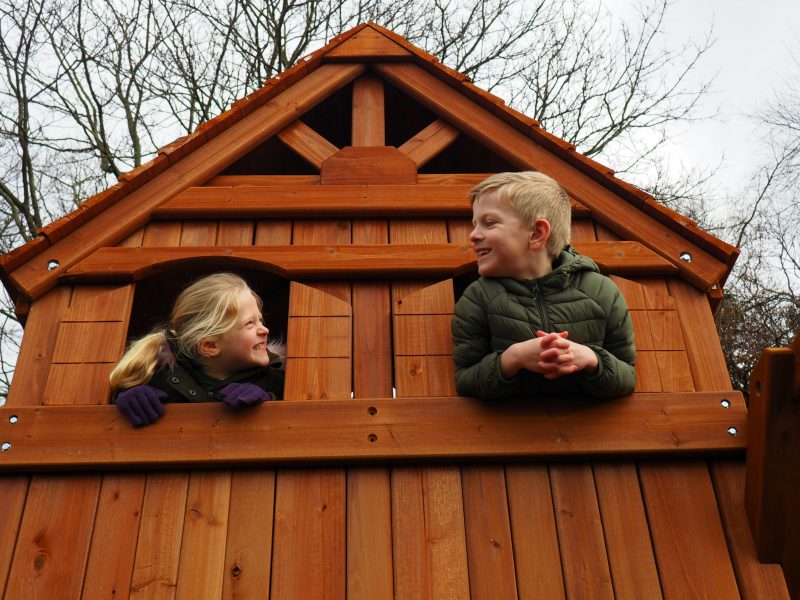
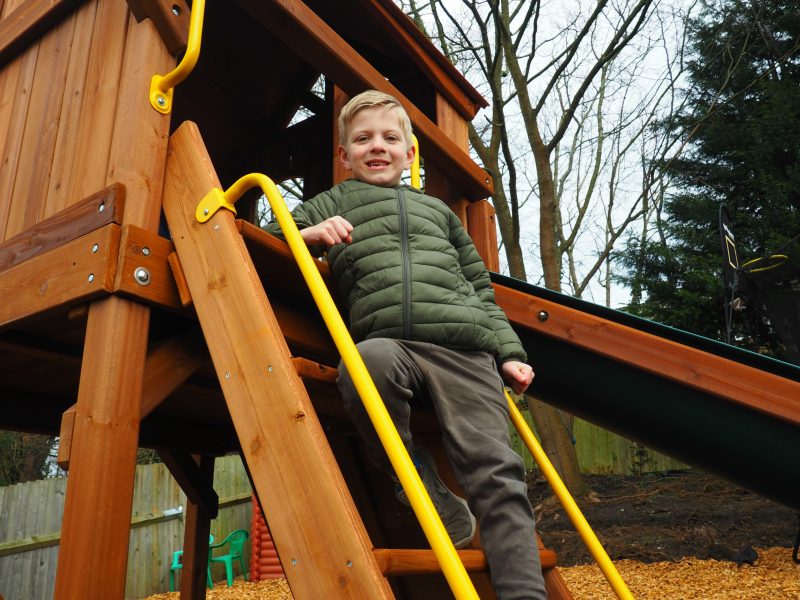
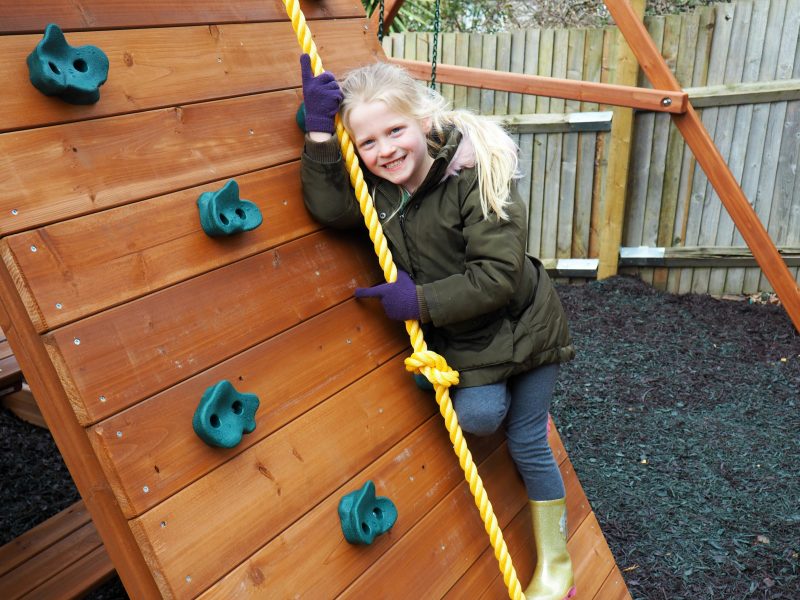
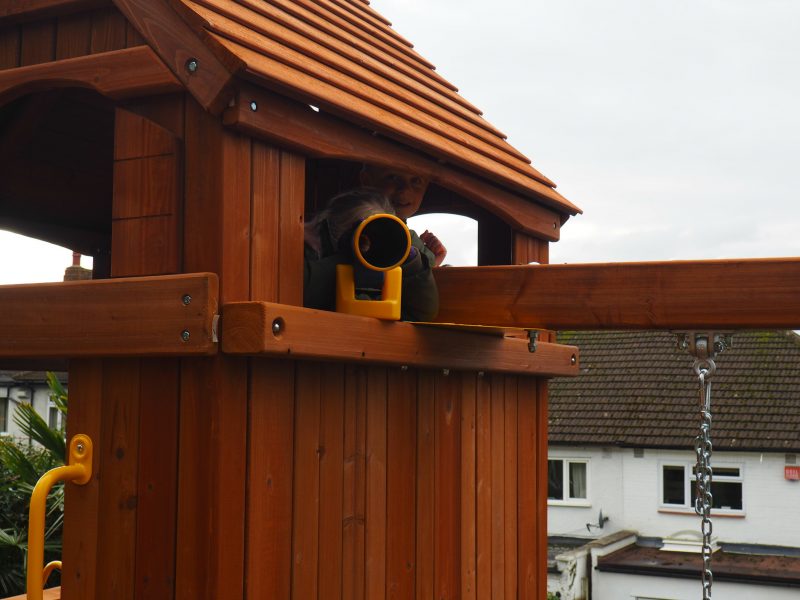
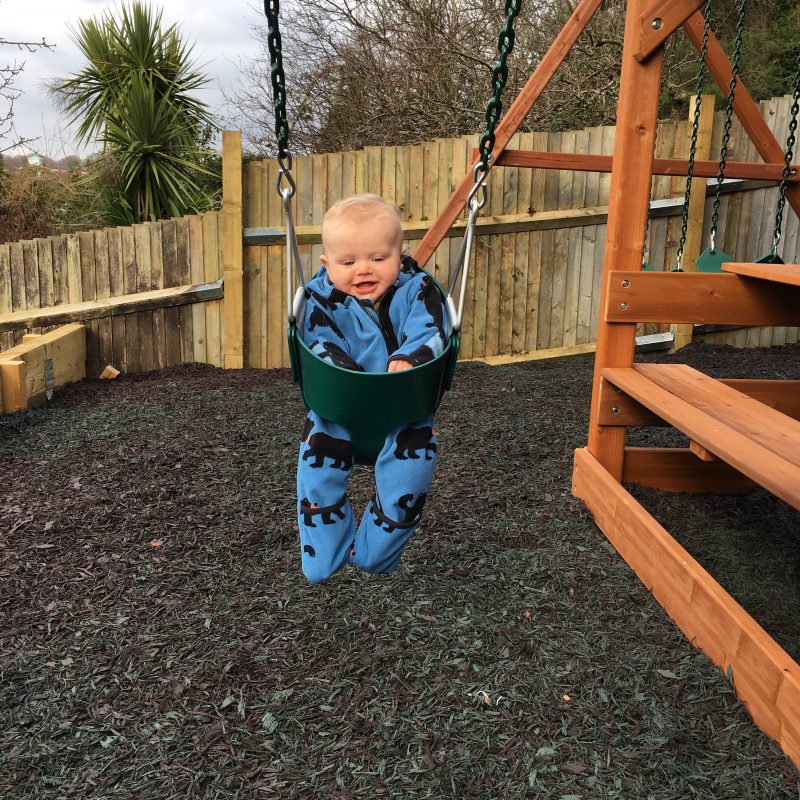
In the end we decided on a Carnival Clubhouse Pkg 2 with a solid upper level cabin, which was to be modified slightly to fit our space. We also opted for an additional baby swing seat so Arlo could get in on the action, the straight bucket slide instead of the standard wavy one, and some green and brown eco-friendly shredded rubber for the main play area surfacing.
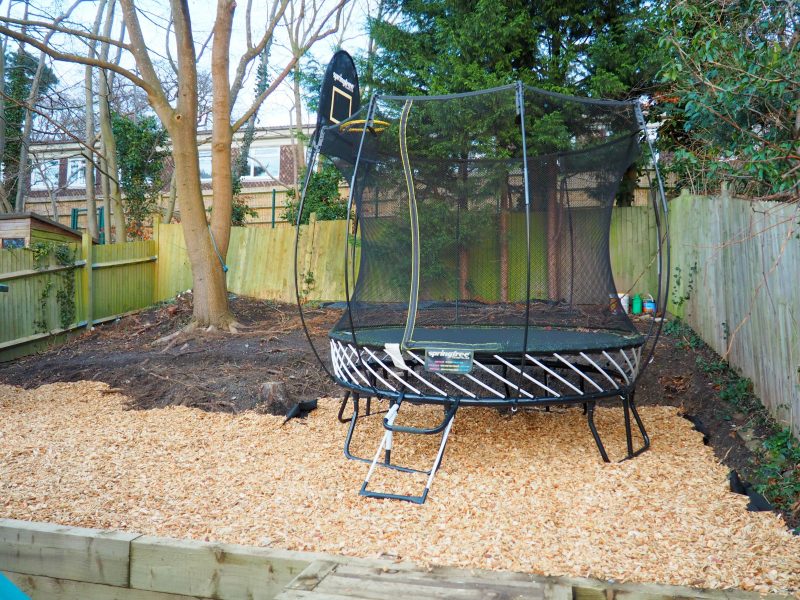
Rainbow Play were also going to create an area on the upper tier of our garden where the trampoline and a current little playhouse would go, using wooden chips instead of rubber so falling tree leaves would blend in more seamlessly.
Having booked a date in the diary, I was impressed to discover that the whole thing would only take a day, so we decided to keep it as a surprise from Freddie and Sasha. They knew that they might be getting a climbing frame, but had no idea it would be so soon. After arriving in their van at 8.15am (I was amazed that this one van could contain something so big!), the team soon got to work.
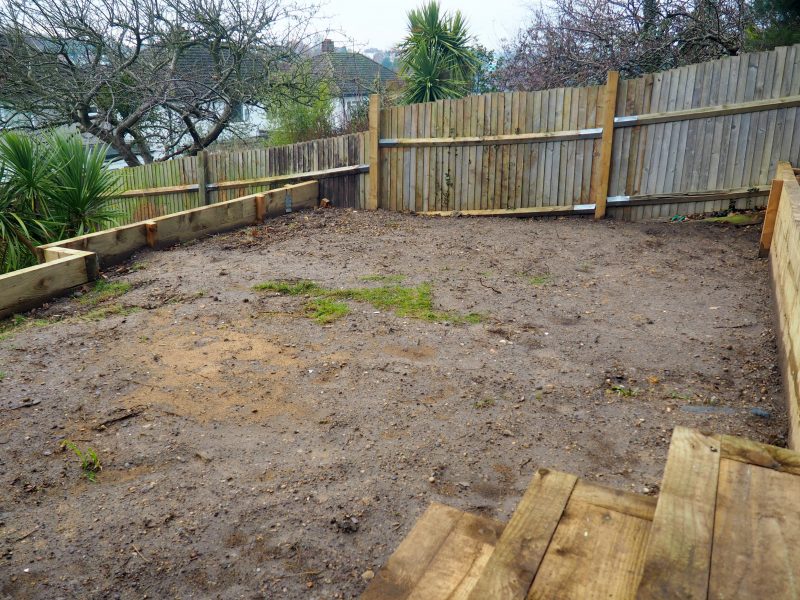
This is our garden before, and what the installation team had to work with:
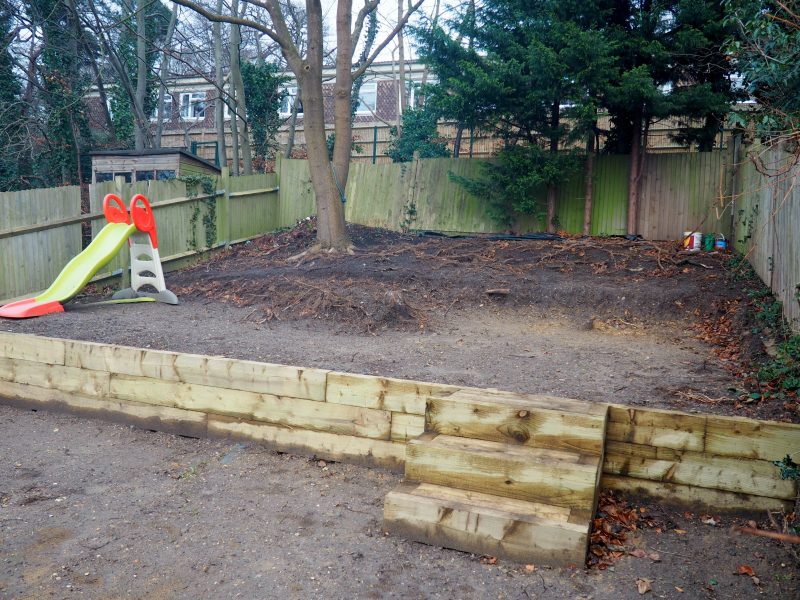
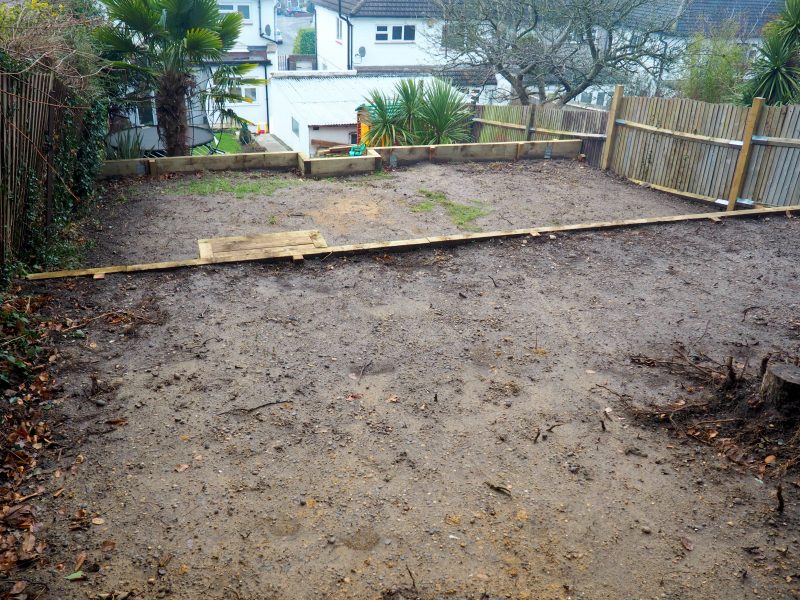
Once the children were on the school run, the team moved on in and got to work- you can see their steady progress here as the day went on:
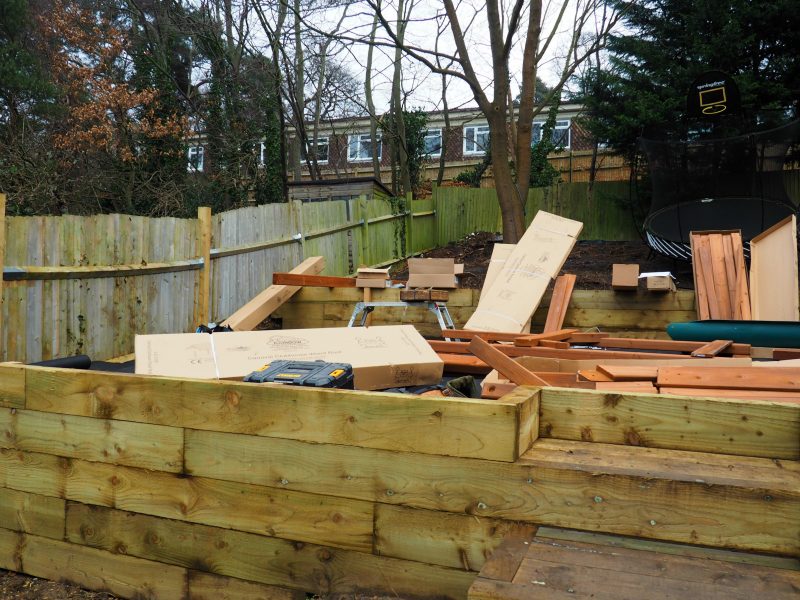

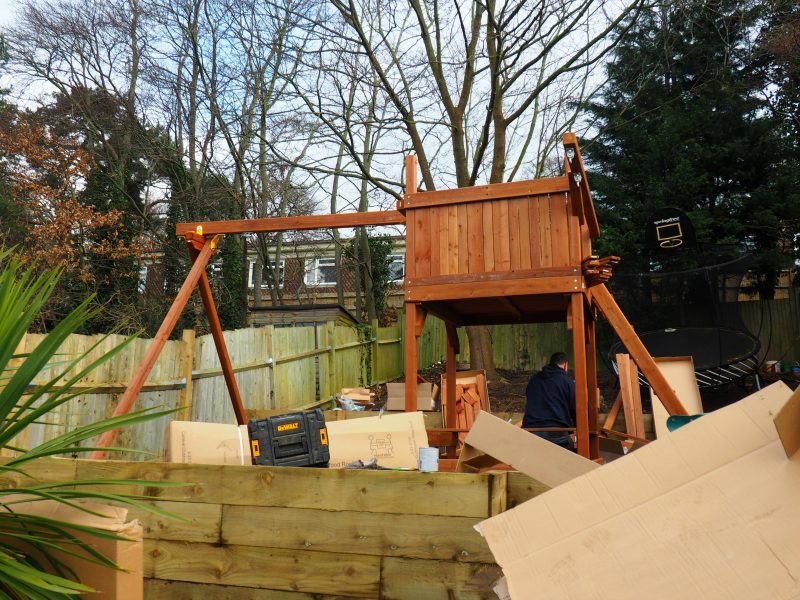
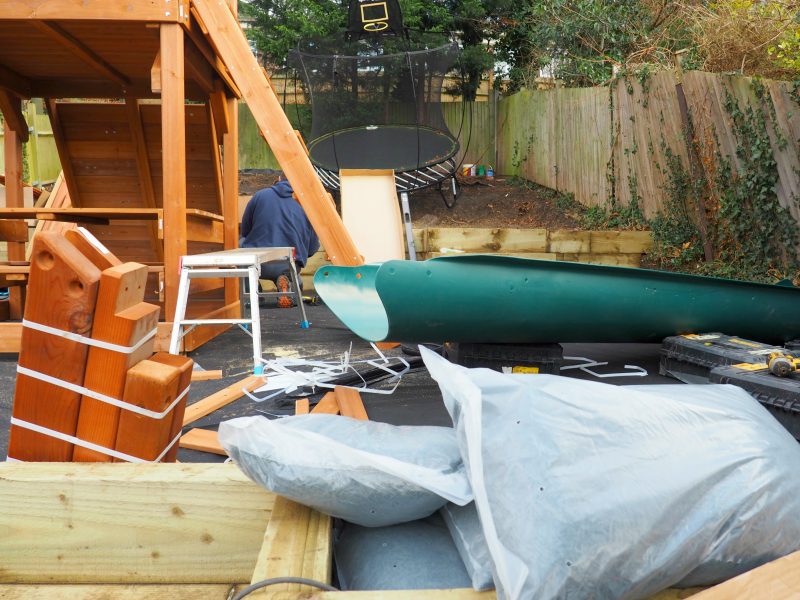
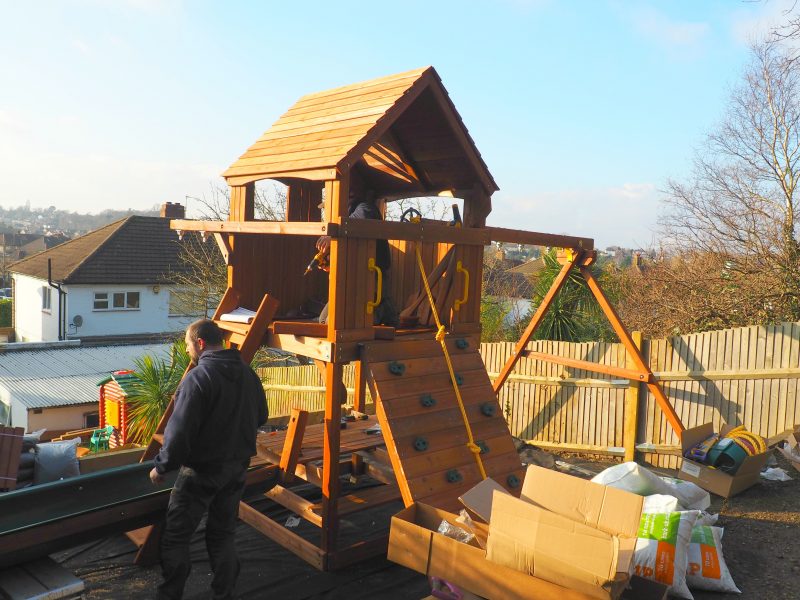
You can tell that the team REALLY know what they’re doing, and the whole process seemed to go pretty smoothly (even if lugging the part of the frame up the garden was pretty tiring for them, poor things!). Once the membrane was down, the surfacing was incorporated into the play area, and then the trampoline and playhouse were also moved into position.
By the time the children came home from school at 3.30pm, the play area was pretty much complete, and they couldn’t have been more happy or excited (see my YouTube video on our installation at the end of this post!).
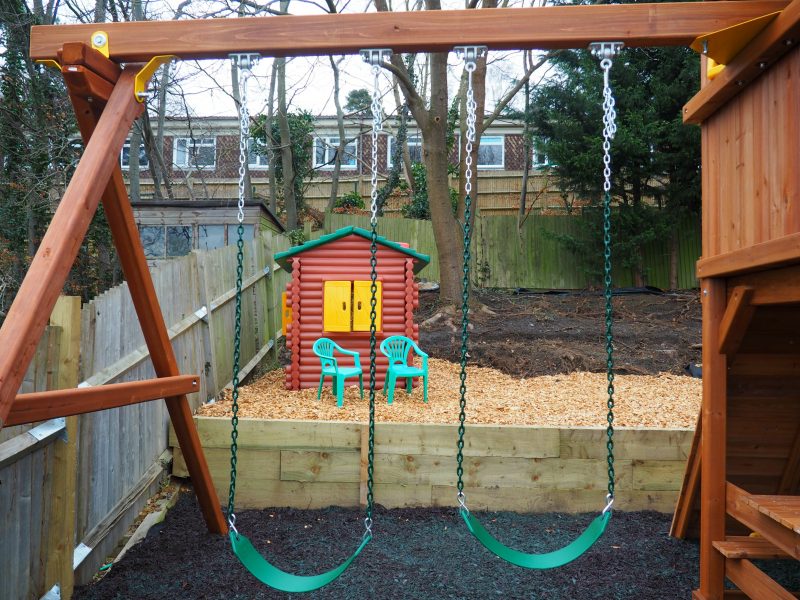
Here is the finished play area:
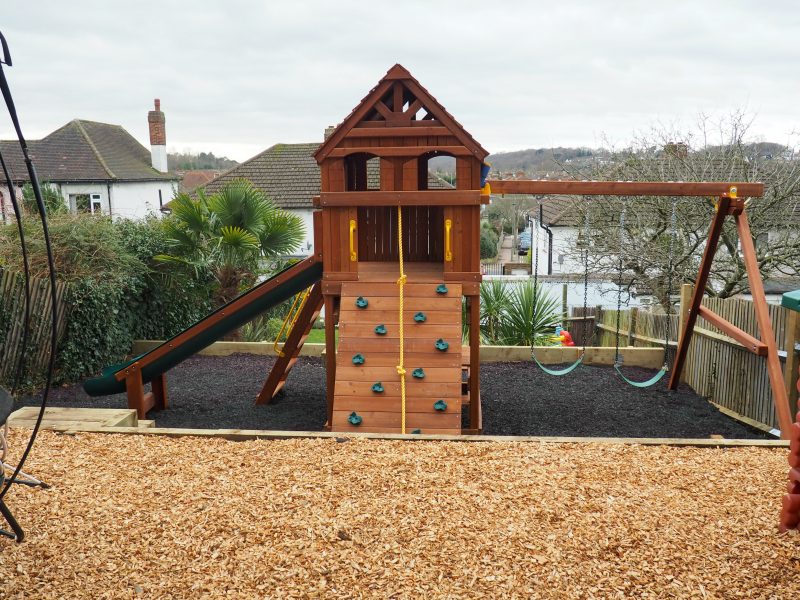
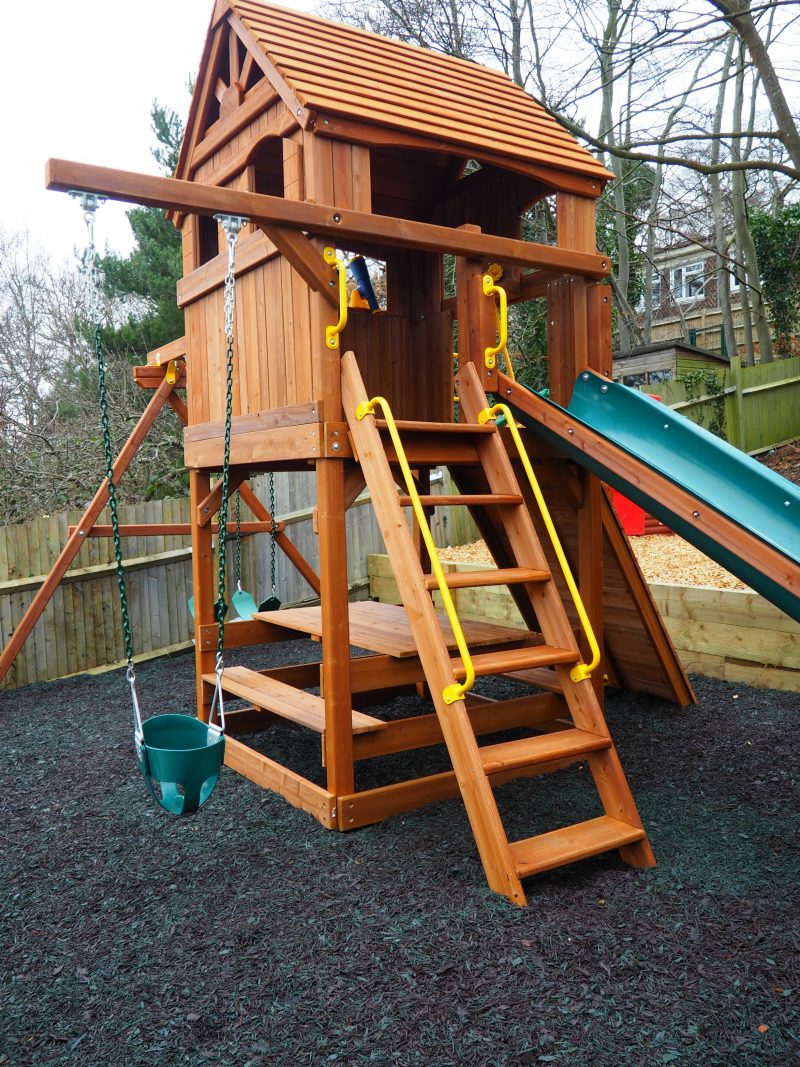
The play area definitely isn’t small, but to be honest after looking at several smaller climbing frame systems from other companies, I felt it was worth it to ‘go big or go home’. The size and quality of our clubhouse should last the big two for several more years, and Arlo for a good decade, so in that respect something like this is worth every penny.
They absolutely LOVE it, and we are over the moon with the finished result in what is otherwise a ‘tricky’ space to make child-friendly. I genuinely couldn’t recommend Rainbow Play enough when it comes to getting a climbing frame for your garden.
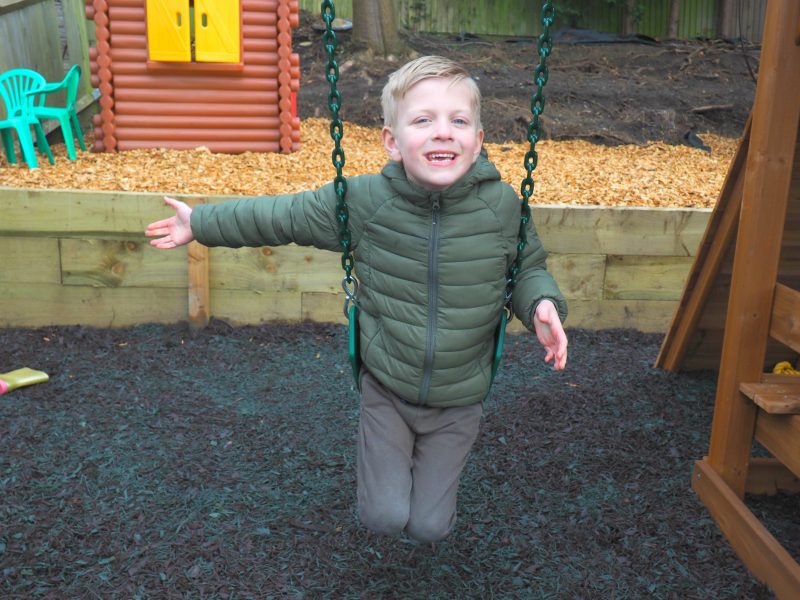


Even Arlo loves his new swing too!
Have a watch of our video here that shows the whole process from start to finish:
*Thank you to Rainbow Play UK for being ace again and working with us to help make the children’s dream come true! All thoughts and opinions my own.

I’ve been following this intently on Instagram, the climbing frame is awesome. I know where to come when we move in the spring 🙂