

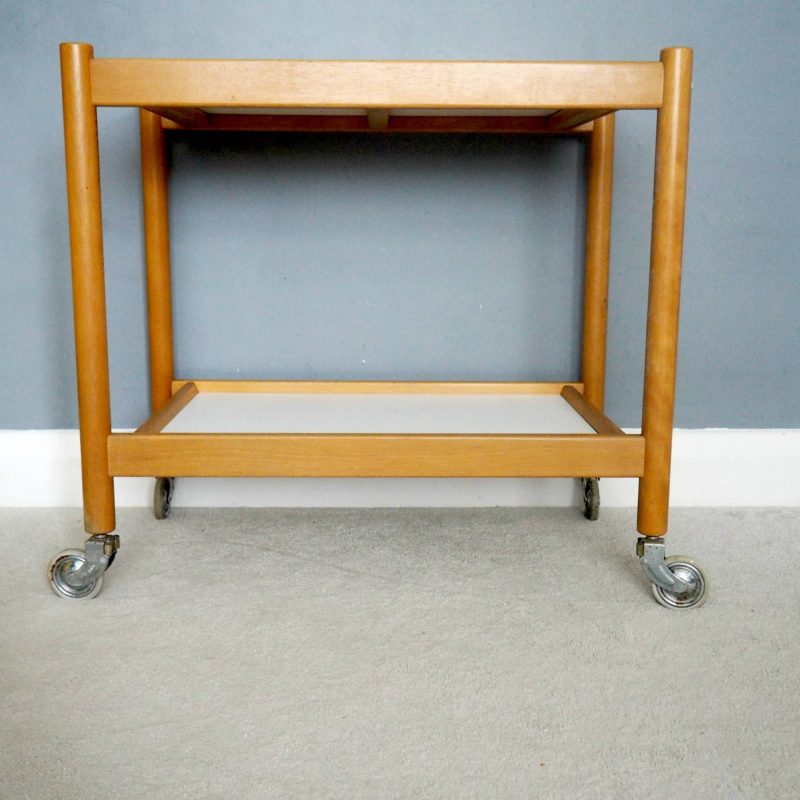
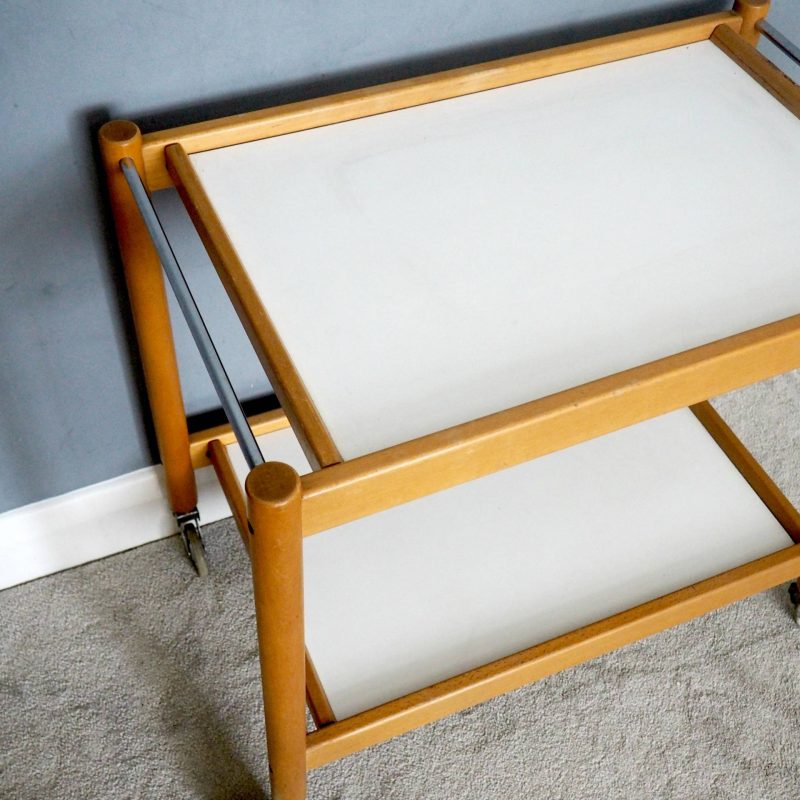
A few weeks ago I began the mammoth task of beginning to sort out our garage in preparation for our impending house move- what to keep, what to chuck, and everything in between. During this clear out I came across the old trolley that has been housing some of my vintage homeware for the past 4.5 years, and that used to belong to my Nan before she passed away. I’d never really paid it much attention before- it served purely as a vessel in which to host my shop collection. However, when it came to the decision-making process of keep vs chuck, I realised that this could be one piece of old furniture that could still serve a purpose in our new place (albeit a very different one!). And that we could still keep something nice that belonged to my Nan. Which is rather lovely 🙂
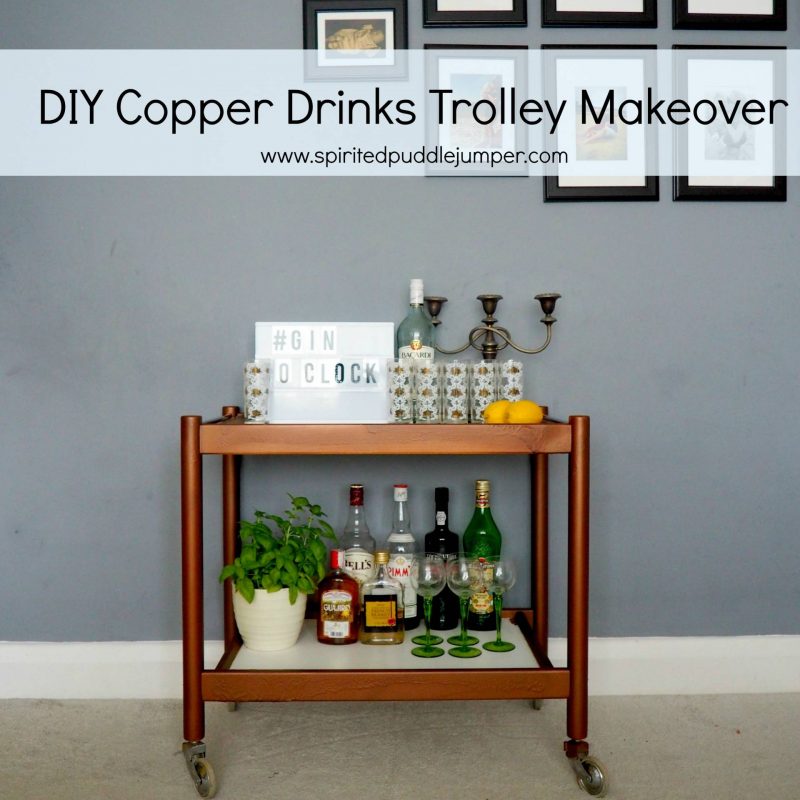
So I decided to up-cycle it and make it into a functional-yet-swish drinks trolley, to be housed in our new larger living room when we move. I’m itching for SEO and Pinterest purposes to call it a ‘Bar Cart’ (I always say that in an American accent), but let’s face it, I’m British, and it’s a drinks trolley through and through 😉
It’s kind of ironic since Adam and I have cut down massively on our drinking recently, but you can’t say us Freemans aren’t a hospitable bunch- if you want a cocktail of some kind, get thee to ours!
Making over this trolley was actually a pretty easy thing to do, and all you need is some copper spray paint (more on this shortly), sandpaper, cling film and kitchen foil.
I’ll show you now how I did it…
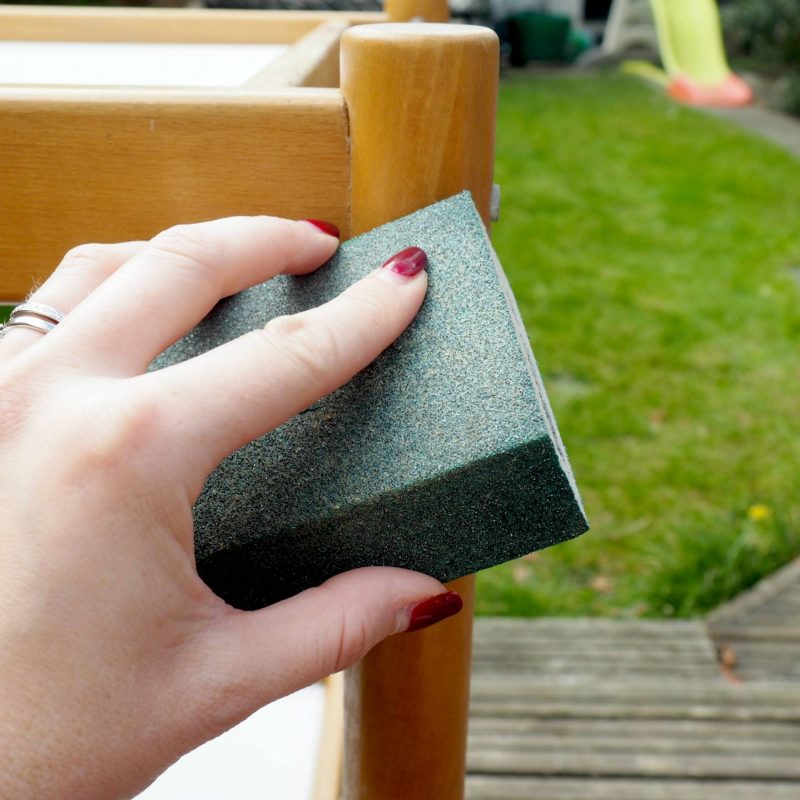
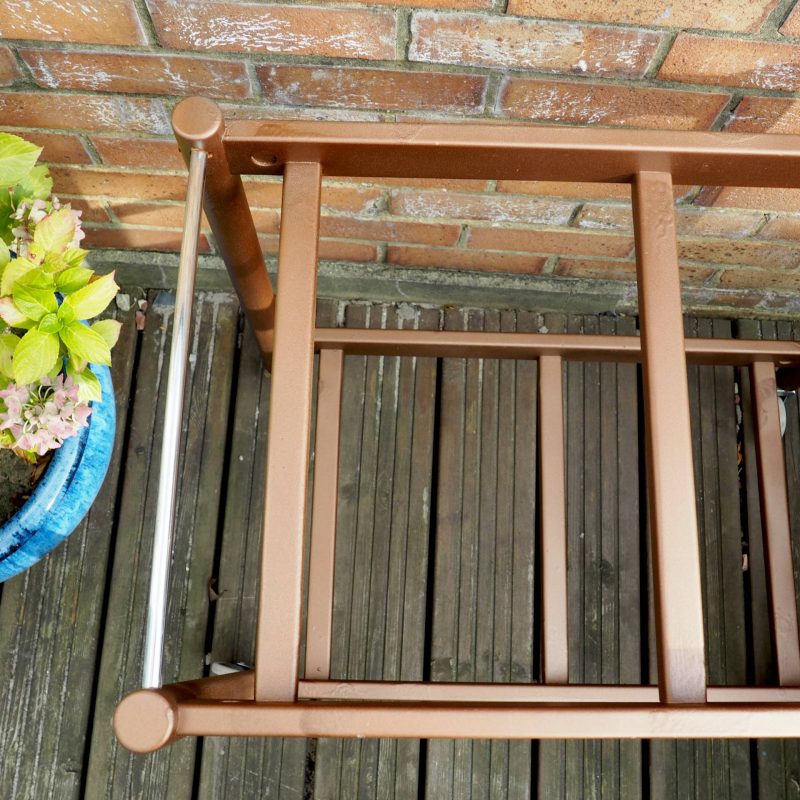
^^First, I sanded down all the wooden parts of the trolley, including the wooden parts of the two removable trays (the tops of the latter are laminated wood, so no need for sanding these, obviously).
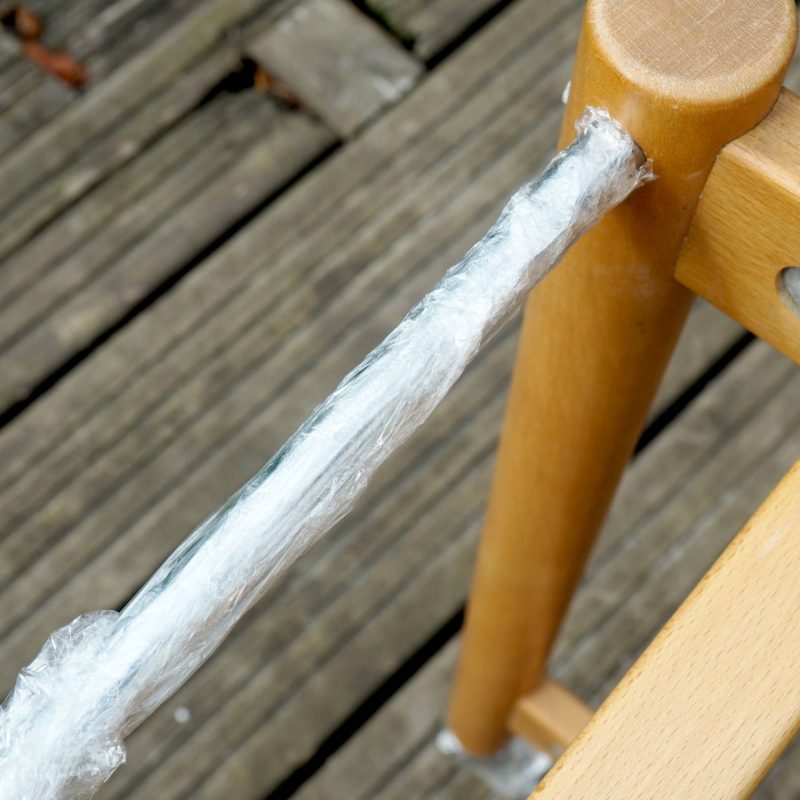

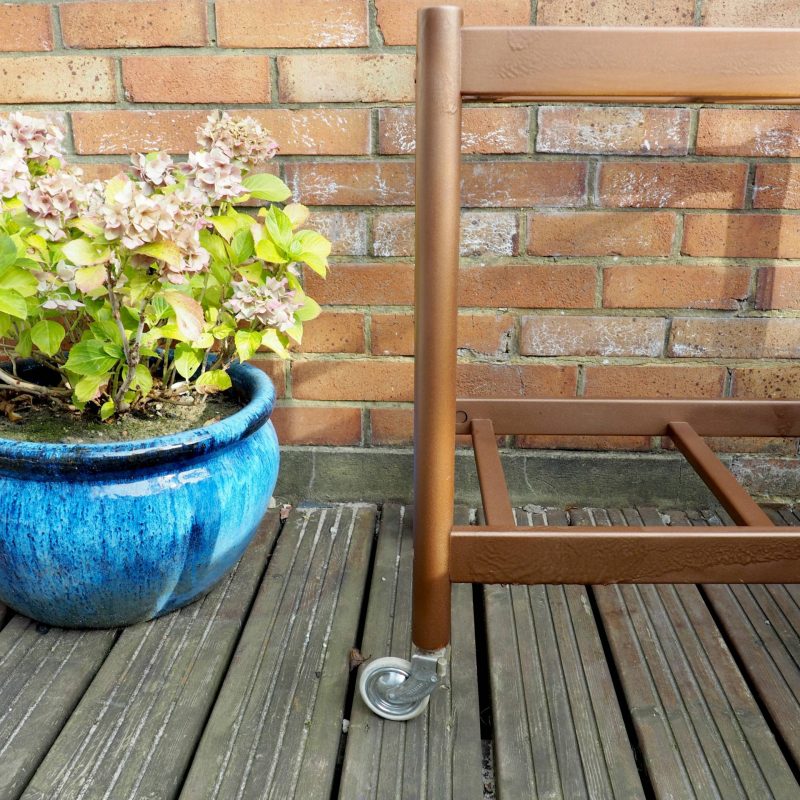
^^Next, I removed the trays and then covered the metal parts of the trolley (the bits I didn’t want to spray with the copper paint) with cling film. This actually worked really well, and meant that it could be removed easily one the paint had dried.
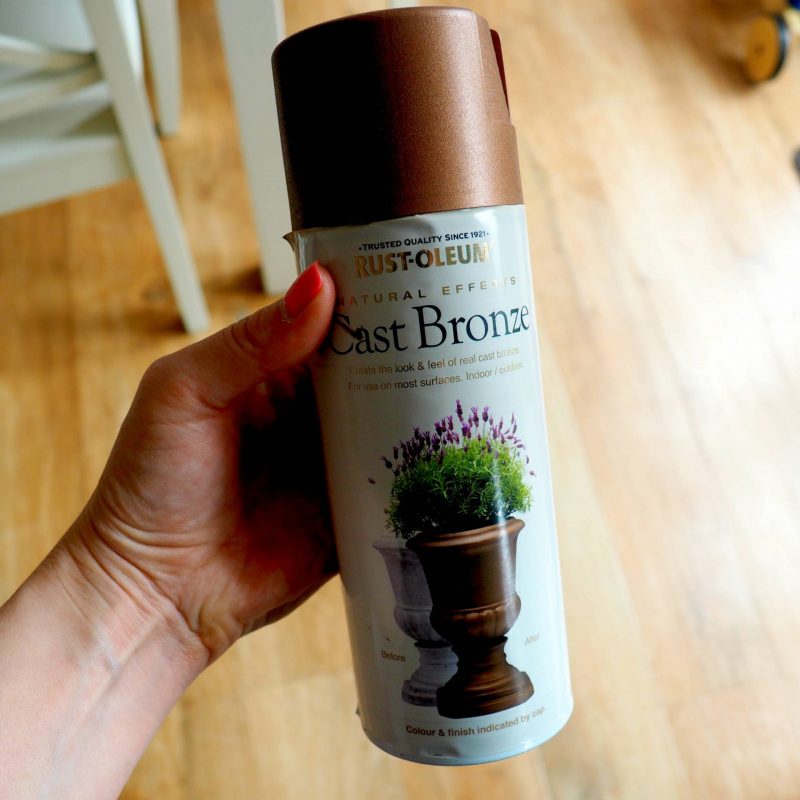
^^After hunting high and low in Homebase, I finally found some spray paint that would give me the look I was after. Whatever you do, make sure you buy enough spray paint for your project! I thought I’d be okay with just the one can, but ran out half way through the first coat and my car was in for repair for two days so couldn’t go back to the shop, meaning I couldn’t finish the trolley in one go- DIY nightmare! Once my car was returned I managed to drive back and get 3 more cans (just to be on the safe side). I ended up using nearly 3 in the end, so have a welcome spare now for future projects.
^^Make sure you spray in a ventilated area outside. I sprayed on our lawn (poor lawn), holding the can 30cm away from the trolley and spraying back and forth to try and get as evener coating as possible. The paint dries really quickly (in about 20 minutes), which is good news, but make sure you wear protective or old clothing as this stuff is a stayer!
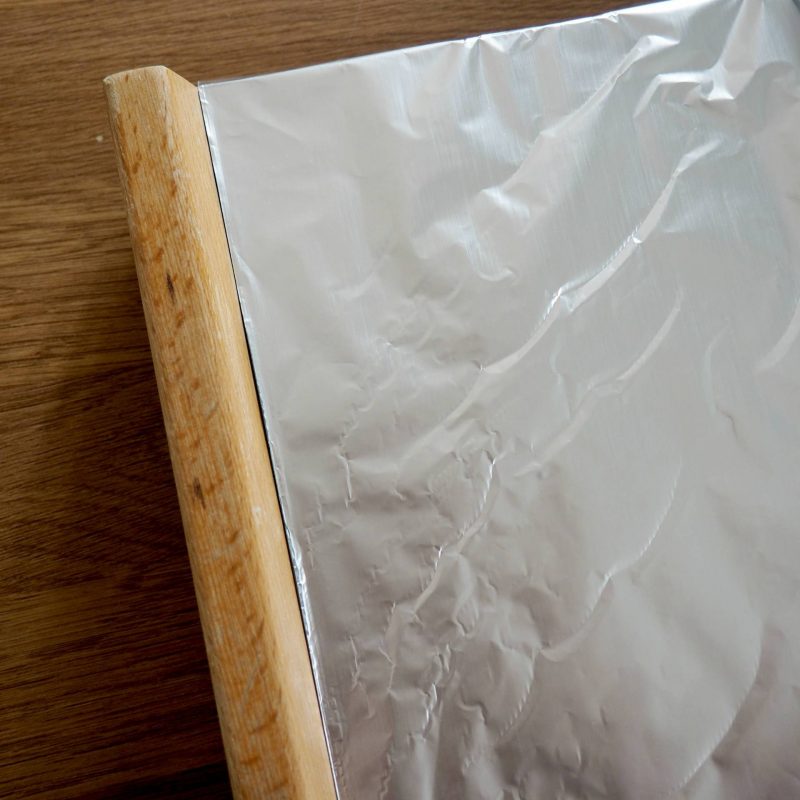
^^Once the trolley frame was painted, I set about prepping the trays for spraying which was potentially a little trickier. So as not to spray the white laminated bases, I lined the trays with kitchen foil, which is ideal to use as you can press it down at the edges and and it stays firm.
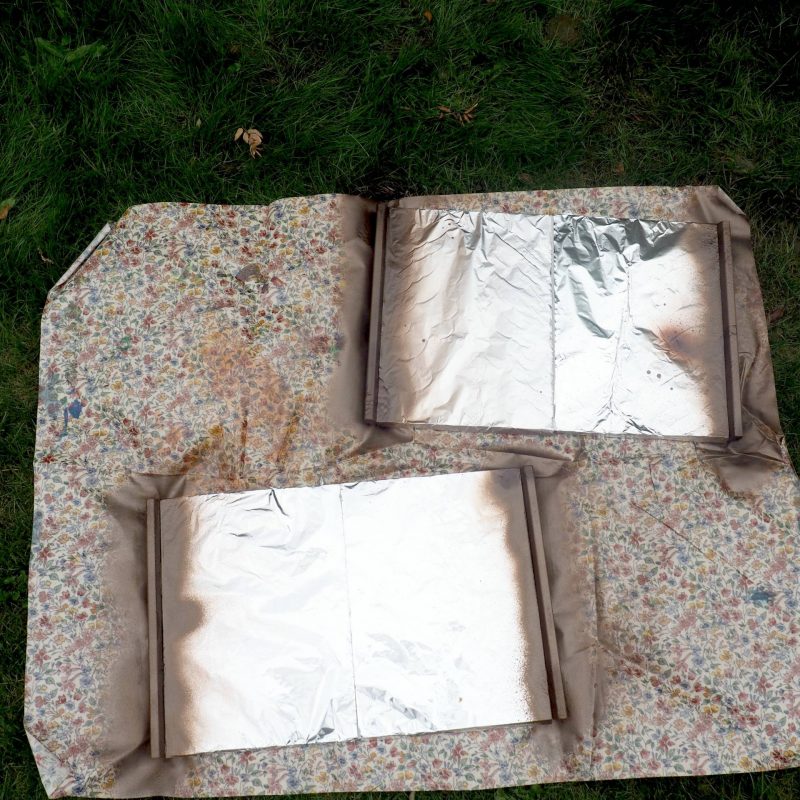
^^As with the frame before, I took the trays outside and then sprayed both wooden edges, to continue with the copper effect. Again, these took about 20 minutes to dry, and then after about an hour or so (just to be safe!) I added them to the tray.
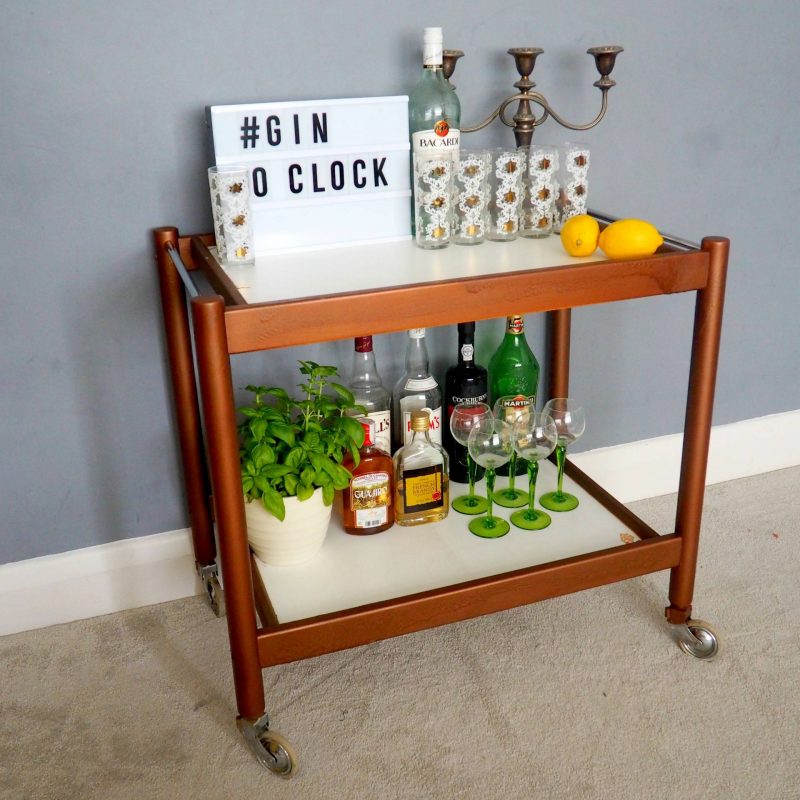
And voila!
Our new drinks trolley was ready for action!
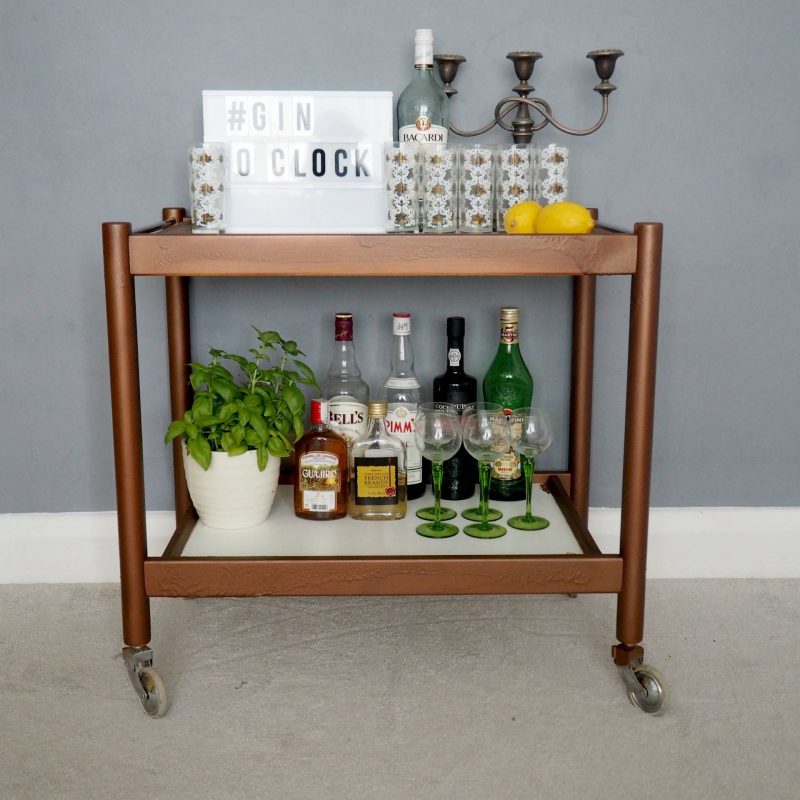
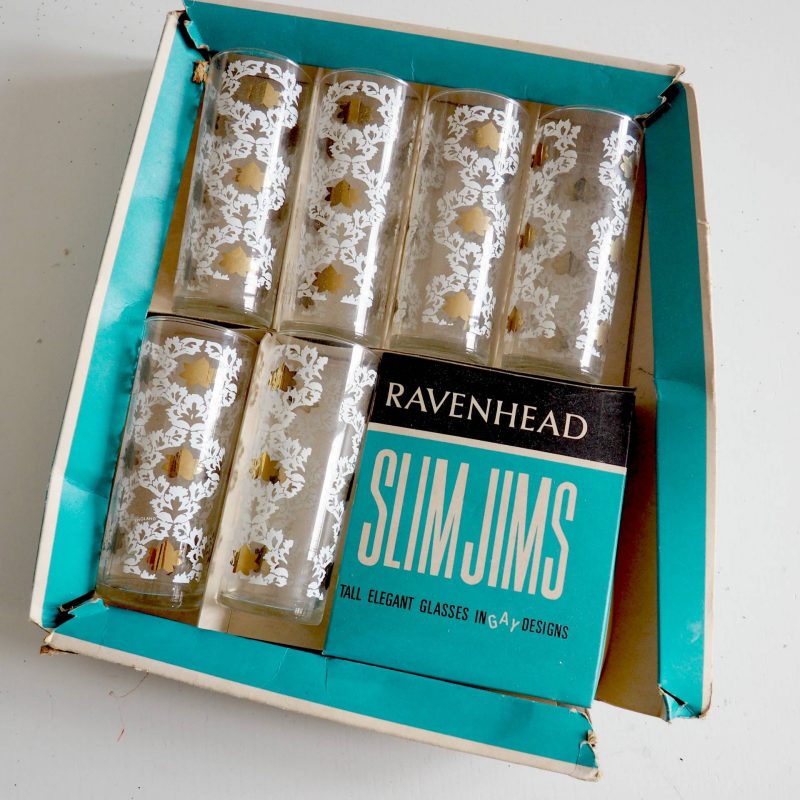
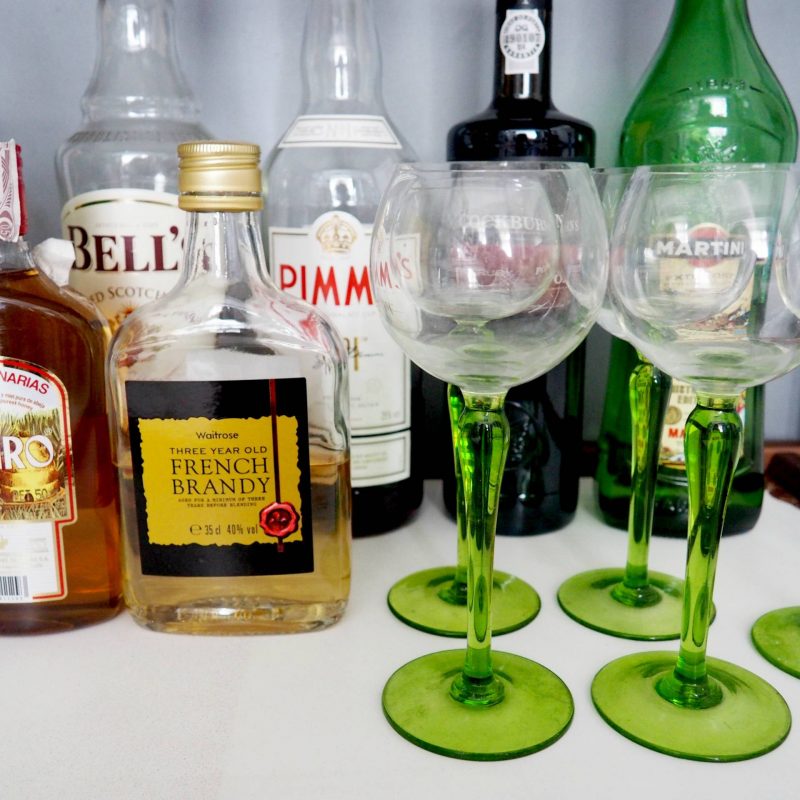
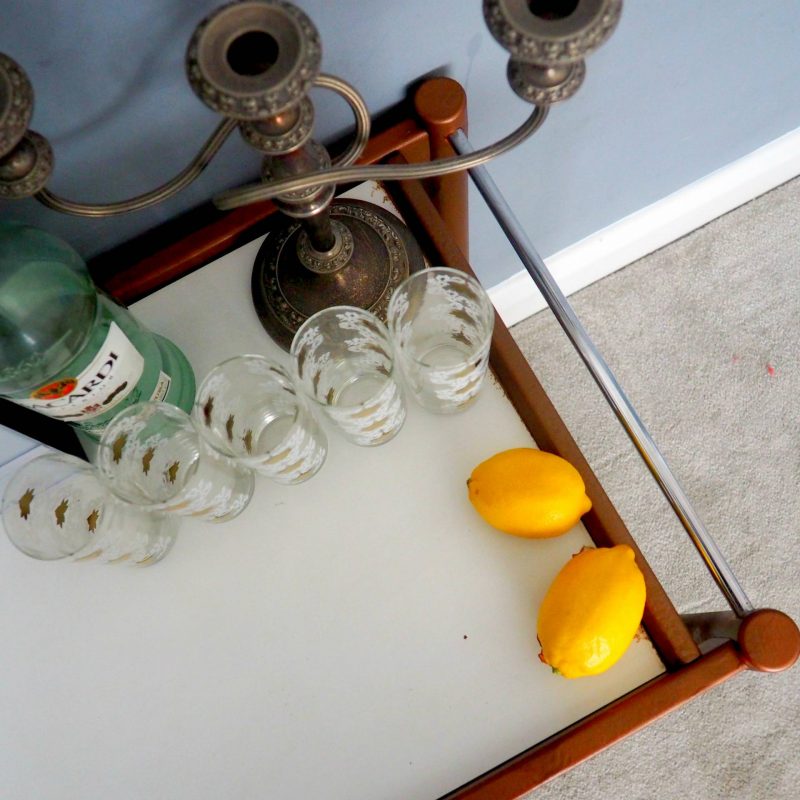
The finish isn’t perfect, but I have to say that I’m ridiculously pleased with it, and almost as pleased with the fact that I finally get to whip my vintage 1950s Ravenhead ‘Slim Jims’ glasses out of storage, as they are a perfect match for the trolley!
Gin and tonic anyone?

This is fab!!! And I am coming round to yours for a g & t!
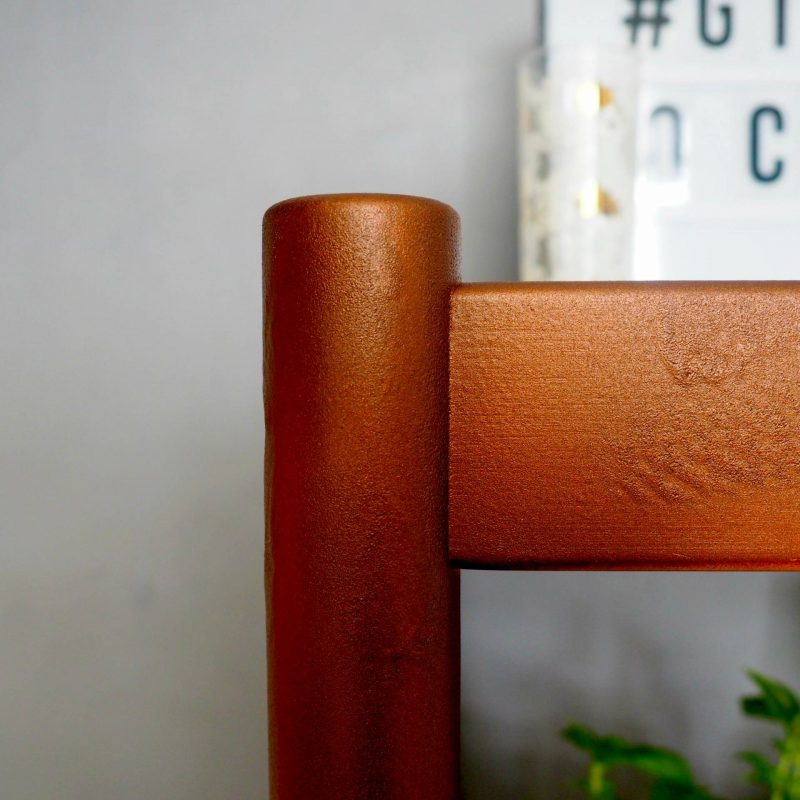
It’s a really beautiful colour! In some lights it almost looks like that’s the natural colour of the wood! And no-one will notice the finish after a drink anyway 😉 You’ve done a great job!
#HomeEtc
I’m so inspired!! Are you staying in SE London? If so I’m coming around for a celebratory drink when you move in ok?? This looks so good, now I want a drinks trolley too X #HomeEtc
As soon as I saw a photo of this pop up in my Bloglovin’ feed, I knew I was going to love it! Hooray for a drinks trolley!! I think it looks fabulous and the Slim Jims glasses are amazing. Seriously amazing. I want to come to yours for cocktails.
Oh I love this, I also have a “Bar Cart” that I repossessed from my Nan, a couple of weeks ago, mine is all metal and is in Gold & I was going to spray it Copper but I think for now I will leave it as it is. I have been buying loads of bits for it as I see them and am going to reveal it when I have finished it. I have got some funky copper straws and I have a lightbox too, along with a copper Ice bucket, Yours looks fab! well done for re-using it and its so lovely that you have something of your Nan’s.. #HomeEtc
I absolutely love this! I use spray paint quite a lot but have always used masking tape to block it but it’s such a faff, i LOVE the clingfilm tip!! #HomeEtc
Oooooh YES! When can we come around for the party??! Amazing! Thanks for sharing – love this! Jess x #HomeEtc
I BLOODY LOVE IT
I am all about the copper and the upcycling so this wins me over.
Look at those Glasses, totally beautiful, this is a timeless piece xxx