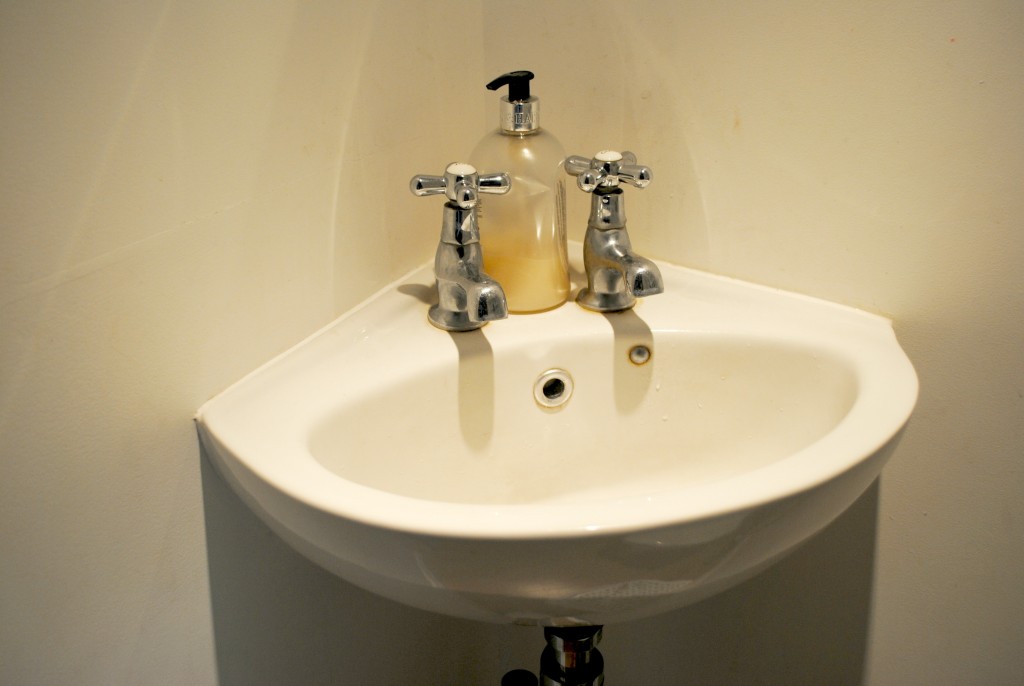
Pre-decorating our downstairs cloakroom (and thank goodness it was pre!), we had what can only be described as plumbing disaster, and one that could have been a LOT worse.
One morning, Adam and I had just come downstairs with the children after yet another early wake up call (6am on the dot), stuck the kettle on, and then heard a small bang. Heading into our hallway from the kitchen, we quickly realised that water was starting to flow from the cloakroom, across the wooden floorboards and towards the front door. Upon opening the cloakroom door, we discovered that for some reason one of the waste water pipes leading down from the taps and feeding in behind the sink had sprung a whopping leak, despite the tap not being on.
I must admit that I panicked, but Adam was as cool as a cucumber and turned our water off at the source, stopping the leak and meaning a complete flood was avoided. I still shudder to think what might have happened had we been fast asleep still, or out for the day, but we were lucky. There was no real lasting damage, and the affected sink part was replaced that same day. Unfortunately, not everyone who suffers a plumbing malfunction in their home is so lucky, and water marks and stains can be left behind.
So what do you do if this happens to you?
Here are my tips for getting rid of those pesky water marks, and the equipment you will need for doing so!
You will need:
- A bucket
- Bleach solution
- A large sponge
- Paper towels or clean tea towels
- A roller or paintbrush
- Stain-blocking primer
- Paint
Fix the source of the leak.
Sounds obvious, but you must sort the source of the leak before repairing water stains, otherwise you will never resolve the problem! Make sure you look carefully though, as the leak might not be directly above the water stain. If you’re unsure, do call out a local, reputable plumber to have a look for you.
Make up a cleaning solution.
Mix a solution of three parts water and one part bleach in the bucket.
Scrub away any mold.
Then apply the solution with a large sponge and scrub away. After 30 minutes, rinse the spot with a clean sponge, and dry it with paper towels or clean tea towels.
Apply primer.
Use a roller or a brush (depending on the size of the stain), to apply a stain-blocking primer to cover the area. This ensures that the stain does not come back.
Repaint
Repaint the area, if necessary, when the primer is dry.
All going well, your wall should now be looking as good as new!
Have you ever had a leaky bathroom/toilet? Did you have to deal with stains?
A big thanks to Dyno Plumbing for partnering The Spirited Puddle Jumper.

